
If you’re building a greenhouse, one key step is attaching the plastic covering to your wood frame. Getting this right matters because a tight, secure fit keeps your plants safe from wind, rain, and cold.
But how do you make sure the plastic stays in place without tearing or sagging? In this guide, you’ll discover simple, effective methods to fasten greenhouse plastic to wood. Whether you’re a beginner or need a quick refresher, these tips will help you create a strong, lasting greenhouse that protects your plants and boosts your gardening success.
Keep reading to learn exactly how to do it right.
Choosing The Right Greenhouse Plastic
Choosing the right greenhouse plastic is key to a healthy growing environment. It affects light, heat, and plant protection. The right plastic must fit your climate, plant types, and budget. Understanding types, thickness, and UV features helps you pick the best cover.
Types Of Greenhouse Plastic
Polyethylene is the most common type. It is lightweight and affordable. Polycarbonate panels offer better insulation and last longer. Acrylic sheets are strong but cost more. Each type suits different needs and frame styles.
Thickness And Durability
Plastic thickness ranges from 4 to 10 mils. Thicker plastic resists tears and lasts longer. Thin plastic is cheaper but may tear easily. Durable plastic saves money by avoiding frequent replacements. Choose thickness based on your weather conditions.
Uv Protection Features
UV protection prevents plastic from breaking down under sunlight. It also protects plants from harmful rays. Look for plastic labeled with UV inhibitors. This type stays clear longer and keeps your plants safe. UV protection adds value to your greenhouse cover.
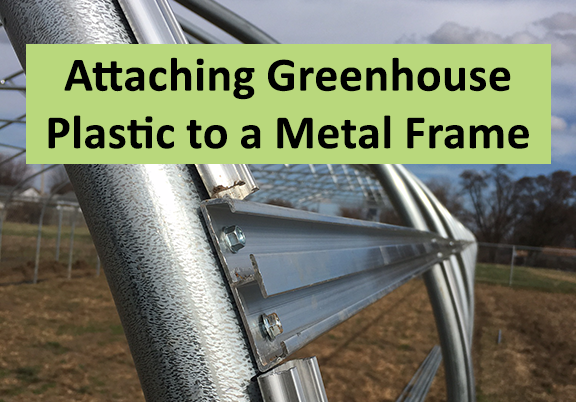
Credit: www.tunnelvisionhoops.com
Preparing The Wood Frame
Preparing the wood frame is the first step to a strong greenhouse. A good frame holds the plastic tight and lasts a long time. Take time to check and get the wood ready. This helps the plastic stay secure and keeps your greenhouse safe from wind and rain.
Selecting Suitable Wood
Choose wood that resists rot and insects. Cedar and redwood are good choices. They last longer outside. Use wood that is straight and free of cracks. Avoid softwoods that break easily. The frame needs to be strong and sturdy.
Sanding And Cleaning The Frame
Sand the wood to remove rough spots. Smooth wood holds plastic better. Use medium-grit sandpaper for best results. Clean the frame with a brush or cloth. Remove dirt, dust, and loose bark. A clean surface helps the plastic stick well.
Ensuring Frame Stability
Check all joints and corners for strength. Tighten screws and nails where needed. Add extra support with braces if the frame wobbles. A stable frame keeps the plastic tight and safe. Test the frame by gently shaking it. It should feel solid and not move much.
Tools And Materials Needed
Attaching greenhouse plastic to a wood frame needs the right tools and materials. Using the proper items makes the work easier and ensures a tight fit. This guide lists everything you need to get started.
Essential Tools
Start with basic tools to handle the plastic and wood safely. A sharp utility knife cuts the plastic cleanly. A staple gun or hammer helps secure the plastic to the frame. Measuring tape ensures correct plastic size. Gloves protect your hands from sharp edges. A ladder helps reach higher parts of the frame.
Fasteners And Clips
Staples are common fasteners for greenhouse plastic. Use galvanized staples to avoid rust. Plastic clips hold the plastic firmly without tearing it. Wiggle wire and channel systems provide strong, long-lasting attachment. Nails or screws may be needed for extra support.
Additional Supplies
Clear greenhouse plastic sheeting is the main material. Choose UV-resistant plastic for durability. Rope or bungee cords can secure loose edges. Weatherproof tape seals gaps and tears. Wood sealant protects the frame from moisture. Having these supplies ready speeds up the project.
Measuring And Cutting The Plastic
Measuring and cutting greenhouse plastic is a crucial step in building a strong structure. The plastic must fit well to keep the heat and moisture inside. Proper measuring and cutting help avoid gaps and waste.
Careful measurement ensures the plastic covers the entire frame. Cutting cleanly prevents tears and makes attachment easier. Planning for extra material helps with secure fastening.
Accurate Measurement Tips
Start by measuring the frame’s length and width. Use a tape measure for exact numbers. Write down the measurements to avoid mistakes. Measure twice to be sure before cutting. Include the frame’s height if covering sides. Add a few inches for overlap and fastening.
Cutting Techniques
Use sharp scissors or a utility knife to cut plastic. Cut on a flat surface to keep edges straight. Avoid jagged cuts that can tear easily. Cut slowly and steadily for better control. Keep the plastic tight while cutting to prevent wrinkles.
Allowing For Overlap
Leave extra plastic around edges for overlap. Overlap helps secure the plastic to the frame. Add at least 4 to 6 inches on each side. Overlap sections when joining two pieces of plastic. This prevents air and water leaks. Secure the overlap tightly to avoid gaps.
Attaching Plastic To The Frame
Attaching greenhouse plastic to a wood frame is a key step in building a strong greenhouse. The plastic must fit tightly to keep heat and moisture inside. Loose plastic can flap in the wind and tear easily. Use the right tools and techniques to secure the plastic firmly. This ensures your greenhouse lasts longer and protects your plants well.
Stretching The Plastic Evenly
Start by unrolling the plastic over the frame. Pull the plastic tight, but do not stretch it too much. Stretching too much can cause tears. Work from one side to the other slowly. Make sure the plastic is smooth and flat. Avoid wrinkles that can trap water or cause damage.
Using Staples And Clips
Staples work well to hold plastic on wood frames. Use a staple gun to fasten the plastic along the wood edges. Space staples about every 6 inches for a strong hold. Plastic clips can add extra security. Clips snap over the plastic and frame, holding it tight. Using both staples and clips keeps plastic in place during wind.
Sealing Edges For Durability
Seal the edges to stop air and water from getting in. Use weatherproof tape along the frame’s edges. Press tape firmly for a good seal. Check corners carefully, as they can lift more easily. Sealing makes the greenhouse stronger and helps keep plants safe from cold and pests.
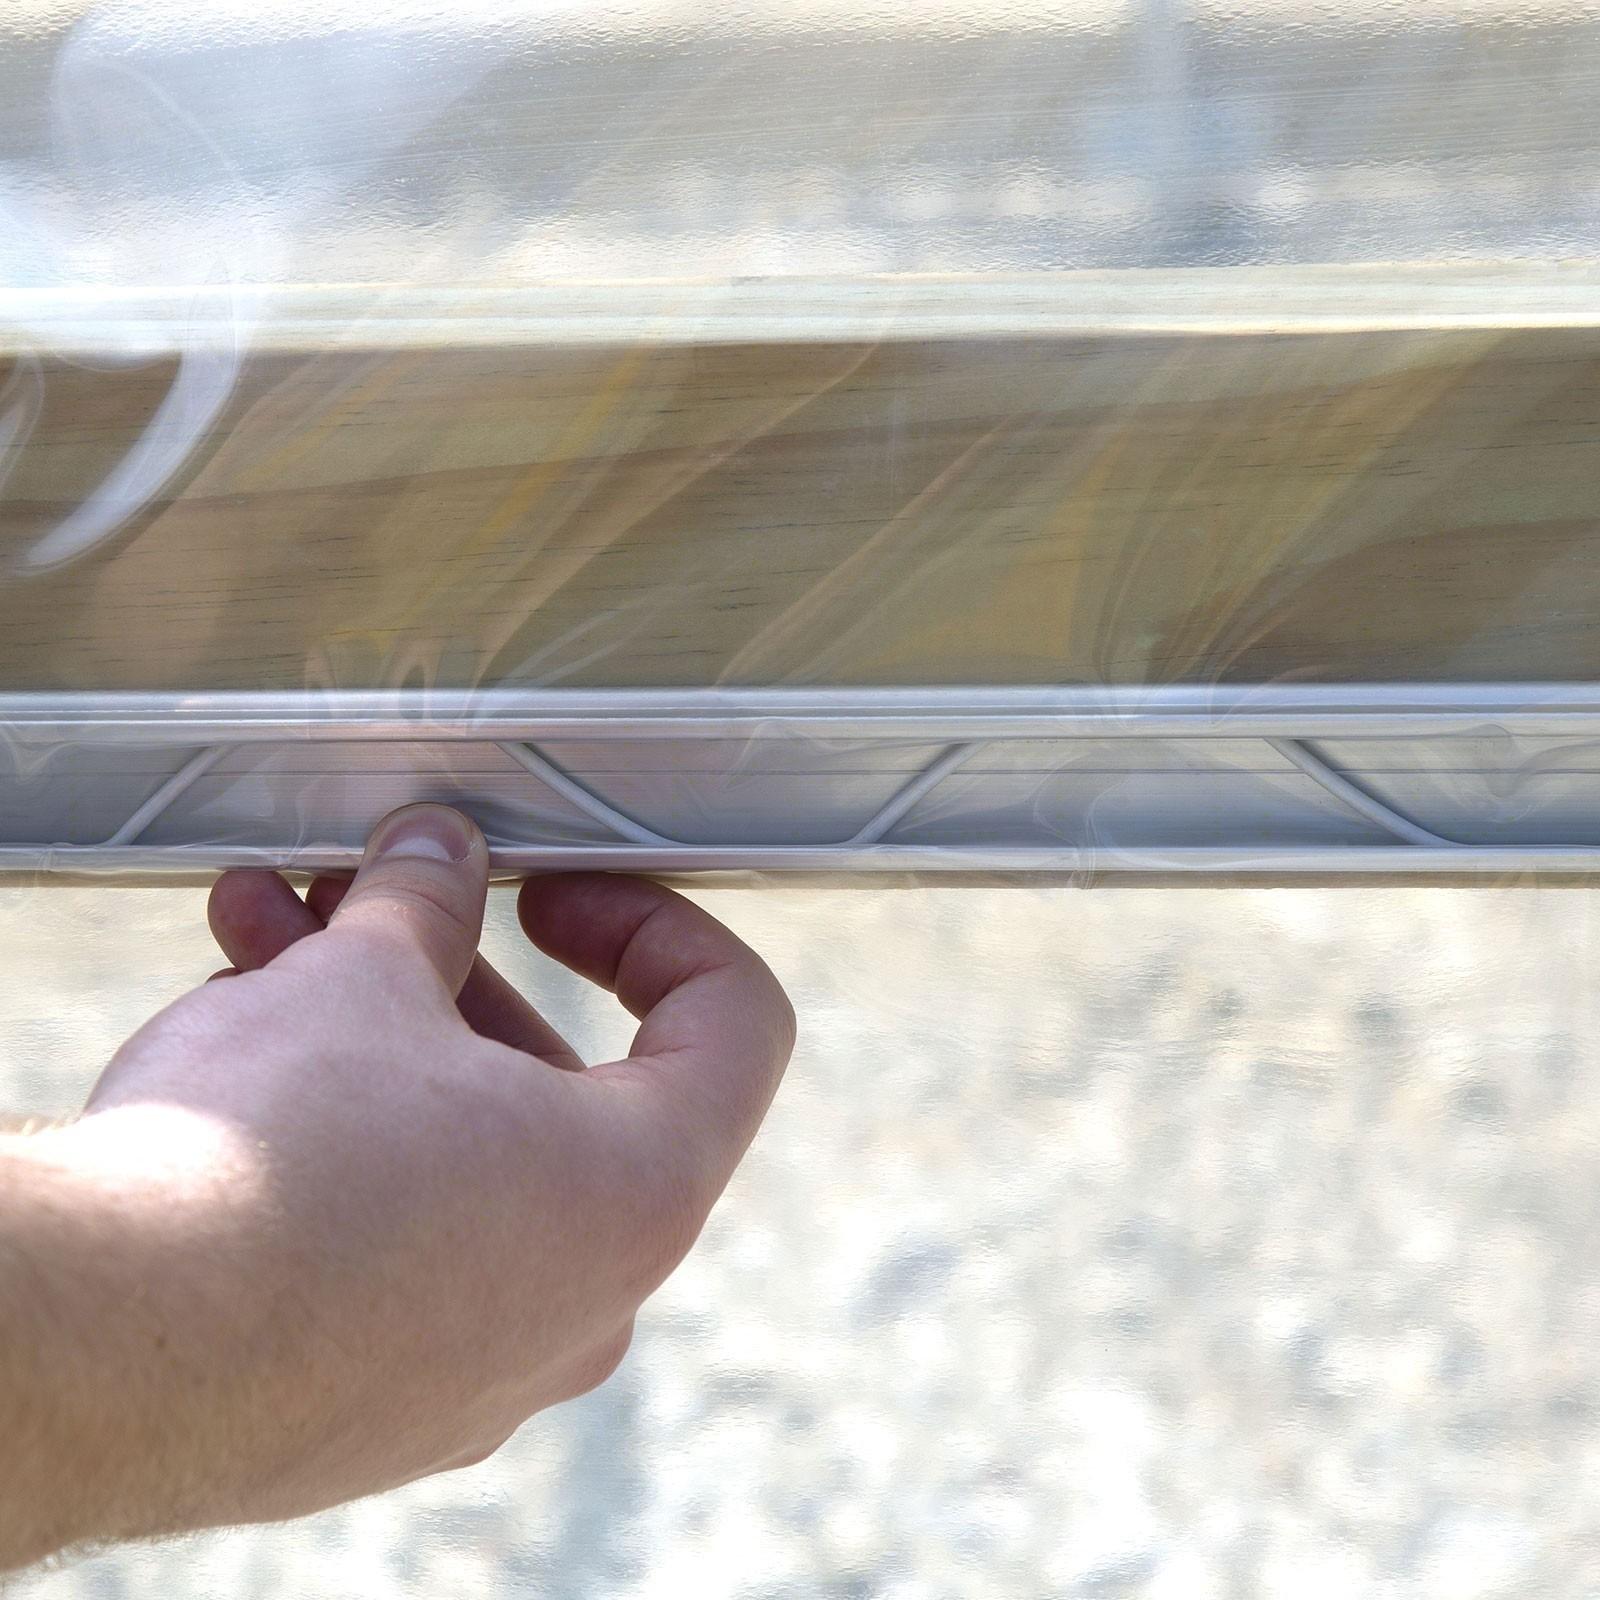
Credit: machrus.com
Securing The Plastic For Wind Resistance
Securing the plastic cover tightly is key to protect your greenhouse from strong winds. Loose plastic can flap, tear, or even blow away. Proper attachment keeps the plastic smooth and stable. This strengthens the whole structure and extends the life of your greenhouse. Focus on critical areas that face the most stress from wind.
Reinforcing Corners And Edges
Corners and edges are the most vulnerable spots for wind damage. Wrap extra layers of plastic around these areas for added strength. Use heavy-duty staples or nails to fix the plastic firmly to the wood frame. Place them close together to avoid gaps. Adding corner braces or wooden strips can help hold the plastic tightly in place.
Adding Support Strips
Support strips run along the frame under the plastic. They stop the plastic from sagging and moving in the wind. Use thin wooden or metal strips placed every few feet. Attach the plastic over these strips and secure with staples or screws. This method spreads the tension evenly and prevents tears.
Checking For Loose Areas
After attaching the plastic, inspect the entire frame for loose spots. Gently press on the plastic to feel for movement or gaps. Tighten any loose ends with more staples or nails. Fixing these small issues early helps avoid bigger problems during storms. A snug fit is the best defense against wind damage.
Maintaining The Plastic Cover
Maintaining the plastic cover on your greenhouse wood frame is key to a healthy growing space. Proper care extends the life of the plastic. It also keeps your plants safe and warm. Regular checks and simple repairs prevent bigger problems. Follow easy steps to keep your greenhouse plastic in top shape.
Cleaning And Inspection
Clean the plastic cover often to remove dirt and dust. Use a soft cloth and mild soap with water. Rinse well to avoid soap residue. Check for any signs of wear or damage while cleaning. Look for holes, tears, or loose edges. Early spotting helps fix issues fast. Clean plastic lets more sunlight reach your plants.
Repairing Tears And Holes
Fix small tears and holes quickly to keep heat inside. Use greenhouse repair tape or patch kits made for plastic. Cut a patch slightly bigger than the hole. Press it firmly onto the cleaned area. For bigger tears, use extra support like wooden strips or clips. Regular repairs stop damage from spreading and keep your plants safe.
Seasonal Removal Tips
Remove the plastic cover during warm seasons or heavy storms. Store it carefully in a dry, shaded place. Fold it neatly without sharp creases. Clean it before storage to avoid mold or dirt buildup. Check the wood frame for damage while the plastic is off. Putting the plastic back on carefully helps it last longer.
Credit: jigglygreenhouse.com
Frequently Asked Questions
How Do I Secure Greenhouse Plastic To A Wooden Frame?
Use staples or nails with washers to attach the plastic tightly. Stretch the plastic flat before fastening to avoid wrinkles.
What Tools Are Best For Attaching Plastic To Wood?
Staple guns and hammer with flat washers work best. They hold the plastic firmly without tearing it.
How Tight Should Greenhouse Plastic Be On The Frame?
The plastic should be tight but not overstretched. Tight plastic keeps heat in and prevents flapping in wind.
Can I Reuse Greenhouse Plastic On A Wood Frame?
Yes, if the plastic is clean and undamaged, reuse is possible. Carefully remove it without ripping to save costs.
How Do I Prevent Greenhouse Plastic From Tearing On Wood?
Use washers or batten strips to spread pressure from nails or staples. Avoid sharp edges on the wood frame.
Conclusion
Attaching greenhouse plastic to a wood frame is simple with the right steps. Use staples or nails to secure the plastic tightly. Keep the surface clean and dry for better hold. Make sure the plastic is stretched to avoid wrinkles.
Check your work often to fix any loose spots. A well-attached cover protects plants and keeps heat inside. This small effort helps your greenhouse work better all year. Try these tips to get a strong, lasting fit every time.