
Are you ready to give your stairs a fresh, elegant look without the extra edge of nosing? Installing hardwood flooring on stairs without nosing can create a sleek and modern finish that transforms your space.
But it’s not as simple as just laying down wood—you need the right steps to ensure safety, durability, and style. You’ll discover easy-to-follow tips and expert advice that will help you tackle this project with confidence. Keep reading, and you’ll learn exactly how to achieve a flawless, nosing-free hardwood stair installation that will impress everyone who sees it.
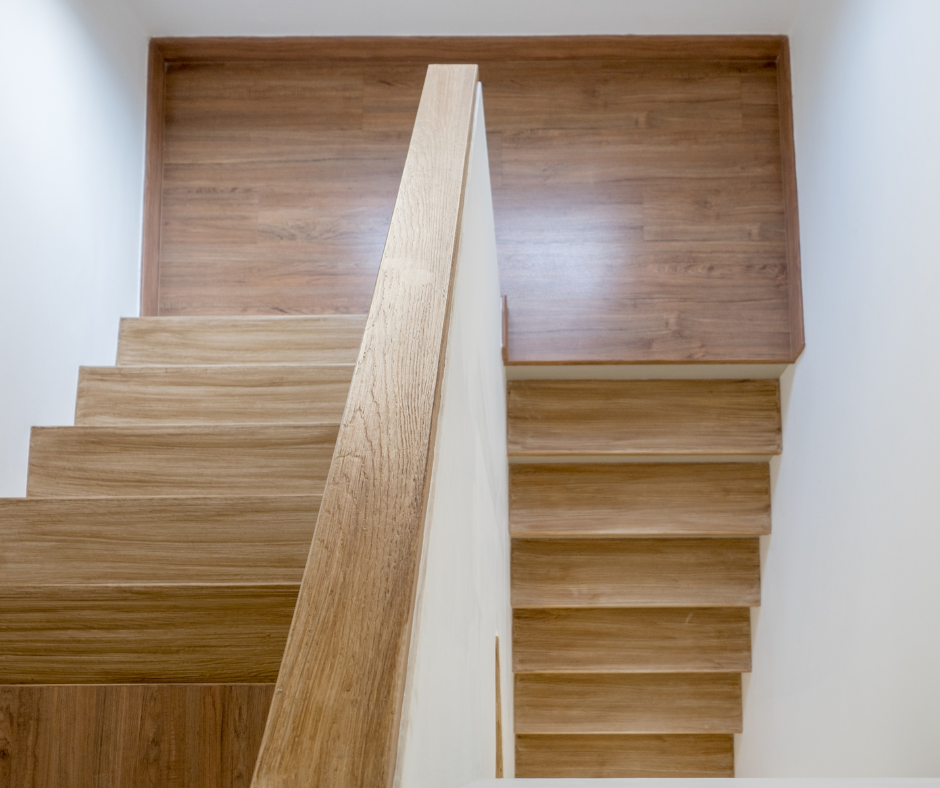
Credit: oakvalleydesigns.com
Choosing Hardwood For Stairs
Choosing the right hardwood for stairs is important for both safety and style. Stairs get a lot of foot traffic, so the wood must be strong and durable. The finish should protect the wood and keep it looking good over time. Measuring the stairs carefully helps avoid mistakes during installation. This guide helps you pick the best hardwood for stairs without nosing.
Types Of Hardwood
Hardwood comes in many types. Oak is very popular. It is strong and has a classic look. Maple is harder and has a smooth surface. Cherry wood is softer but has a rich color. Hickory is tough and has a unique grain. Choose wood that matches your home’s style and lasts long.
Durability And Finish
Stairs need wood that can handle wear and tear. Hardwoods with a Janka rating above 1,200 are good choices. The finish protects the wood from scratches and moisture. Use a strong, clear finish like polyurethane. This keeps the wood safe and easy to clean. Satin or semi-gloss finishes show less dirt and scratches.
Measuring Stair Dimensions
Measure each stair carefully before buying wood. Measure the tread width and depth. Also, check the riser height if needed. Write down the numbers to avoid confusion. Accurate measurements ensure the wood fits well on each step. This helps a smooth installation without gaps or overlaps.
Preparing The Stair Surface
Preparing the stair surface is the first step in installing hardwood flooring without nosing. A smooth, clean, and level base helps the wood fit perfectly. This prevents gaps and keeps the stairs safe and strong. Proper preparation saves time and effort later.
Removing Old Flooring
Start by removing any old carpet, vinyl, or wood from the stairs. Use a pry bar or scraper to lift the material carefully. Remove all nails, staples, and glue. The surface must be bare and ready for new wood.
Cleaning And Repairing
Clear away dust, dirt, and debris with a broom or vacuum. Check for any loose boards or damage. Tighten screws or nails to secure loose parts. Fill cracks or holes with wood filler. Let the filler dry completely before moving on.
Ensuring A Level Base
Use a level tool to check the stair surface. Look for any bumps or dips. Sand down high spots and fill low spots with a leveling compound. The base should be flat and even. This helps the hardwood stay in place without gaps.
Tools And Materials Needed
Installing hardwood flooring on stairs without nosing needs the right tools and materials. Using proper equipment helps the job go smoothly. It also makes sure the floor is safe and looks great.
Gather everything before starting. This saves time and avoids mistakes. Below are the must-have tools, adhesives, and safety gear for this project.
Essential Tools
- Measuring tape for precise cuts and fitting
- Carpenter’s square to check angles
- Hammer and nails for securing boards
- Power saw or miter saw for clean cuts
- Chisel for fine adjustments
- Rubber mallet to tap boards gently
- Flooring nailer or stapler for fast installation
- Level to ensure even surfaces
- Pry bar to remove old flooring
Recommended Adhesives
- Wood flooring adhesive for strong bonding
- Construction adhesive for extra hold on stairs
- Polyurethane glue for water resistance
- Contact cement for quick bonding
Safety Equipment
- Safety goggles to protect eyes from dust and debris
- Work gloves to prevent splinters and cuts
- Knee pads for comfort while working on stairs
- Dust mask to avoid inhaling sawdust
- Ear protection when using power tools

Credit: www.holzbauindustries.com.au
Cutting Hardwood For Treads And Risers
Cutting hardwood for treads and risers is a key step in installing hardwood flooring on stairs without nosing. The pieces must fit perfectly to ensure safety and a clean look. Precision in cutting helps avoid gaps or uneven edges.
Each tread and riser has unique measurements. Accurate cuts make the installation process smoother. Take time to measure and cut carefully.
Accurate Measuring Techniques
Start by measuring the width and depth of each stair tread. Use a tape measure that is easy to read. Double-check your measurements to avoid mistakes. Mark the hardwood pieces clearly with a pencil. Measure twice, cut once. This reduces waste and errors.
Cutting Tips For Precision
Use a fine-toothed saw for smooth cuts. A miter saw works well for straight and angled cuts. Cut slowly to prevent splintering. Support the wood firmly while cutting. Sand edges lightly for a clean finish. Keep the blade sharp to improve accuracy.
Handling Different Stair Shapes
Stairs can have straight, curved, or angled shapes. For curved stairs, use a template to trace the shape on wood. Cut along the traced line carefully. For angled stairs, adjust your saw angle to match the stair. Custom fitting each piece ensures a tight fit. Take time to shape each tread and riser correctly.
Installing Hardwood On Stair Treads
Installing hardwood on stair treads requires careful steps to ensure a smooth finish. Hardwood adds warmth and style to stairs. Without nosing, the installation needs extra attention for safety and durability.
Each stair tread must be prepared well. This helps the hardwood stick and last long. The boards should fit tightly to avoid gaps and loose edges.
Applying Adhesive Correctly
Start by cleaning the stair tread surface. Remove dust and dirt for better grip. Use a strong wood adhesive made for stairs. Apply the glue evenly using a notched trowel. Spread adhesive across the entire tread. Avoid thick spots that cause lumps. A smooth layer helps the hardwood bond firmly.
Positioning And Securing Boards
Place the hardwood boards carefully on the adhesive. Align the boards with the stair edges. Press down firmly to remove air bubbles. Use a rubber mallet to tap boards into place. Secure boards with finishing nails or screws. Drive fasteners at an angle for a tight hold. Check that boards do not move before the glue dries.
Dealing With Gaps And Edges
Inspect the stair treads for gaps between boards. Small gaps can be filled with wood filler. Match filler color to the hardwood for a neat look. Sand edges lightly to smooth rough spots. Avoid sharp edges for safety. Proper filling and sanding give a clean, finished appearance.
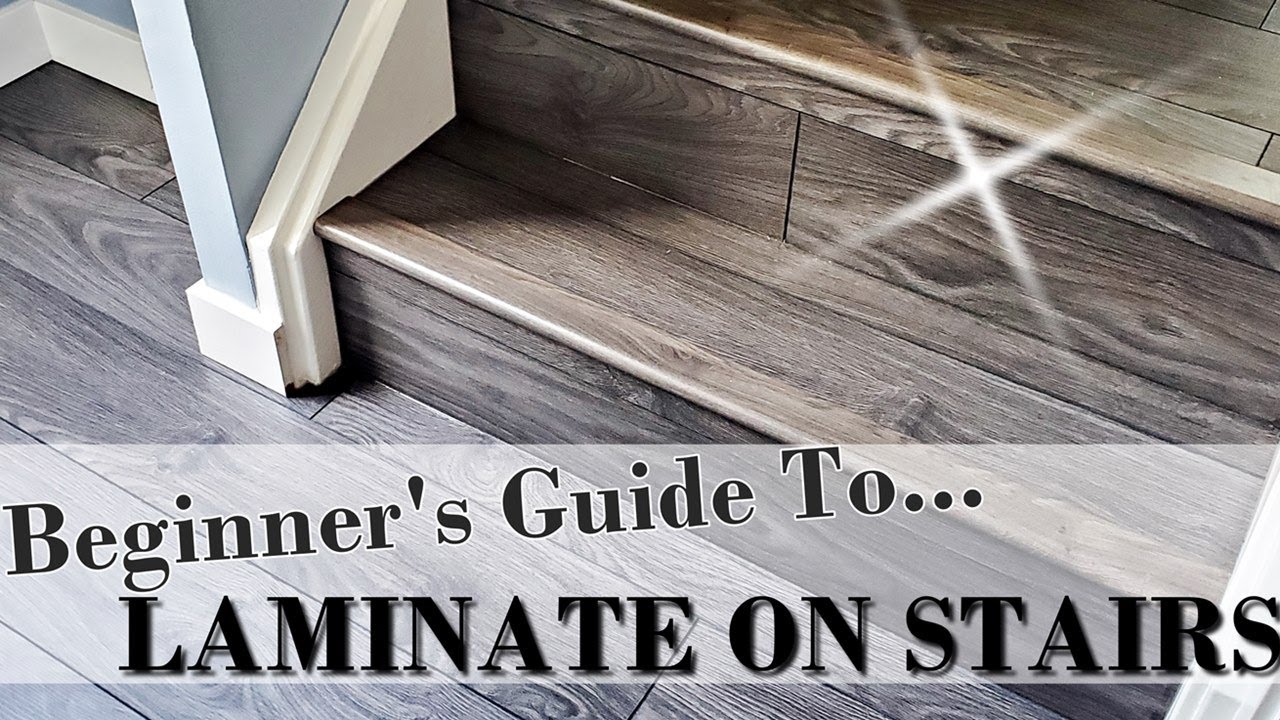
Credit: www.youtube.com
Fitting Hardwood On Risers
Fitting hardwood on risers adds a polished look to staircases without nosing. It requires precise measuring, secure attachment, and clean finishing. Hardwood on risers protects the surface and matches the stair design. This section guides you through each step for a perfect fit.
Measuring For Vertical Surfaces
Start by measuring the height and width of each riser carefully. Use a tape measure and note the exact size. Cut the hardwood pieces slightly smaller for easy fitting. Check each riser’s shape; some may vary in size. Accurate measurements prevent gaps and uneven edges.
Attaching Hardwood Securely
Apply wood glue evenly on the back of each hardwood piece. Press the piece firmly against the riser surface. Use finishing nails or a brad nailer to hold it in place. Nails should go near edges to avoid splitting the wood. Wipe off any excess glue before it dries.
Finishing Touches On Risers
Fill nail holes with wood filler that matches the hardwood color. Sand the surface lightly for a smooth finish. Clean dust and debris before applying stain or sealant. Seal the wood to protect against moisture and wear. This final step ensures durability and a clean look.
Finishing Without Nosing
Finishing hardwood stairs without nosing creates a clean, modern look. It requires careful attention to detail to keep the stairs safe and stable. This method can highlight the natural beauty of the wood while offering a sleek design. Proper techniques help avoid damage and wear on the stair edges. Here is how to finish stairs without nosing effectively.
Ensuring Safety And Stability
Safety is the top priority when finishing stairs without nosing. The edges must be strong enough to handle daily use. Use thick hardwood planks to prevent warping or cracking over time. Secure each board tightly with screws or nails. Add a strong adhesive under the wood for extra hold. Check for any sharp or uneven edges and sand them smooth. A firm, even surface reduces the risk of slips and falls.
Alternative Edge Treatments
Without nosing, edges need special treatment to protect them. Consider rounding the edges slightly with a router for a softer finish. Metal or wood edge strips can reinforce the sides and add durability. These strips also create a visual border that helps mark each step. Vinyl or rubber edge guards provide extra grip, especially in homes with children or older adults. Choose treatments that match the stair design and wood type for a unified look.
Maintaining A Clean Look
Finishing without nosing keeps stairs looking simple and neat. Use consistent wood grain direction and color for a smooth appearance. Fill any gaps or nail holes with wood putty that matches the floor. Apply a clear, matte finish to protect the wood without adding shine. Keep the stair edges well-maintained by cleaning regularly and avoiding heavy impact. A clean, minimalist stair design enhances the room’s style and space.
Caring For Hardwood Stairs
Caring for hardwood stairs helps keep them strong and beautiful. Proper care extends the life of the wood. It also keeps the stairs safe and comfortable to use. Regular attention stops small problems from becoming big issues. Follow these simple steps to care for your hardwood stairs without nosing.
Cleaning Tips
Use a soft broom or vacuum with a brush attachment to remove dirt. Avoid harsh cleaners that can damage the wood finish. A damp cloth with mild soap works well for spots. Dry the stairs quickly to prevent water damage. Clean spills right away to avoid stains. Regular cleaning keeps dust and grit from scratching the wood.
Preventing Damage
Place rugs or mats at the top and bottom of the stairs. Use felt pads under furniture or heavy items near the stairs. Avoid wearing high heels or shoes that can dent the wood. Keep pet nails trimmed to prevent scratches. Avoid dragging heavy objects across the stairs. These steps help protect your hardwood from dents and scratches.
Regular Maintenance
Check for loose boards or nails and fix them promptly. Refinish the stairs every few years to keep the wood sealed. Light sanding can smooth out small scratches or wear marks. Use a wood-friendly polish to keep the surface shiny. Regular maintenance keeps stairs looking new and prevents damage over time.
Frequently Asked Questions
Can Hardwood Flooring Be Installed On Stairs Without Nosing?
Yes, hardwood flooring can be installed on stairs without nosing by cutting the tread flush with the riser. This creates a clean, modern look but requires precise measurements and cuts.
What Tools Are Needed To Install Hardwood On Stairs Without Nosing?
You will need a saw, measuring tape, adhesive, nails or screws, and a hammer or drill. These tools help ensure a secure and neat installation.
How Do You Secure Hardwood Flooring On Stairs Without Nosing?
Use strong adhesive along with finishing nails or screws to keep the wood in place. This combination prevents movement and keeps the stairs safe.
Is It Safe To Install Stairs Without Nosing?
Yes, stairs without nosing can be safe if installed correctly with slip-resistant finishes. Proper care is needed to avoid slippery surfaces.
How To Maintain Hardwood Stairs Without Nosing?
Clean regularly with a soft broom or damp cloth to prevent dirt buildup. Use non-slip pads or coatings to keep stairs safe and durable.
Conclusion
Installing hardwood flooring on stairs without nosing can create a clean, modern look. Careful measuring and cutting ensure each step fits perfectly. Using the right tools makes the process smoother and safer. Take your time to secure each plank firmly.
The result is a durable and stylish staircase that suits any home. This method saves space and highlights the wood’s natural beauty. Enjoy your new stairs and the fresh feel they bring to your space. Simple steps lead to great results.