
Are you staring at your stained wood trim and wondering how to give it a fresh, painted look without making a mess? Painting over stained wood can feel tricky, but with the right steps, you can transform your trim and completely change the feel of your room.
In this guide, you’ll discover simple, proven techniques to paint your wood trim smoothly and make sure the paint sticks well. Keep reading, and you’ll soon have the confidence to tackle this project and get professional-looking results.
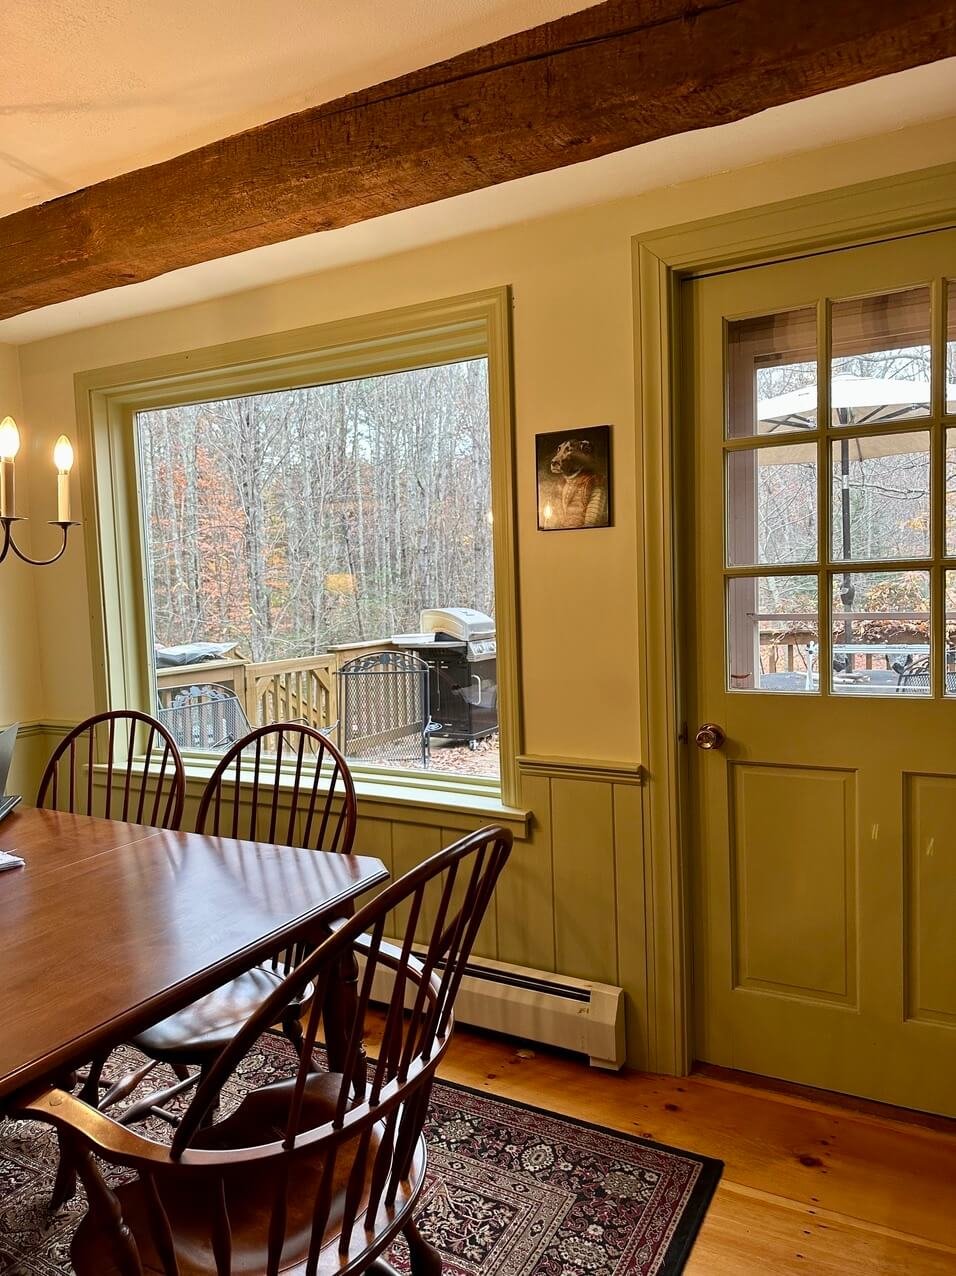
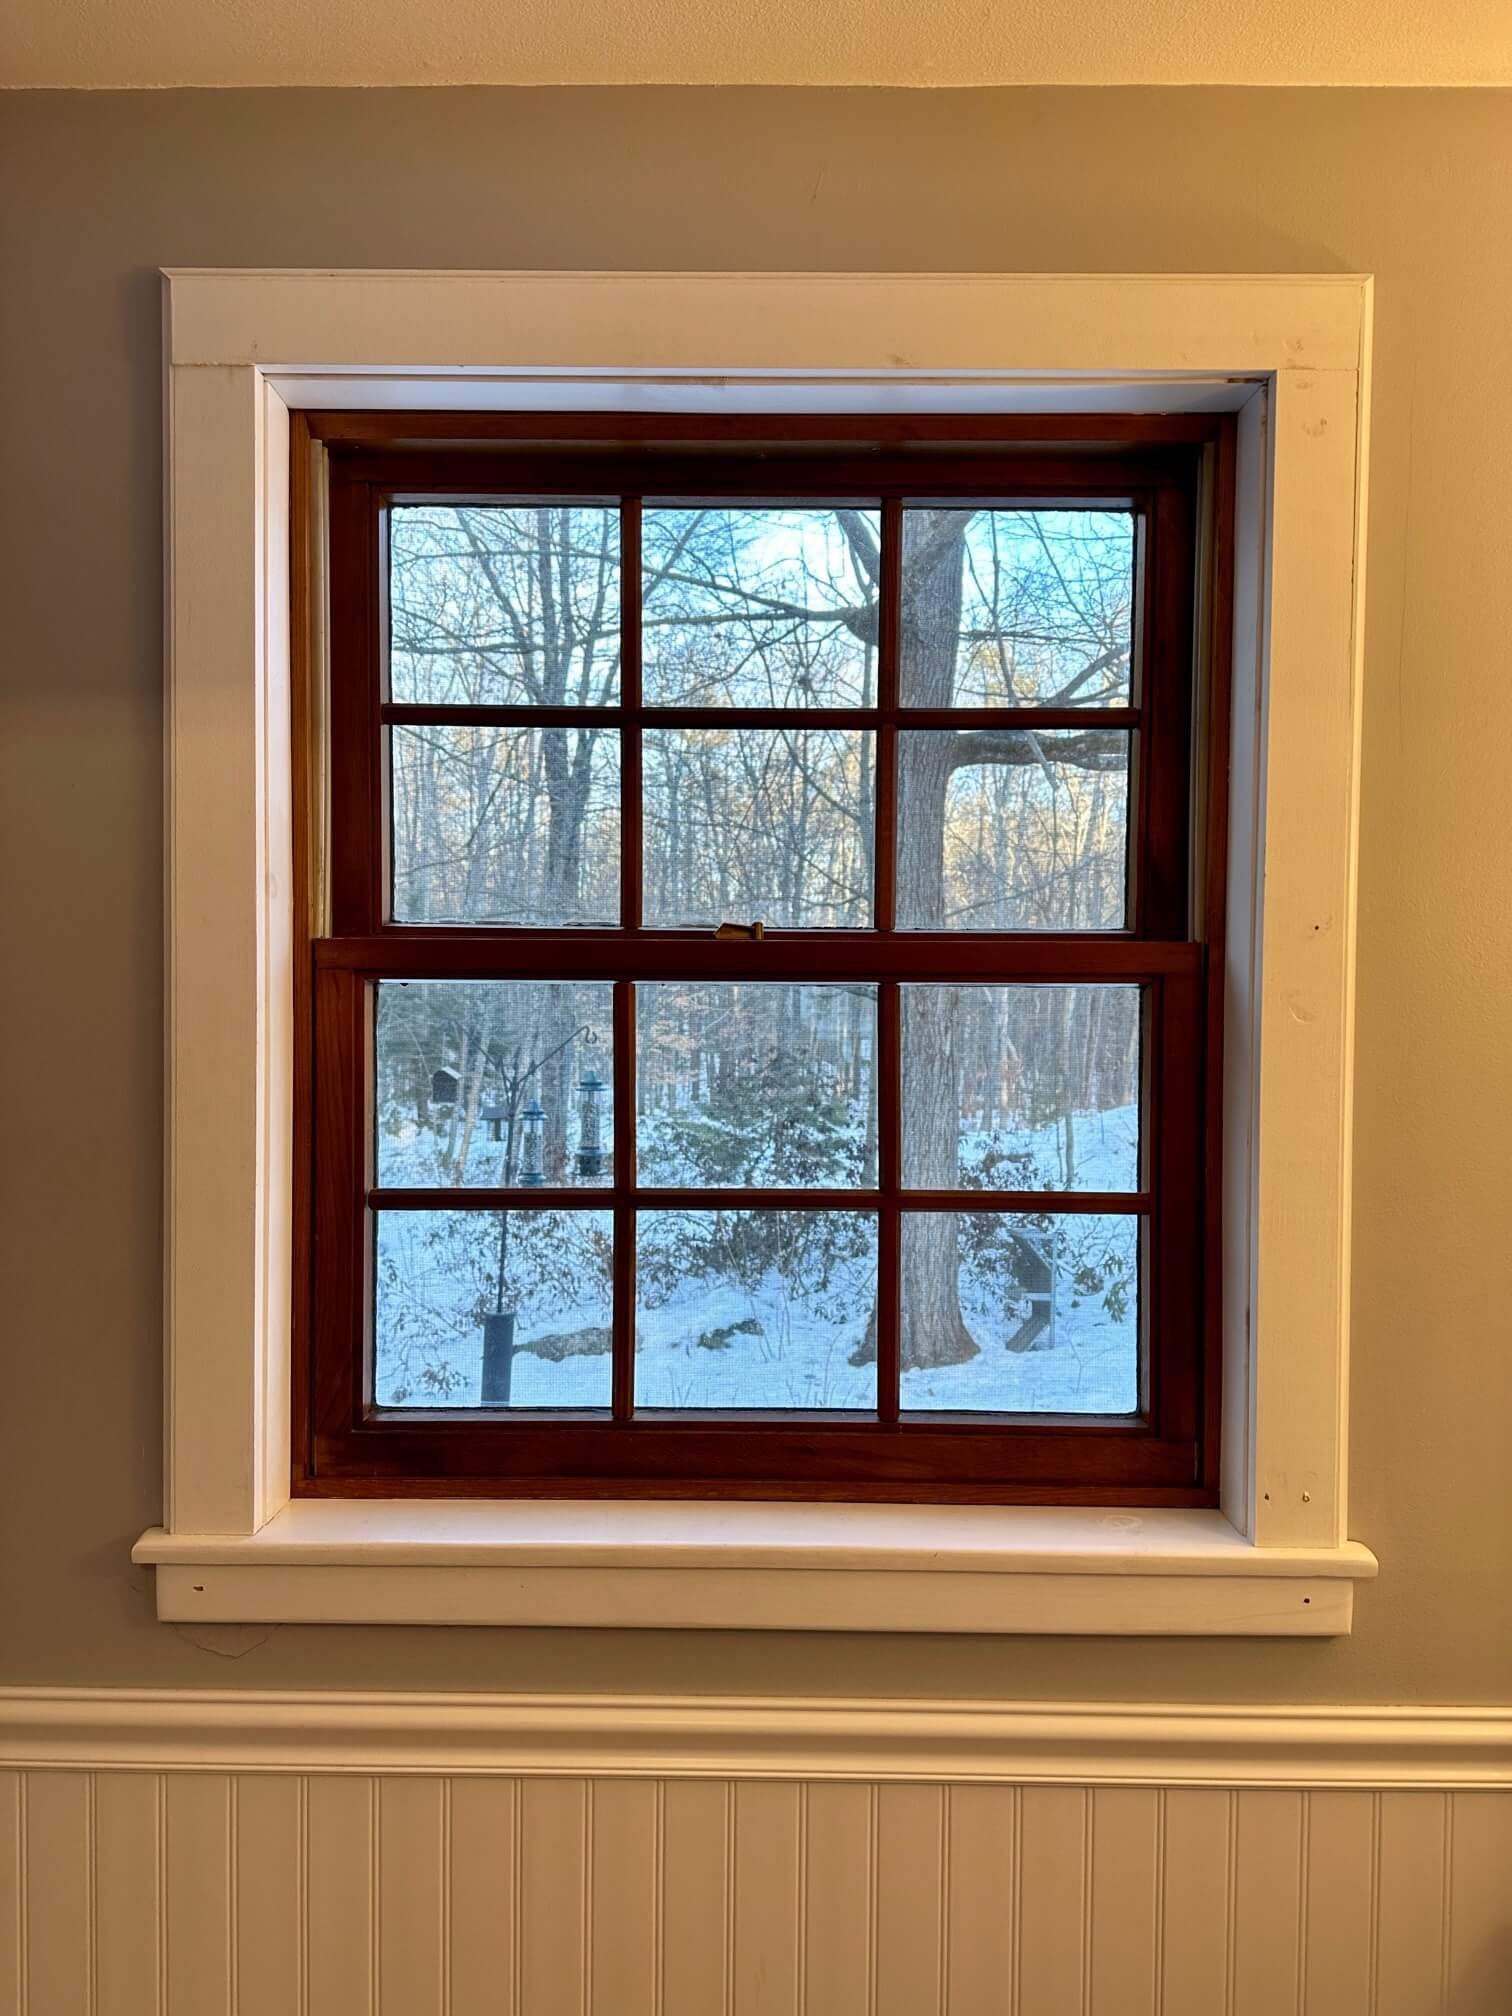
Preparing Stained Wood Trim
Preparing stained wood trim for painting is the first important step. It helps paint stick well and look smooth. Clean and smooth surfaces give the best results. Taking time here saves you from problems later.
Cleaning The Surface
Start by wiping the trim with a damp cloth. This removes dust and dirt. Use a mild soap mixed with water for sticky spots. Avoid soaking the wood. Dry the trim completely before moving on. Clean surfaces help paint stick better and last longer.
Sanding Techniques
Light sanding roughens the glossy finish of stained wood. Use fine-grit sandpaper, like 220 grit. Sand gently along the wood grain to avoid scratches. This helps the primer and paint hold tightly. Remove sanding dust with a clean cloth after sanding.
Repairing Imperfections
Check the trim for cracks, holes, or dents. Fill small holes with wood filler using a putty knife. Let it dry fully before sanding smooth. Sand the repaired spots to blend with the surface. Fixing imperfections makes the paint job look neat and even.
Choosing The Right Materials
Choosing the right materials is key to a smooth paint job on stained wood trim. It helps the paint stick well and last longer. Using the correct primer, paint, and tools makes the process easier. This section covers the best choices for each.
Selecting Primer Types
Use a primer made for stained wood. Oil-based primers block stains and tannins from bleeding through. Shellac primers are great for tough stains and odors. Water-based primers dry fast and have less smell. Pick a primer that matches your paint type for best results.
Best Paint Options
Choose a paint that works well on wood trim. Acrylic latex paint is popular because it cleans with water and resists yellowing. Satin or semi-gloss finishes are good for trim since they clean easily. Avoid flat or matte paint; they show marks and dirt more.
Essential Tools And Supplies
Gather quality brushes and rollers designed for trim. Angled brushes help reach corners and edges precisely. Use painter’s tape to protect walls and floors from paint. Sandpaper smooths the surface for better paint grip. Have rags and a paint tray ready for a neat job.
Priming Stained Wood Trim
Priming stained wood trim is a key step before painting. It helps paint stick better and blocks old stains from showing. Proper priming also protects the wood and gives a smooth finish. Skipping this step can cause peeling and uneven color.
Choose a primer made for stained wood. These primers stop the stain from bleeding through the paint. Clean the trim well and let it dry before priming. Sand the surface lightly to help the primer grip the wood.
Applying Primer Correctly
Use a good brush or small roller for even coverage. Apply primer in thin, smooth coats. Avoid thick layers that drip or run. Cover all areas, including corners and edges. Work with the wood grain to get a natural look. Let each coat dry before adding more if needed.
Drying Times And Tips
Primer needs time to dry fully. Check the label for recommended drying times. Usually, it takes one to two hours. Keep the room warm and ventilated to speed drying. Avoid touching the trim until the primer feels dry. Dry primer ensures better paint adhesion and a clean finish.

Credit: www.youtube.com
Painting Techniques For Trim
Painting wood trim that is stained requires careful technique. The right methods make the paint look smooth and neat. Good painting skills help the paint last longer and avoid peeling. Focus on brush choices, paint application, and avoiding errors. These tips make your trim look fresh and clean.
Brush Types And Uses
Use a high-quality angled brush for trim work. It helps you reach corners and edges easily. Synthetic bristles work best with latex paint. Natural bristles are better for oil-based paint. Choose a brush size that fits the trim width. Smaller brushes give more control on narrow surfaces.
Applying Smooth Coats
Start with thin paint layers to prevent drips. Load the brush lightly and spread paint evenly. Use long, steady strokes along the wood grain. Avoid over-brushing as it can cause streaks. Let each coat dry fully before adding another layer. Two or three coats usually give good coverage.
Avoiding Common Painting Mistakes
Do not paint over dust or grease on the trim. Clean the surface thoroughly before painting. Avoid rushing to dry between coats. This can cause uneven texture. Watch for paint drips and wipe them quickly. Do not overload the brush, it leads to thick, uneven paint. Proper preparation and patience improve the final result.
Finishing Touches
After painting your wood trim, the final steps make a big difference. These finishing touches ensure the paint looks smooth and lasts longer. Taking time to complete these steps helps protect your hard work. Let’s explore what to do next.
Second Coat Application
Apply a second coat once the first coat dries fully. This adds depth and a richer color to the trim. Use light, even strokes to avoid drips or thick spots. Wait at least four hours between coats to let the paint set. Two coats make the paint stronger and give better coverage.
Protecting Painted Trim
Protect the painted trim from scratches and dirt by adding a clear sealant. Choose a water-based polyurethane for a smooth finish. Apply one thin coat and let it dry completely. This layer helps keep the paint fresh and resists wear. Avoid heavy use of the trim for a day or two after sealing.
Cleaning Up
Clean your brushes and tools right after painting. Use warm, soapy water for latex paint and mineral spirits for oil-based paint. Store leftover paint properly for future touch-ups. Remove painter’s tape carefully to avoid peeling paint. Dispose of waste safely to protect the environment.
Credit: www.jrlinteriors.com
Troubleshooting Common Issues
Painting stained wood trim can be tricky. Problems may appear during or after painting. Knowing how to fix these common issues helps keep your trim looking great. This section covers simple solutions to peeling paint, uneven coverage, and stains bleeding through.
Dealing With Peeling Paint
Peeling paint happens when the surface is not clean or dry. Remove all loose paint with a scraper. Sand the area smooth to help new paint stick well. Use a primer made for wood before painting again. This stops peeling and gives a strong finish.
Fixing Uneven Coverage
Uneven paint can look messy and rough. Thin paint or poor brushing cause this problem. Apply thin, even coats of paint for a smooth look. Let each coat dry fully before the next one. Use a good brush or roller designed for trim work.
Handling Stains Bleeding Through
Stains from the wood can appear through the paint. This happens if the stain was not sealed properly. Use a stain-blocking primer to cover the wood first. This keeps the stain from showing through the paint. Apply the topcoat after the primer is dry.
Credit: www.jrlinteriors.com
Frequently Asked Questions
How Do I Prepare Stained Wood Trim For Painting?
Start by cleaning the trim with a mild detergent and water. Lightly sand the surface to remove the glossy finish. This helps the paint stick better.
What Type Of Primer Should I Use On Stained Wood?
Use a stain-blocking primer made for wood surfaces. It prevents the stain from bleeding through the paint. Apply one or two coats for best results.
Can I Paint Over Stained Wood Without Sanding?
Light sanding is important to create a rough surface for paint. Without sanding, paint may peel or not stick well. Always clean the trim after sanding.
How Many Coats Of Paint Are Needed On Wood Trim?
Usually, two coats of paint are enough for good coverage. Let the first coat dry completely before applying the second. This ensures a smooth and durable finish.
What Paint Finish Works Best For Wood Trim?
Semi-gloss or satin finishes are best for wood trim. They are easy to clean and show less dirt. Choose a finish that matches your room’s style.
Conclusion
Painting stained wood trim takes patience and proper steps. Clean the surface well and sand it lightly to help paint stick. Use a good primer designed for stained wood. Choose quality paint and apply thin, even coats. Let each coat dry fully before adding another.
Take your time, and don’t rush. The result will be smooth, fresh-looking trim that lasts. Following these tips makes the process easier and more successful. Enjoy your refreshed wood trim and the new look it brings to your space.