
If you want to give your door a fresh, smooth finish, sanding it with an electric sander is the fastest way to get the job done right. You might think sanding is a messy, difficult task, but with the right steps, you can transform your door without breaking a sweat.
In this guide, you’ll learn exactly how to use an electric sander safely and effectively, saving time and effort while achieving professional-looking results. Keep reading, and you’ll soon feel confident to tackle your door sanding project like a pro.
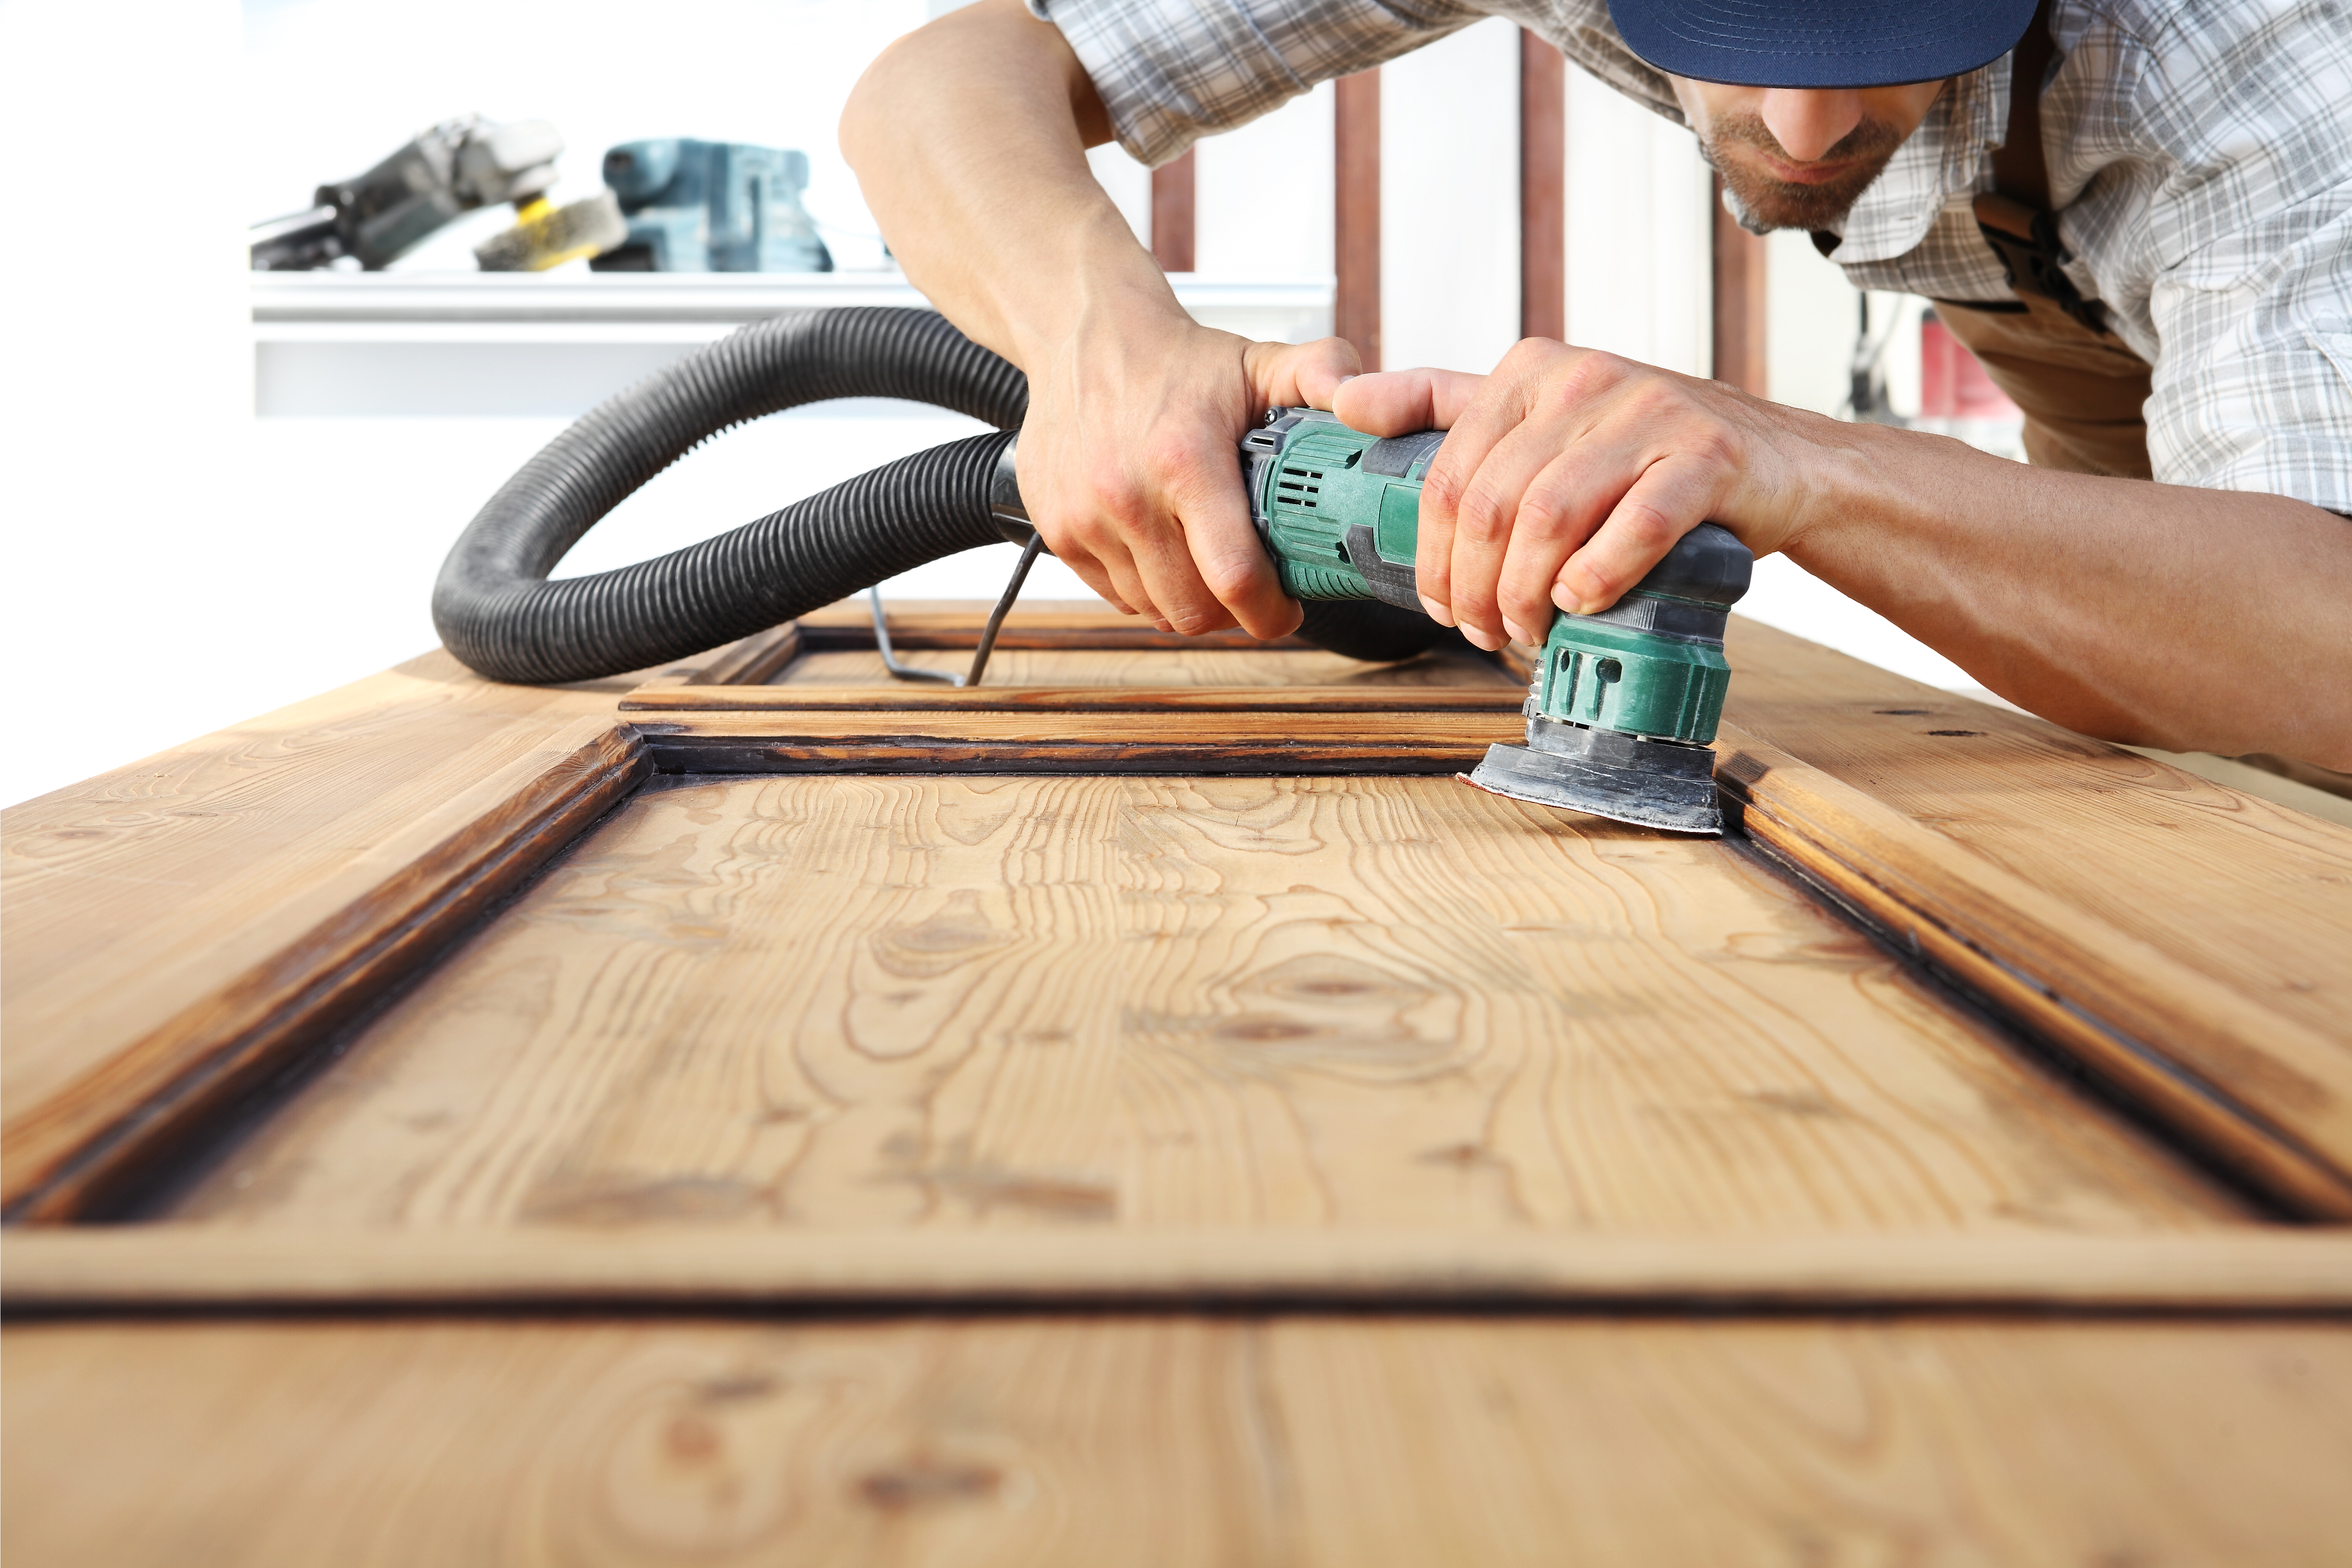
Credit: www.homebuilding.co.uk
Choosing The Right Sander
Choosing the right electric sander is key to sanding a door properly. A good sander makes the job faster and easier. It also helps create a smooth, even surface. Picking the wrong tool can cause damage or leave rough spots. Understanding the types of sanders and the right sandpaper grit helps you get the best results.
Types Of Electric Sanders
There are several kinds of electric sanders. Each works best for different tasks. Orbital sanders move in small circles. They are great for smooth finishes. Belt sanders use a continuous loop of sandpaper. They remove material quickly but can be rough. Detail sanders have small, pointed pads. These reach tight corners and edges. Palm sanders are lightweight and easy to control. Choose a sander that fits the door size and your skill level.
Selecting The Best Grit Sandpaper
Sandpaper grit affects how smooth the door becomes. Lower numbers mean coarse grit. These remove paint and rough spots fast. Higher numbers mean fine grit. They create a smooth, polished finish. Start with coarse grit to strip old layers. Then use medium grit to even the surface. Finish with fine grit for a soft touch. Changing sandpaper grit during sanding improves results and saves time.
Credit: novogrit.com
Preparing The Door
Preparing the door is an important step before sanding it with an electric sander. This process makes sure the door is safe and ready for smooth sanding. It helps you get a clean, even surface without any damage.
Removing Hardware And Fixtures
Start by taking off all hardware like knobs, locks, and hinges. Use a screwdriver to remove screws carefully. Keep all parts in a safe place to avoid losing them. Removing hardware stops the sander from hitting metal, which can cause damage. It also gives you full access to the wood surface.
Cleaning The Surface
Next, clean the door surface to remove dust, dirt, and grease. Use a damp cloth or mild soap solution for this job. Make sure the door is dry before sanding. A clean surface helps the sander work better and prevents scratches. Dirt can clog the sandpaper and make sanding uneven.
Setting Up Your Workspace
Preparing your workspace is the first step before sanding a door with an electric sander. A clean, safe, and well-organized area helps you work faster and better. It also protects your home and health from dust and debris. Setting up your workspace carefully makes the sanding process easier and more effective.
Ensuring Proper Ventilation
Good airflow helps reduce dust in the air. Open windows and doors if possible. Use a fan to push dust outside. Proper ventilation keeps the air fresh and safe to breathe. Avoid sanding in small, closed rooms. Dust can build up quickly and cause breathing problems.
Protecting Surrounding Areas
Cover floors and furniture with drop cloths or plastic sheets. Use painter’s tape to secure covers and protect edges. Remove or move fragile items away from the workspace. Dust can settle on everything and cause damage. Protecting the area saves cleanup time later and keeps your home clean.
Sanding Techniques
Sanding a door with an electric sander requires the right techniques to get smooth results. Proper sanding helps remove old paint, rough spots, and prepares the surface for finishing. Using the correct approach makes the job easier and the door look better.
Follow these sanding techniques to work efficiently and avoid damaging the wood.
Starting With Coarse Grit
Begin sanding with a coarse grit sandpaper, such as 60 or 80 grit. This grit removes old paint and smooths rough areas quickly. Move the sander gently to avoid making deep scratches. Change to finer grit once the surface feels even and free of rough spots.
Sanding With The Grain
Always sand in the direction of the wood grain. This prevents scratches that go across the wood fibers. Sanding with the grain keeps the surface smooth and natural-looking. Look closely at the wood to see the grain direction before starting.
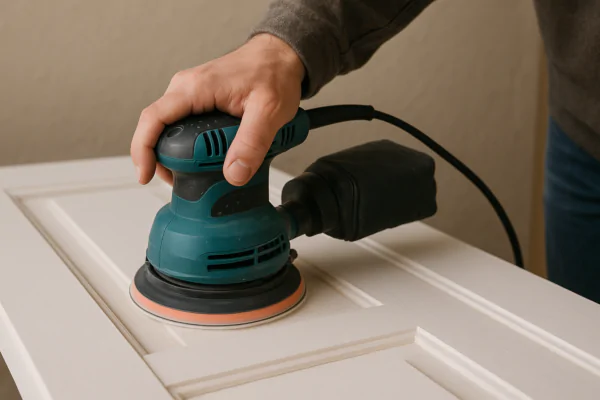
Using Smooth, Even Strokes
Use slow, steady strokes with the sander. Keep the pressure light and even. Avoid staying too long in one spot to prevent uneven sanding. Moving smoothly helps create a flat, consistent surface for painting or staining later.
Handling Edges And Corners
Sanding edges and corners of a door is a delicate task. These areas need extra care to avoid damage or uneven surfaces. Using an electric sander alone can be tricky because it is designed for flat surfaces. You need different tools and techniques to reach tight spots and maintain smooth edges.
Using Detail Sanders
Detail sanders are small and precise. They work well on edges and corners where larger sanders cannot fit. These tools have pointed or triangular pads. This shape helps you get close to edges without sanding too much off the door. Use light pressure and slow movements for the best results. Detail sanders help keep the door’s shape intact while smoothing rough spots.
Manual Sanding Tips
Manual sanding is important for fine control. Use a sanding block or folded sandpaper for better grip. Wrap the sandpaper around the edges carefully. Sand in the direction of the wood grain. This reduces scratches and keeps the surface smooth. Small, gentle strokes work best on corners. Check your progress often to avoid sanding too deep. Manual sanding finishes the job where power tools cannot reach safely.
Safety Tips
Sanding a door with an electric sander can be quick and effective. Safety is important to avoid injuries and damage. Follow these safety tips to protect yourself and work safely.
Wearing Protective Gear
Wear safety goggles to protect your eyes from dust and debris. Use a dust mask to avoid breathing in fine particles. Gloves help protect your hands from splinters and vibration. Ear protection reduces noise from the sander. Dress in long sleeves and pants to protect your skin.
Avoiding Common Hazards
Keep the work area clean and clear of obstacles. Check the sander for damage before use. Make sure the power cord is not frayed or tangled. Always hold the sander firmly with both hands. Avoid sanding near water to prevent electric shock. Turn off and unplug the sander before changing sandpaper or cleaning.
Finishing Touches
Finishing touches are key to perfecting your sanded door. They help prepare the surface for painting or staining. Taking time here ensures a smooth, clean finish. These last steps remove dust and reveal any imperfections. This allows you to fix small issues before the final coat.
Cleaning Off Dust
Start by wiping the door with a dry cloth. This removes loose dust from sanding. Use a tack cloth for better dust pickup. Avoid using water as it can damage the wood. Clean all corners and edges thoroughly. Dust left behind can ruin paint or stain.
Inspecting For Imperfections
Look closely at the door’s surface under good light. Check for rough spots, scratches, or dents. Run your hand over the surface to feel any bumps. Mark any problem areas with a pencil. Sand these spots gently with fine-grit sandpaper. Repeat cleaning to remove new dust. This step ensures a flawless finish later.
Common Mistakes To Avoid
Sanding a door with an electric sander can save time and effort. Yet, many people make mistakes that affect the final look. Avoiding these common errors leads to smoother, better results. Focus on careful sanding for a professional finish.
Over-sanding
Removing too much material weakens the door surface. It can create uneven spots and rough patches. Sand just enough to smooth the surface and remove old paint or finish. Check your progress often. Stop sanding once the surface feels even and smooth.
Ignoring Grain Direction
Sanding against the wood grain causes scratches and rough texture. Always move the sander in the same direction as the grain. This helps keep the surface smooth and clean. It also makes the finish look natural and neat. Pay close attention to the grain for the best outcome.

Credit: novogrit.com
Frequently Asked Questions
How Do I Prepare A Door Before Sanding With An Electric Sander?
Remove all door hardware like knobs and locks. Clean the door surface to remove dirt and dust. Tape edges to protect areas you don’t want to sand.
What Grit Sandpaper Should I Use For Sanding Doors?
Start with 80 or 100 grit for rough areas. Move to 120 or 150 grit for smoothing. Always finish with 220 grit for a fine surface.
How Long Does It Take To Sand A Door With An Electric Sander?
Sanding a door usually takes 15 to 30 minutes. Time depends on door condition and sanding skill. Patience ensures a smooth, even finish.
Can I Sand A Painted Door With An Electric Sander?
Yes, you can sand a painted door carefully. Use medium grit sandpaper to remove old paint. Avoid pressing too hard to prevent damage.
What Safety Tips Should I Follow While Sanding A Door?
Wear a dust mask and safety goggles. Work in a well-ventilated area to avoid dust buildup. Keep the sander moving to prevent gouges.
Conclusion
Sanding a door with an electric sander makes the job faster and easier. Take your time to move the sander evenly across the surface. Use the right grit sandpaper for the best results. Always wear safety gear to protect your eyes and lungs.
Clean the door well before painting or staining. A smooth door looks better and lasts longer. Practice a little, and you will improve quickly. Keep these simple steps in mind for a great finish every time.