
Are you ready to give your barn door a professional, custom look? Cutting a groove in the bottom of your barn door can make all the difference in how smoothly it slides and how well it fits.
But if you’ve never done it before, the idea might seem tricky or even risky. Don’t worry—this guide will walk you through every step, using simple tools and easy instructions. By the end, you’ll have the skills to create a perfect groove that makes your door both functional and stylish.
Keep reading to discover how you can transform your barn door with one simple cut.
Tools And Materials Needed
Cutting a groove in the bottom of a barn door needs the right tools and materials. These help you work safely and get a clean groove. Preparing everything before you start makes the job easier and faster.
Essential Tools
- Router with a straight bit – for precise groove cutting
- Measuring tape – to mark exact groove placement
- Clamps – to hold the door steady during cutting
- Pencil – for marking groove lines clearly
- Safety glasses – to protect your eyes
- Dust mask – to avoid inhaling wood dust
- Work gloves – to protect your hands
- Square – to ensure straight, even marks
Recommended Materials
- Wood filler – to smooth any rough edges after cutting
- Sandpaper (medium and fine grit) – to clean and finish the groove
- Painter’s tape – to mark cutting lines without damaging the wood
- Wood stain or paint – to match the groove to your door’s color
- Drop cloth – to keep your workspace clean
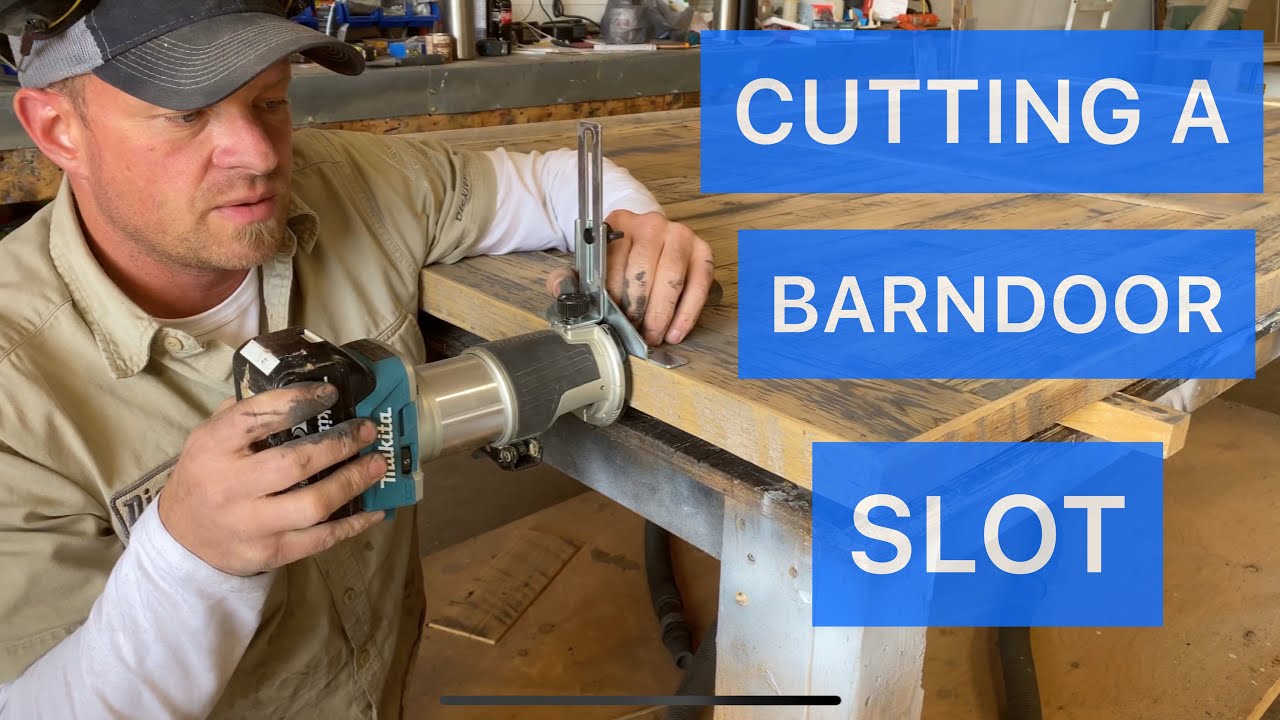
Credit: www.youtube.com
Choosing The Right Groove Size
Choosing the right groove size is key to a smooth sliding barn door. The groove must fit perfectly. Too small, and the door won’t slide well. Too big, and the door may wobble or get stuck. This section helps you pick the right size by focusing on two main points: measuring door thickness and selecting groove width and depth.
Measuring Door Thickness
Start by measuring the thickness of the barn door. Use a tape measure or ruler for accuracy. Measure at several points to check for any variation. Write down the thickest point found. This ensures the groove is deep enough across the door. Avoid guessing the thickness. Accurate measurements help avoid mistakes.
Selecting Groove Width And Depth
The groove width should match the door bottom rail or hardware. Check the size of the track or guide that fits in the groove. The groove must be slightly wider than this part to allow easy sliding. For depth, cut deep enough to hold the hardware securely but not too deep to weaken the door. A good rule is to cut about half the door thickness. Test the groove size with a scrap piece before cutting the actual door.
Preparing The Barn Door
Preparing the barn door is an important step before cutting a groove in its bottom. This preparation helps ensure the groove fits perfectly and the door slides smoothly. Taking time here prevents mistakes and saves effort later.
Start by understanding the exact position and size of the groove needed. Measure carefully to match the door track or floor guide. Good preparation means a clean, professional finish.
Marking The Groove Line
Use a pencil and a ruler to draw the groove line on the door’s bottom edge. Measure twice to avoid errors. The line should be straight and clear. Mark the depth and width of the groove. This mark guides your cutting tool and keeps the groove even along the door.
Securing The Door For Cutting
Place the door on a stable workbench or sawhorses. Secure it with clamps to prevent movement. A steady door allows precise cutting. Make sure the area is well-lit. Check that the clamps do not block your cutting path. Safety and stability improve cutting accuracy and protect you from accidents.
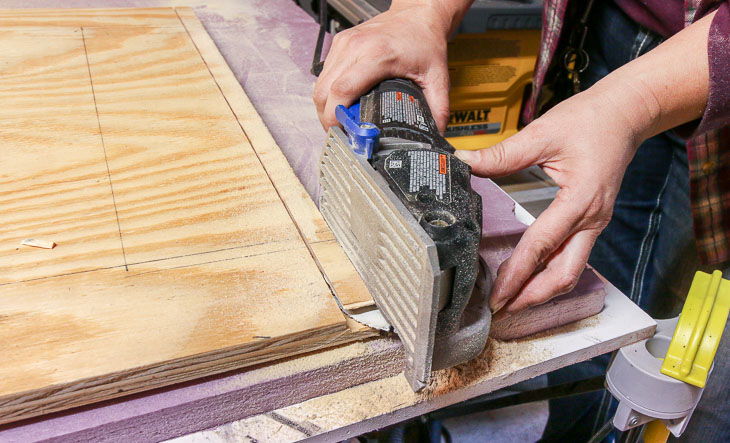
Credit: prettyhandygirl.com
Cutting The Groove Safely
Cutting a groove in the bottom of a barn door helps it slide smoothly on the track. Doing this task safely is important to avoid injuries. Using the right tools and following safety steps can make the job easier and safe.
Using A Router
A router is a common tool for cutting grooves in wood. Set the router bit to the groove’s desired depth. Clamp the door securely to keep it steady. Guide the router slowly along the marked line. Move the router in the direction against the bit’s rotation. This control helps avoid slips or mistakes.
Using A Circular Saw
A circular saw can cut grooves but needs more care. Adjust the blade depth to match the groove depth. Use a straight edge as a guide to keep the cut straight. Make several passes, removing a little wood each time. Wear safety gear like goggles and gloves during the process.
Safety Tips
Always wear safety glasses to protect your eyes from wood chips. Use ear protection if the tools are loud. Keep your hands away from the blade or bit. Work in a clean area with no clutter to avoid tripping. Unplug tools when changing bits or blades. Take breaks to stay alert and focused during the work.
Smoothing And Finishing The Groove
Smoothing and finishing the groove is an important step in making a barn door fit perfectly. A clean, smooth groove helps the door slide easily. It also makes the door look neat and professional. Take time to finish the groove well. This ensures long-lasting use and better performance.
Removing Rough Edges
Use sandpaper or a file to remove rough edges inside the groove. Rough edges can cause the door to stick or catch. Sand gently and evenly along the groove walls and bottom. Check the groove often to avoid sanding too much. Smooth edges prevent damage to the door track and hardware.
Testing The Groove Fit
Test the groove by placing the door on its track. The door should slide smoothly without wobbling or sticking. If the groove is too tight, sand it slightly to widen the space. If it’s too loose, add a thin wood strip inside to tighten it. Keep testing until the fit feels just right for smooth movement.
Installing The Barn Door Track
Installing the barn door track is a key step in your barn door project. It holds the door securely and lets it slide smoothly. Proper installation ensures the groove you cut fits perfectly with the track. Take your time and follow these steps carefully.
Aligning The Groove With The Track
Start by placing the track on the wall where you want to install it. Use a level to make sure it is straight. The groove at the bottom of the door must line up with the track guide or floor channel. Check the height so the door hangs evenly and slides without hitting the floor.
Mark the drill holes on the wall through the track’s mounting brackets. Remove the track and drill pilot holes. Secure the track with strong screws. Double-check that the track stays level and the groove matches the guide. Adjust if needed before tightening all screws fully.
Final Adjustments
Hang the door on the track carefully. Slide it back and forth to test its movement. Watch the groove and track interaction. The door should glide smoothly without sticking or wobbling.
Adjust the rollers or hangers if the door tilts or rubs the floor. Tighten any loose screws on the track or door hardware. Confirm the groove stays aligned during door movement. Make small changes until the door operates quietly and steadily.

Credit: forums.pelicanparts.com
Frequently Asked Questions
How Deep Should The Groove Be On A Barn Door Bottom?
The groove depth depends on the door thickness and track size. Typically, it is about half the thickness of the door. This ensures a secure fit for the sliding mechanism.
What Tools Are Needed To Cut A Groove In Barn Door?
You need a router, straight bit, measuring tape, and clamps. A router guide helps make a straight, even groove. Safety glasses and ear protection are also important.
Can I Cut The Groove Without A Router?
Cutting a groove without a router is difficult and less precise. A table saw can work but is harder to control. Using a router is the best choice for clean grooves.
How To Measure The Groove Placement On The Barn Door?
Measure the track or hardware width first. Mark the groove location along the bottom edge of the door. Double-check measurements before cutting to avoid mistakes.
What Wood Types Work Best For Barn Door Grooves?
Hardwoods like oak or maple hold grooves well and resist wear. Softwoods like pine can work but may chip or splinter. Choose wood that matches your door style and strength needs.
Conclusion
Cutting a groove in the bottom of a barn door is simple with the right tools. Measure carefully and mark the line clearly before you start. Use a router or saw to create a clean groove. Take your time to avoid mistakes and ensure a smooth finish.
This groove helps the door slide better and keeps it stable. Practice on scrap wood first if you can. With patience, your barn door will work perfectly and look great. Enjoy your project and the new skills you gain.