
Are you tired of your vinyl records piling up in messy stacks or cramped boxes? Imagine having a stylish shelf that not only keeps your collection safe but also showcases it like a true centerpiece.
Building a shelf for your vinyl records is easier than you think, and it gives you the perfect way to organize and display your favorite albums. In this guide, you’ll discover simple steps and smart tips to create a shelf tailored just for your vinyl collection.
Ready to turn your records into a stunning display? Let’s get started!

Credit: www.reddit.com
Choosing The Right Materials
Choosing the right materials is key to building a sturdy shelf for your vinyl records. The right materials will support the weight and keep your collection safe. Quality materials also make your shelf look good and last longer.
Consider the strength, appearance, and cost of materials. This section will guide you through important choices to make before starting your project.
Wood Types For Durability
Hardwoods like oak and maple offer strong support. They resist warping and hold heavy vinyl records well. Softwoods like pine are cheaper and easier to work with but may dent or bend over time.
Plywood is a good choice for shelves. It is stable and less likely to warp. Choose furniture-grade plywood for a smooth finish.
Essential Tools And Supplies
Basic tools include a saw, drill, screwdriver, and measuring tape. Sandpaper smooths rough edges. Wood glue and screws provide strong joints.
Use brackets or shelf supports to add extra strength. Paint or wood stain protects the surface and improves appearance.
Selecting Shelf Dimensions
Measure your vinyl records before deciding shelf size. Standard records need at least 12 inches in height and width.
Depth should allow room for record covers, usually around 13 inches. Make shelves tall enough to hold the stack without tipping.
Leave space between shelves for easy access. Custom dimensions fit your space and collection perfectly.
Designing Your Vinyl Record Shelf
Designing your vinyl record shelf is an important step before building. It helps you create a shelf that fits your collection and style. Good design makes the shelf both useful and attractive.
Consider how many records you own now and how many you plan to get. Think about the space where you will put the shelf. A well-planned design saves time and materials.
Planning Shelf Capacity
Count the number of vinyl records you have. Most records are about 12 inches wide and 1/8 inch thick. Leave extra space for future additions. Make sure the shelf can hold the weight of your records. Use strong materials for support. Plan enough depth and height for easy access to each record.
Incorporating Adjustable Features
Adjustable shelves allow you to change space as your collection grows. Use shelf pins or brackets that can move up and down. This flexibility helps store records and other items. Adjustable shelves also make cleaning easier. Think about adding dividers to keep records upright and organized.
Considering Aesthetic Styles
Choose a style that matches your room and taste. A simple wooden shelf offers a classic look. Painted shelves add color and personality. Modern designs use metal or glass for a sleek feel. Think about the finish and color that suits your space. A well-designed shelf can become a room highlight.
Preparing And Cutting Wood
Preparing and cutting wood is the first step in building a sturdy shelf for your vinyl records. Accurate preparation helps ensure the shelf fits your space perfectly. Careful cutting prevents mistakes that waste wood or cause uneven edges.
Take your time with each step. The right tools and techniques make the process easier and safer. Good preparation leads to a better final product that holds your records well.
Measuring And Marking
Measure twice, cut once. Use a tape measure to get exact wood dimensions. Mark cutting lines clearly with a pencil or chalk. Use a square ruler to keep lines straight and angles perfect. Double-check all measurements before cutting.
Safe Cutting Techniques
Wear safety glasses and gloves to protect yourself. Use a sharp saw for clean cuts and less effort. Cut on a stable surface, like a workbench. Hold the wood firmly but avoid placing fingers near the blade. Move the saw slowly and steadily along marked lines.
Sanding For Smooth Surfaces
Sand edges and surfaces after cutting to remove splinters. Use medium-grit sandpaper first, then fine-grit for a smooth finish. Sand in the direction of the wood grain to avoid scratches. Clean dust off with a cloth before assembling the shelf.
Assembling The Shelf Frame
Assembling the shelf frame is the next key step in building your vinyl record shelf. This part shapes the structure and holds everything together. A strong frame keeps your records safe and upright.
Focus on solid connections and a steady build. The frame must support the weight of many records without wobbling or bending. Follow clear steps to join pieces and add support.
Joining Techniques And Fasteners
Start by choosing simple joining methods like butt joints or lap joints. These are easy to make and hold well. Use wood glue on all joints to increase strength.
Secure the joints with screws or nails. Screws offer better grip and can be tightened if needed. Pre-drill holes to avoid splitting the wood.
Use clamps to hold parts together while the glue dries. This keeps joints tight and stable. Always check that corners are square before fastening.
Ensuring Stability And Support
Check the frame for any wobble or uneven edges. A level frame means your shelf will sit flat on the floor. Use a carpenter’s square to verify right angles.
Place the frame on a flat surface and gently press to test stability. If it moves, adjust the joints or add shims. Stability prevents damage to your records.
Make sure the frame size matches your vinyl record dimensions. The shelves should fit records snugly without forcing them in or out.
Adding Reinforcements
Add extra supports where the shelf will hold the most weight. Corner braces or small blocks work well to strengthen joints. Attach these with screws and glue for a tight bond.
Consider adding a center support beam under longer shelves. This prevents sagging over time. Use a sturdy piece of wood that fits well between the frame sides.
Check all reinforcements carefully before moving on. A strong frame protects your vinyl and keeps your shelf lasting for years.
Installing The Shelves
Installing the shelves is an important step in building your vinyl record shelf. Proper installation keeps the shelves strong and ready for heavy records. This part focuses on spacing, securing, and making sure shelves are level and straight.
Spacing For Vinyl Record Storage
Space each shelf to fit vinyl records comfortably. A height of about 13 inches works well for most records. Leave a little extra room to easily slide records in and out. Avoid tight spaces that may damage the edges of the records.
Securing Shelves To Frame
Use strong screws or brackets to attach shelves to the frame. Make sure each shelf is tightly fastened to hold the weight of many records. Double check that the screws go into solid wood or studs for better support.
Leveling And Alignment Tips
Check each shelf with a level before fixing it fully. Shelves must be perfectly horizontal to keep records from leaning or falling. Align all shelves evenly for a neat, professional look. Adjust screws or brackets if needed to correct any tilt.

Credit: johnvantine.com
Finishing Touches
Finishing touches bring your vinyl record shelf to life. They protect the wood and make it look great. These steps help your shelf last longer and fit your style perfectly. Let’s explore how to finish your shelf with paint, protective coatings, and decorative elements.
Applying Paint Or Stain
Paint or stain changes the shelf’s color and shows off the wood grain. Use a paintbrush or cloth to apply thin, even coats. Let each coat dry fully before adding another. Choose paint for a solid color or stain to keep a natural wood look. Sand lightly between coats for a smooth finish.
Protective Coatings
Protective coatings guard the shelf from scratches and moisture. Clear polyurethane or varnish works well. Apply with a clean brush in thin layers. Allow each layer to dry before adding the next. This step helps keep your shelf strong and looking fresh over time.
Adding Decorative Elements
Decorative elements add personality to your shelf. Consider small knobs, metal brackets, or decals. These details make the shelf unique and match your room’s style. Use simple designs that do not overpower the records. Keep decorations neat and balanced for the best look.
Maintaining Your Vinyl Record Shelf
Maintaining your vinyl record shelf keeps it strong and looking good for years. Regular care stops damage and helps your collection stay organized. It also makes sure your records stay safe and easy to find. Simple habits keep the shelf in top shape and ready for new albums.
Small efforts prevent big problems. A little cleaning and checking keep the shelf steady. Adjustments help as your record collection grows. This care saves time and money in the long run.
Cleaning And Dusting Tips
Dust can damage both your records and shelf. Use a soft cloth or microfiber duster to clean shelves weekly. Avoid wet cloths that can warp wood or damage finishes. Clean gently to protect the shelf surface. Keep the area around the shelf free of dust and dirt.
Checking For Wear And Tear
Look for cracks, loose screws, or bent parts often. Tighten screws and nails to keep the shelf stable. Replace or fix damaged parts quickly to avoid bigger issues. Check shelf joints and supports for strength. Early repairs help avoid accidents or record damage.
Adjusting For Expanding Collections
As your record collection grows, space might get tight. Add extra shelves or move dividers to fit more records. Use flexible designs that allow easy changes. Keep records upright to prevent warping. Plan shelf space to match your collection’s size over time.
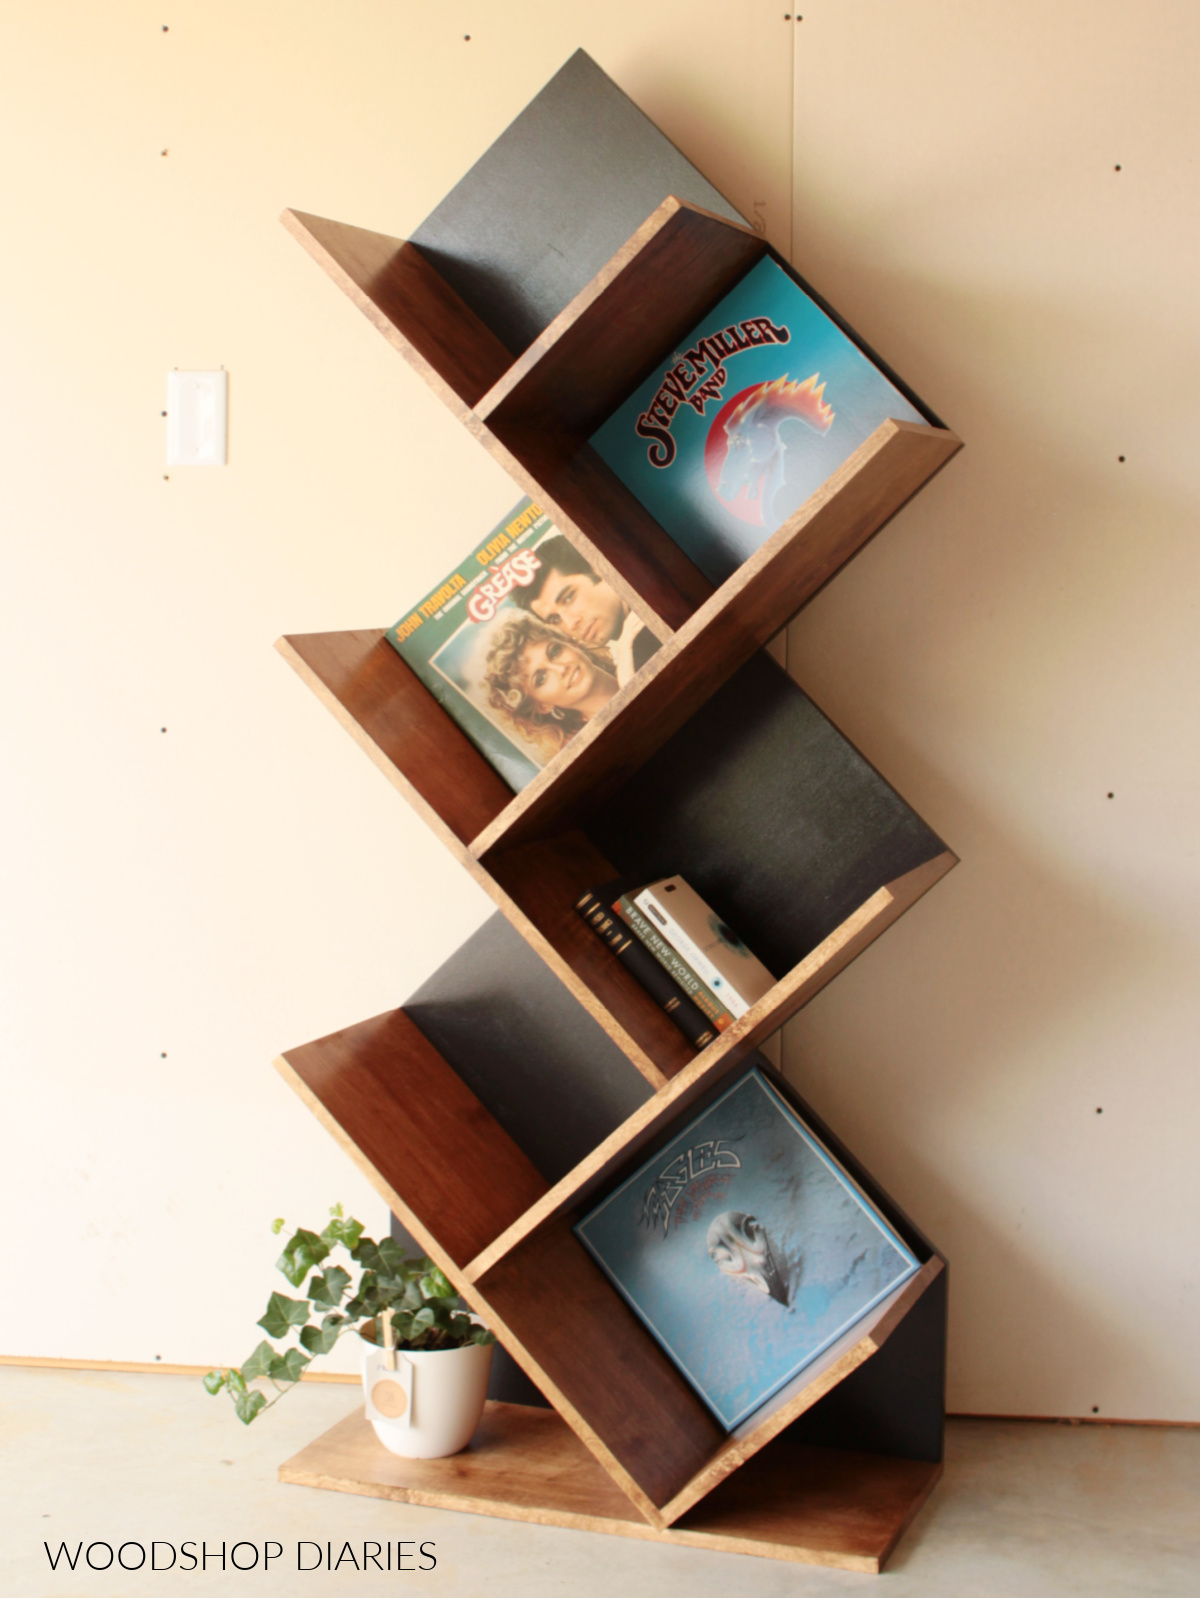
Credit: www.woodshopdiaries.com
Frequently Asked Questions
How Much Wood Do I Need To Build A Vinyl Record Shelf?
You need enough wood to match the shelf size and the number of records. Measure the space and count your records for the right amount. Usually, plywood or solid wood boards work well.
What Tools Are Essential For Making A Vinyl Record Shelf?
Basic tools include a saw, drill, screwdriver, measuring tape, and sandpaper. These help you cut, assemble, and finish the shelf properly. Having clamps can also make assembly easier.
How Deep Should A Vinyl Record Shelf Be?
A depth of about 12 to 14 inches is ideal to fit records comfortably. This allows enough space for records without sticking out or being too tight. It also helps keep them upright and safe.
Can I Build A Vinyl Record Shelf Without Screws?
Yes, using wood glue and strong joints can work for lightweight shelves. But screws add more strength and durability, especially for heavy records. Combining both methods is best for safety.
How Do I Protect My Vinyl Records On A Homemade Shelf?
Keep the shelf smooth and dust-free to avoid scratches on records. Use a soft finish like paint or varnish to protect the wood. Also, store records upright to prevent warping.
Conclusion
Building a shelf for vinyl records is simple and rewarding. Choose sturdy materials to hold your collection safely. Measure carefully to fit your space perfectly. Assemble the parts step by step with basic tools. A well-made shelf keeps records organized and easy to access.
Enjoy your music and show off your collection with pride. Keep practicing, and each shelf will be better than the last. Start your project today and create a special place for your vinyl treasures.