
Are you ready to transform your plain concrete stairs into a warm, inviting space with beautiful wood stair treads? Attaching wood to concrete might seem tricky, but with the right steps, you can do it yourself and save money.
This guide will walk you through the process in simple, clear terms. By the end, you’ll have the confidence to upgrade your stairs and add lasting charm to your home. Keep reading to discover exactly how to attach wood stair treads to concrete the right way.
Tools And Materials Needed
Attaching wood stair treads to concrete requires the right tools and materials. This ensures a strong and lasting bond. Using proper equipment makes the job easier and safer. Below are the essential tools and recommended materials for this project.
Essential Tools
- Hammer drill – to make holes in concrete
- Masonry drill bit – designed for concrete drilling
- Measuring tape – for accurate measurements
- Level – to keep treads even
- Chalk line – to mark placement
- Screwdriver or impact driver – for driving screws
- Vacuum or brush – to clean dust from holes
- Safety glasses and gloves – for protection
Recommended Materials
- Wood stair treads – cut to fit your stairs
- Concrete anchors or wedge anchors – to secure treads
- Construction adhesive – for extra hold
- Exterior wood screws – rust-resistant for outdoor use
- Wood filler – to cover screw heads
- Sealant or wood finish – to protect wood
Credit: www.weekand.com
Preparing The Concrete Surface
Preparing the concrete surface is the first step in attaching wood stair treads. This step ensures strong bonding and a smooth finish. Proper preparation helps avoid future problems like loose treads or uneven steps.
Cleaning The Concrete
Start by removing all dirt, dust, and grease from the concrete. Use a broom or vacuum to clear loose debris. Then scrub the surface with a stiff brush and warm water mixed with mild detergent. Rinse well and let the concrete dry completely before moving forward. A clean surface helps the adhesive stick better.
Checking For Level And Damage
Check the concrete for flatness using a level tool. Uneven spots can cause the wood treads to wobble. Fill any low areas with a concrete patch or leveling compound. Look for cracks or chips that could weaken the surface. Repair these flaws and let the repairs dry fully. A smooth, solid base supports the wood treads firmly.
Measuring And Cutting Wood Treads
Measuring and cutting wood treads for concrete stairs is a crucial step in the installation process. Accurate measurements ensure the treads fit perfectly and provide a safe walking surface. Careful cutting helps maintain the wood’s integrity and appearance. Follow these simple steps for best results.
Measuring Stair Dimensions
Start by measuring the width of each concrete stair. Use a tape measure for accuracy. Note the depth of the tread from front to back. Measure each step separately, as sizes can vary slightly. Write down all measurements clearly. Double-check to avoid mistakes before cutting.
Cutting Wood To Size
Choose quality wood suitable for stairs. Mark the wood according to your measurements. Use a pencil and straight edge for clear lines. Cut with a saw, following the lines carefully. Sand the edges to smooth any rough spots. Check the fit by placing the tread on the stair. Adjust if needed for a perfect fit.

Credit: tanzite.com
Choosing The Right Fasteners
Choosing the right fasteners is key for attaching wood stair treads to concrete. The right fasteners keep the treads secure and safe. They also stop damage to the wood and concrete. Using wrong fasteners can cause slipping or wobbling. This section explains the types of anchors, screws, and adhesives best for this job.
Types Of Anchors For Concrete
Concrete anchors hold the stair treads firmly in place. Expansion anchors spread inside the hole for a tight grip. Sleeve anchors work well for medium loads and easy installation. Wedge anchors provide strong holding power for heavy stair treads. Choose anchors that match the weight and use of your stairs.
Drill the right size hole for the anchor. Clean the hole before inserting the anchor. This ensures the anchor fits tightly and holds well.
Selecting Screws And Adhesives
Use screws made for concrete or masonry. These screws resist rust and corrosion. Stainless steel or coated screws last longer outdoors. Avoid regular wood screws as they can break or rust.
Adhesives add extra strength to the attachment. Construction adhesive bonds wood to concrete tightly. Apply adhesive before placing the tread. Hold the tread in place until the adhesive cures.
Combine screws and adhesive for the best results. This method prevents movement and improves safety.
Drilling And Installing Anchors
Drilling and installing anchors is a key step in attaching wood stair treads to concrete. It creates a strong hold that keeps the stair treads safe and steady. This process needs care and the right tools. Follow these steps to do it right and make your stairs durable.
Marking Drill Points
Start by placing the wood stair tread on the concrete. Use a pencil to mark where the screws will go. Make sure the marks line up with the tread holes. Double-check the spacing so the tread sits evenly on the concrete surface.
Drilling Into Concrete
Use a hammer drill with a masonry bit for drilling. Drill exactly where you marked the points. Keep the drill straight to avoid angled holes. Drill to the depth needed for the anchors. Clean out dust from the holes using a brush or air blower.
Inserting Anchors
Choose anchors made for concrete, like sleeve or wedge anchors. Insert each anchor into the hole until it is flush with the surface. Tap gently with a hammer if needed. Make sure anchors fit tightly. They must hold firm to support the wood stair tread securely.

Credit: www.youtube.com
Attaching Wood Treads To Concrete
Attaching wood stair treads to concrete requires careful steps. The goal is to ensure the treads stay secure and safe. Proper attachment prevents movement and damage over time. Use the right tools and materials for the best results.
Start by preparing the concrete surface. Clean it well to remove dust and debris. This helps the adhesive and screws hold better. Measure and mark the exact position for each tread before fixing.
Positioning The Tread
Place the wood tread carefully on the concrete step. Check that it fits properly and is aligned straight. Use a level to make sure it is even. Mark the edges with a pencil to guide the attachment.
Securing With Screws
Drill holes through the wood tread into the concrete below. Use a hammer drill with a masonry bit for this task. Insert concrete anchors into the holes for strong support. Screw the wood tread firmly to the concrete using these anchors.
Do not overtighten screws to avoid cracking the wood. Check that the tread does not move after securing.
Using Construction Adhesive
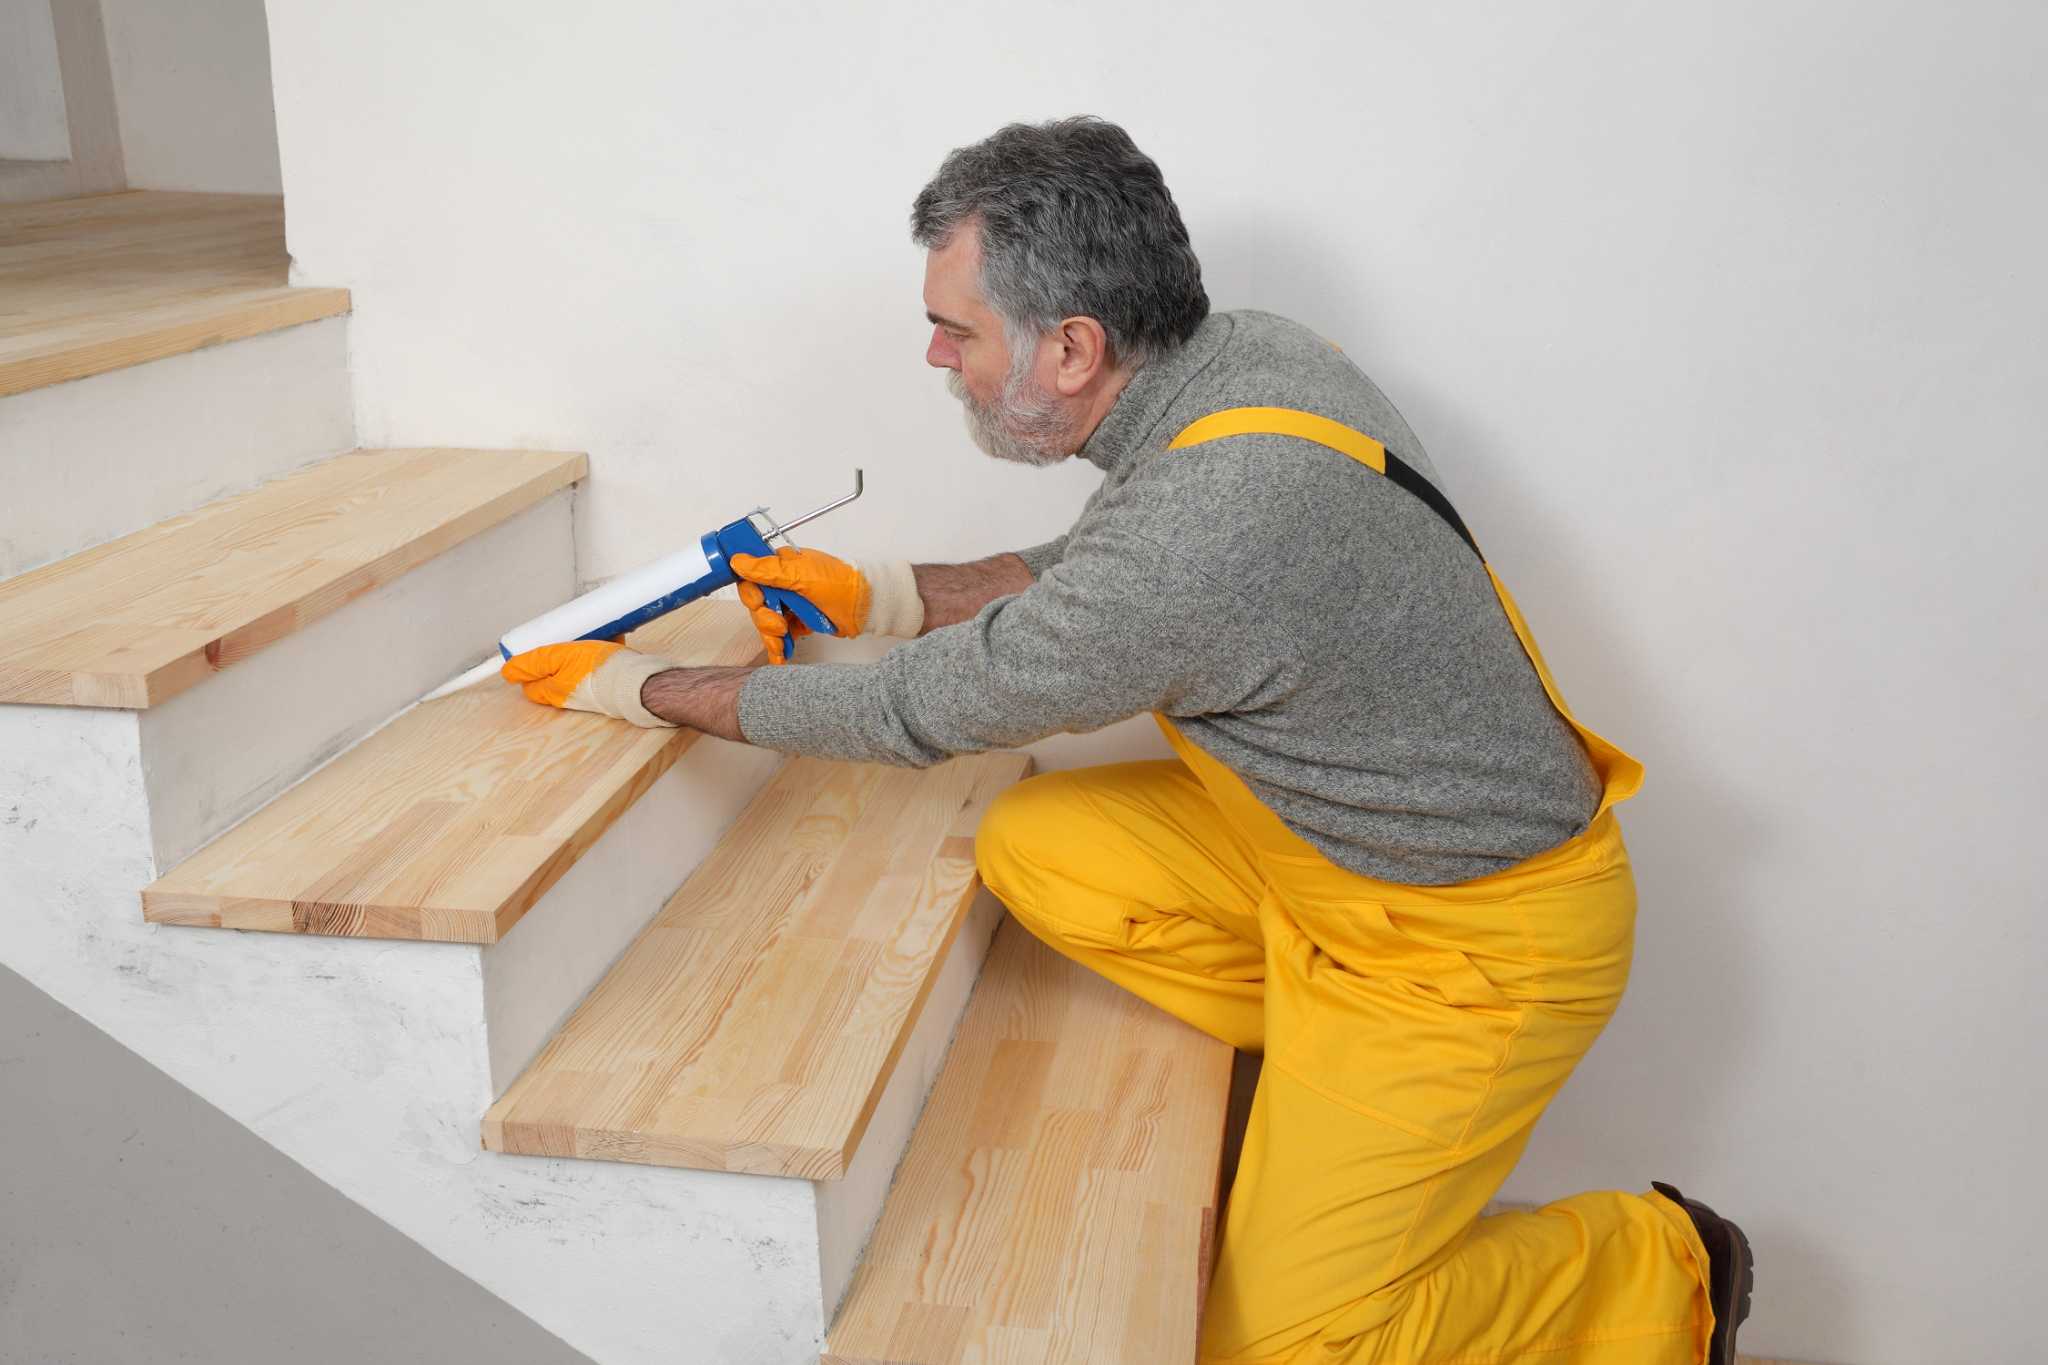
Apply a strong construction adhesive on the bottom of the wood tread. Use a caulking gun for even coverage. Press the tread firmly onto the concrete step. Hold it in place for a few minutes to set.
Adhesive adds extra strength alongside screws. Allow the adhesive to cure fully before use. This usually takes 24 hours.
Finishing Touches
Finishing touches are crucial for a polished look on your wood stair treads. These steps protect the wood and improve safety. Proper finishing also makes the stairs last longer. Focus on filling gaps and holes first. Then, sand and seal the wood carefully. Both tasks will enhance the beauty and durability of your stairs.
Filling Gaps And Holes
Check for any gaps or holes between the wood and concrete. Use wood filler or caulk to fill these spaces. Press the filler firmly into the gaps for a tight seal. Smooth the surface with a putty knife for an even finish. This step stops dirt and moisture from getting under the treads. Let the filler dry completely before moving on.
Sanding And Sealing Wood
Sand the wood with fine-grit sandpaper to smooth rough edges. Sand along the grain to avoid scratches. Wipe away dust with a damp cloth before sealing. Apply a wood sealer or polyurethane to protect the surface. Use a brush or cloth for an even coat. Allow the sealer to dry fully before walking on the stairs. This process guards against wear and water damage.
Safety Tips And Maintenance
Attaching wood stair treads to concrete requires more than just the right tools. Safety and upkeep play a vital role. Proper care keeps the stairs strong and prevents accidents.
Ensuring Secure Attachment
Use the correct anchors and screws made for concrete. Check that each screw is tight and flush with the wood. Loose screws can cause wobbling and create hazards. Apply wood glue for extra hold. Avoid over-tightening, which may crack the concrete or damage the wood.
Regular Inspection And Care
Inspect the stair treads often for cracks, loose parts, or wear. Clean the stairs to remove dirt and debris. Use mild soap and water to avoid damaging the wood. Repair any damage quickly to stop it from getting worse. Reapply sealant every year to protect wood from moisture and wear.
Frequently Asked Questions
How Do You Prepare Concrete For Wood Stair Treads?
Clean the concrete surface well to remove dust and dirt. Use a wire brush for roughening the surface. This helps the adhesive stick better.
What Type Of Adhesive Works Best For Wood On Concrete?
Use a strong construction adhesive made for wood and concrete. Polyurethane-based adhesives are very effective. They create a firm, lasting bond.
How Do You Secure Wood Stair Treads To Concrete?
Apply adhesive on the concrete or tread base. Press the tread firmly into place. Use concrete screws for extra support if needed.
Can I Install Wood Stair Treads Without Drilling Into Concrete?
Yes, strong construction adhesive alone can hold the treads. But drilling provides a more secure and long-lasting hold. It depends on your project needs.
How Long Should The Adhesive Dry Before Using The Stairs?
Let the adhesive cure for at least 24 hours. Avoid walking on the stairs during this time. This ensures the treads stay firmly attached.
Conclusion
Attaching wood stair treads to concrete takes patience and care. Use the right tools and follow each step closely. Secure treads firmly to avoid movement and ensure safety. Check your work often to keep everything level and tight. This process helps create strong, lasting stairs you can trust.
With attention and effort, you can achieve great results. Keep your workspace clean and take your time. Enjoy the satisfaction of a job well done.