
Are you staring at your LiftMaster garage door opener, puzzled by those blinking lights? Those blinking codes aren’t random—they’re your opener’s way of telling you something important.
Understanding what each blink means can save you time, frustration, and even costly repairs. You’ll discover how to decode those signals quickly and get your garage door working smoothly again. Keep reading, because knowing these blinking codes puts the power to fix your opener right in your hands.
Liftmaster Blink Codes Basics
Understanding Liftmaster blink codes is essential for anyone using Liftmaster garage door openers. These codes help diagnose issues quickly. They communicate through LED light patterns. Learning these basics saves time and frustration. It guides you to fix problems or call for help.
What Blink Codes Mean
Blink codes are signals from your garage door opener. They show the system’s status or errors. Each blink pattern points to a specific issue. Some signals indicate normal operation. Others warn of problems like sensor errors or motor issues. Knowing these meanings helps you respond correctly.
Common Blink Patterns
Common patterns include steady blinks, slow flashes, and rapid bursts. For example, one slow blink may mean a safety sensor error. Two fast blinks could signal a wiring problem. Three blinks often point to a motor issue. Recognizing these saves time during troubleshooting.
How To Locate The Led
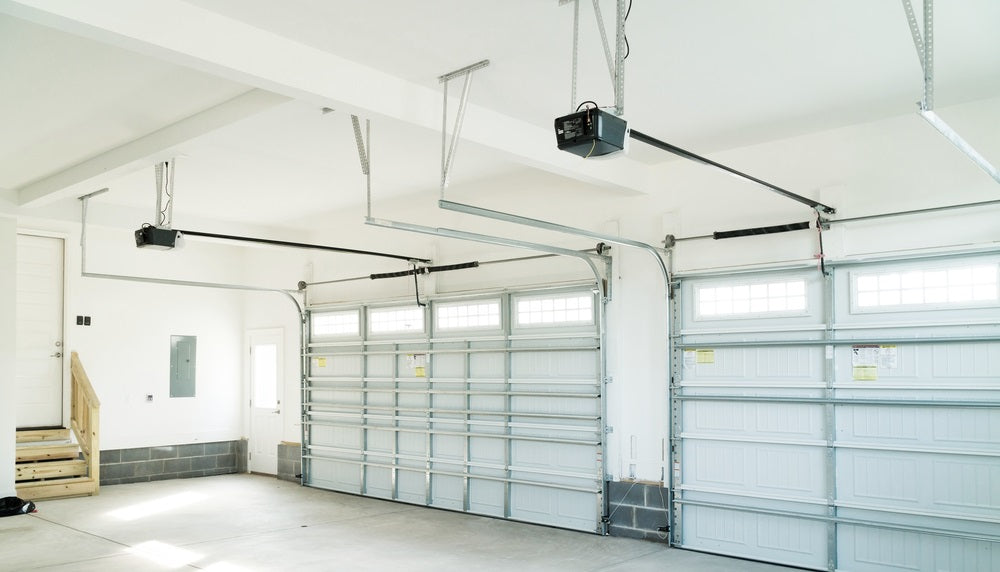
The LED light is usually on the garage door opener’s main unit. It is near the antenna wire or control panel. Look for a small red or green light. This LED blinks to show the codes. Check your manual for exact location if unsure.

Credit: www.youtube.com
Interpreting Specific Blink Codes
LiftMaster garage door openers use blinking lights to show specific error codes. These blink codes help you understand what problem your device has. Each pattern means something different. Knowing how to read these codes saves time and effort.
This section explains how to interpret those blinking signals clearly. The blink codes come in three main types: single blinks, multiple sequences, and rapid blinks. Each type gives clues about your opener’s condition.
Single Blink Patterns
Single blink patterns are simple signals from the opener. One blink repeated shows a specific issue. For example, a single blink every two seconds might mean a sensor is blocked or dirty. These patterns are easy to spot and often point to minor problems.
Check the sensors for dirt or misalignment. Clean the lenses gently and clear any obstacles. After fixing, the single blink pattern should stop.
Multiple Blink Sequences
Multiple blink sequences show more detailed codes. The opener blinks a certain number of times, pauses, then repeats. Each number tells you about different errors like motor issues or remote control problems. Count the blinks carefully to identify the code.
For example, three blinks followed by a pause means the motor is overheated. Five blinks could indicate a wiring fault. Refer to your manual for exact meanings of each sequence.
Rapid Blink Codes
Rapid blinking means urgent problems. The lights flash quickly without a pause. This often signals safety or wiring failures. The opener may stop working completely in this state.
Turn off the power and inspect your system. Look for damaged wires or broken parts. Rapid blink codes require immediate attention to avoid further damage or safety risks.
Common Garage Door Issues
Garage doors can stop working for several common reasons. Knowing these issues helps in quick fixes. Many Liftmaster blinking codes point to these problems. Understanding them reduces frustration and saves time.
Some issues are easy to spot, while others need a careful check. Below are the main causes that trigger blinking codes on Liftmaster garage doors.
Power Supply Problems
Power issues often cause garage door malfunctions. A loose plug or tripped breaker stops power flow. Wiring problems inside the opener also affect performance. Check power sources first to rule out these faults.
Sensor Alignment Errors
Sensors must face each other correctly to work. Dust or dirt can block the sensor’s view. Misaligned sensors cause blinking codes and door failure. Clean and realign sensors to fix this problem.
Obstruction Detection
The door won’t close if something blocks its path. Small objects or debris near the door trigger safety sensors. The opener blinks to warn about the obstruction. Clear the area to allow smooth door operation.
Remote Control Malfunctions
Remote controls can stop working due to dead batteries. Signal interference may also cause connection problems. Sometimes, remotes need reprogramming with the opener. Test the remote and replace batteries if needed.
Fixes For Frequent Errors
LiftMaster blinking codes often signal common issues. These errors can stop your garage door from working correctly. Simple fixes can solve many problems quickly. This section explains key steps to fix frequent errors safely and easily.
Resetting The Opener
Resetting the opener clears temporary glitches. Unplug the opener from power for 30 seconds. Plug it back in and wait for the lights to stabilize. This reset can stop blinking codes caused by minor faults. It helps the system start fresh.
Realigning Safety Sensors
Safety sensors send signals to the opener. Misaligned sensors cause blinking error lights. Check if the sensors face each other directly. Clean the sensor lenses gently with a soft cloth. Adjust the sensors until the indicator lights turn steady. Proper alignment stops false error codes.
Checking And Replacing Batteries
Remote controls use batteries to send signals. Weak batteries cause the opener to blink error codes. Open the remote battery compartment carefully. Replace old batteries with fresh ones of the same type. Test the remote after replacement to confirm it works well.
Clearing Obstructions
Objects blocking the door path trigger safety errors. Look for toys, leaves, or debris near the door and sensors. Remove any items that may block the door’s movement. Clean the track and sensor area regularly. Clear paths help the opener work without error signals.
When To Call A Professional
Knowing when to call a professional for LiftMaster blinking codes saves time and frustration. Some issues need expert help to fix properly. Understanding the signs can prevent further damage and keep your garage door safe.
Persistent Blink Codes
Blink codes that do not stop may mean a serious problem. Simple resets might not work. A professional can diagnose the root cause quickly. They have tools to read the codes and fix the issue. Avoid guessing what the code means.
Mechanical Failures
Sounds like grinding or parts not moving right? Mechanical failures often cause blinking codes. These problems need hands-on repairs by trained technicians. Trying to fix gears or springs without skills can be dangerous. Experts ensure all parts work smoothly again.
Complex Electrical Issues
Electrical problems often trigger blink codes too. Faulty wiring or damaged circuit boards require special knowledge. Professionals can safely handle electrical components. They can replace or repair parts without risk. Don’t risk electric shock or worsening the problem.
Credit: allsecurityequipment.com
Preventive Tips For Smooth Operation
LiftMaster garage door openers show blinking codes to signal issues. Taking preventive steps helps avoid these problems. Regular care keeps your opener working well. It lowers the chance of errors and blinking lights.
Simple actions every few months keep your system reliable. These tips help you save time and money on repairs.
Regular Maintenance Steps
Check the opener and door parts often. Clean the photo eyes to remove dirt or spider webs. Tighten loose bolts and screws. Lubricate the chain, screw, or belt with a light oil. Test the door balance by lifting it manually. Replace worn or broken parts quickly.
Seasonal Checks
Inspect the opener before winter and summer. Cold weather can cause parts to freeze or stiffen. Heat can wear down plastic and rubber parts. Clear debris from tracks and rollers. Test safety features like the auto-reverse function. Replace batteries in remote controls and wall buttons.
Upgrading Components
Older openers may lack modern safety features. Consider new sensors for better protection. Upgrade to a stronger motor for heavy doors. Replace old remotes with smart controls for convenience. Check for software updates if your model supports them. Updated parts reduce blinking codes and improve performance.
Credit: aaagds.com
Frequently Asked Questions
What Do Liftmaster Blinking Codes Mean?
Liftmaster blinking codes show the garage door opener’s status or errors. Each pattern signals a specific issue or function. Understanding these codes helps with troubleshooting.
How To Fix Common Liftmaster Blinking Code Errors?
Try resetting the opener by unplugging it for 30 seconds. Check for stuck buttons or blocked sensors. Consult the manual for specific code solutions.
Why Is My Liftmaster Light Blinking Continuously?
A continuous blinking light often means a safety sensor issue or wiring problem. Ensure sensors face each other and nothing blocks their path. Clean the lenses gently if needed.
Can Liftmaster Blinking Codes Indicate Remote Control Problems?
Yes, blinking codes can signal remote battery or programming issues. Replace batteries or reprogram the remote following the instructions. This often resolves connection problems.
How To Reset Liftmaster Blinking Codes Safely?
Unplug the opener from power for about 30 seconds. Plug it back in and press the reset button if available. This clears many error codes and restores normal function.
Conclusion
LiftMaster blinking codes help diagnose garage door problems fast. Each blink pattern shows a specific issue. Knowing these codes saves time and effort. You can fix small problems yourself or call a technician. Regular checks keep your door working smoothly.
Stay aware of blinking signals to avoid bigger repairs. Understanding these codes makes maintenance easier and safer. Keep this guide handy for quick reference anytime. Your garage door will stay reliable with simple care.