
Are you ready to give your wood planter box a fresh, vibrant look? Painting your planter box is a simple way to add personality and protect the wood at the same time.
Whether you want to brighten up your garden or create a cozy spot on your porch, this guide will show you exactly how to paint your wood planter box like a pro. You’ll learn easy steps that save time and make your planter stand out.
Keep reading, and soon you’ll have a beautiful, long-lasting finish that makes your plants shine.
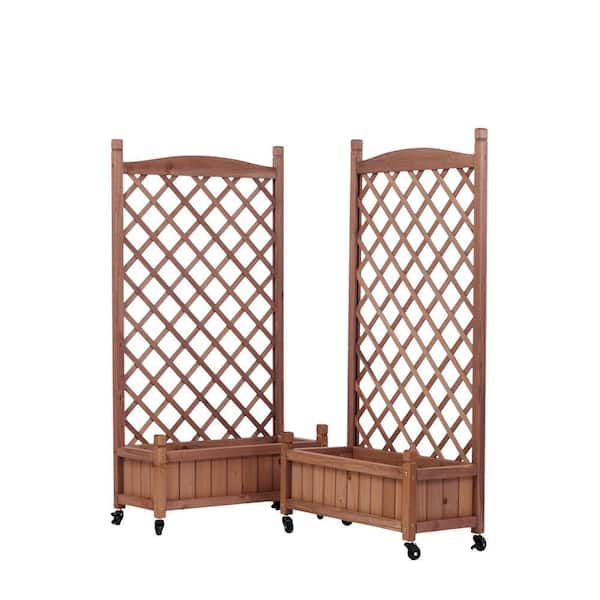
Credit: www.homedepot.com
Choosing The Right Paint
Choosing the right paint is key to a beautiful wood planter box. The right paint protects the wood from weather and insects. It also makes your planter last longer. Picking the correct paint type and color helps your planter stand out. Some paints are better for outdoor use. Others are safer for the environment. Understanding these options will help you make the best choice.
Types Of Paint For Wood Planters
Latex paint is a popular choice for wood planters. It dries fast and cleans easily with water. Oil-based paint offers strong protection but takes longer to dry. Both types work well outdoors. Primer is important before painting. It helps paint stick and lasts longer. Some paints have built-in primer for convenience. Choose paint made for outdoor wood surfaces.
Selecting Colors That Last
Bright colors may fade in sunlight. Dark colors absorb heat and can cause wood damage. Choose medium tones for balance. Light colors reflect sunlight and keep wood cooler. Matte finishes hide scratches better than gloss. Glossy paints shine but show flaws easily. Pick colors that match your outdoor space.
Eco-friendly Paint Options
Low-VOC paints release fewer harmful chemicals. They are safer for you and plants. Water-based paints are usually eco-friendly. Look for paints labeled “non-toxic” or “green.” Some paints use natural ingredients like clay or chalk. Eco-friendly options protect the environment and your garden. They also reduce bad smells during painting.
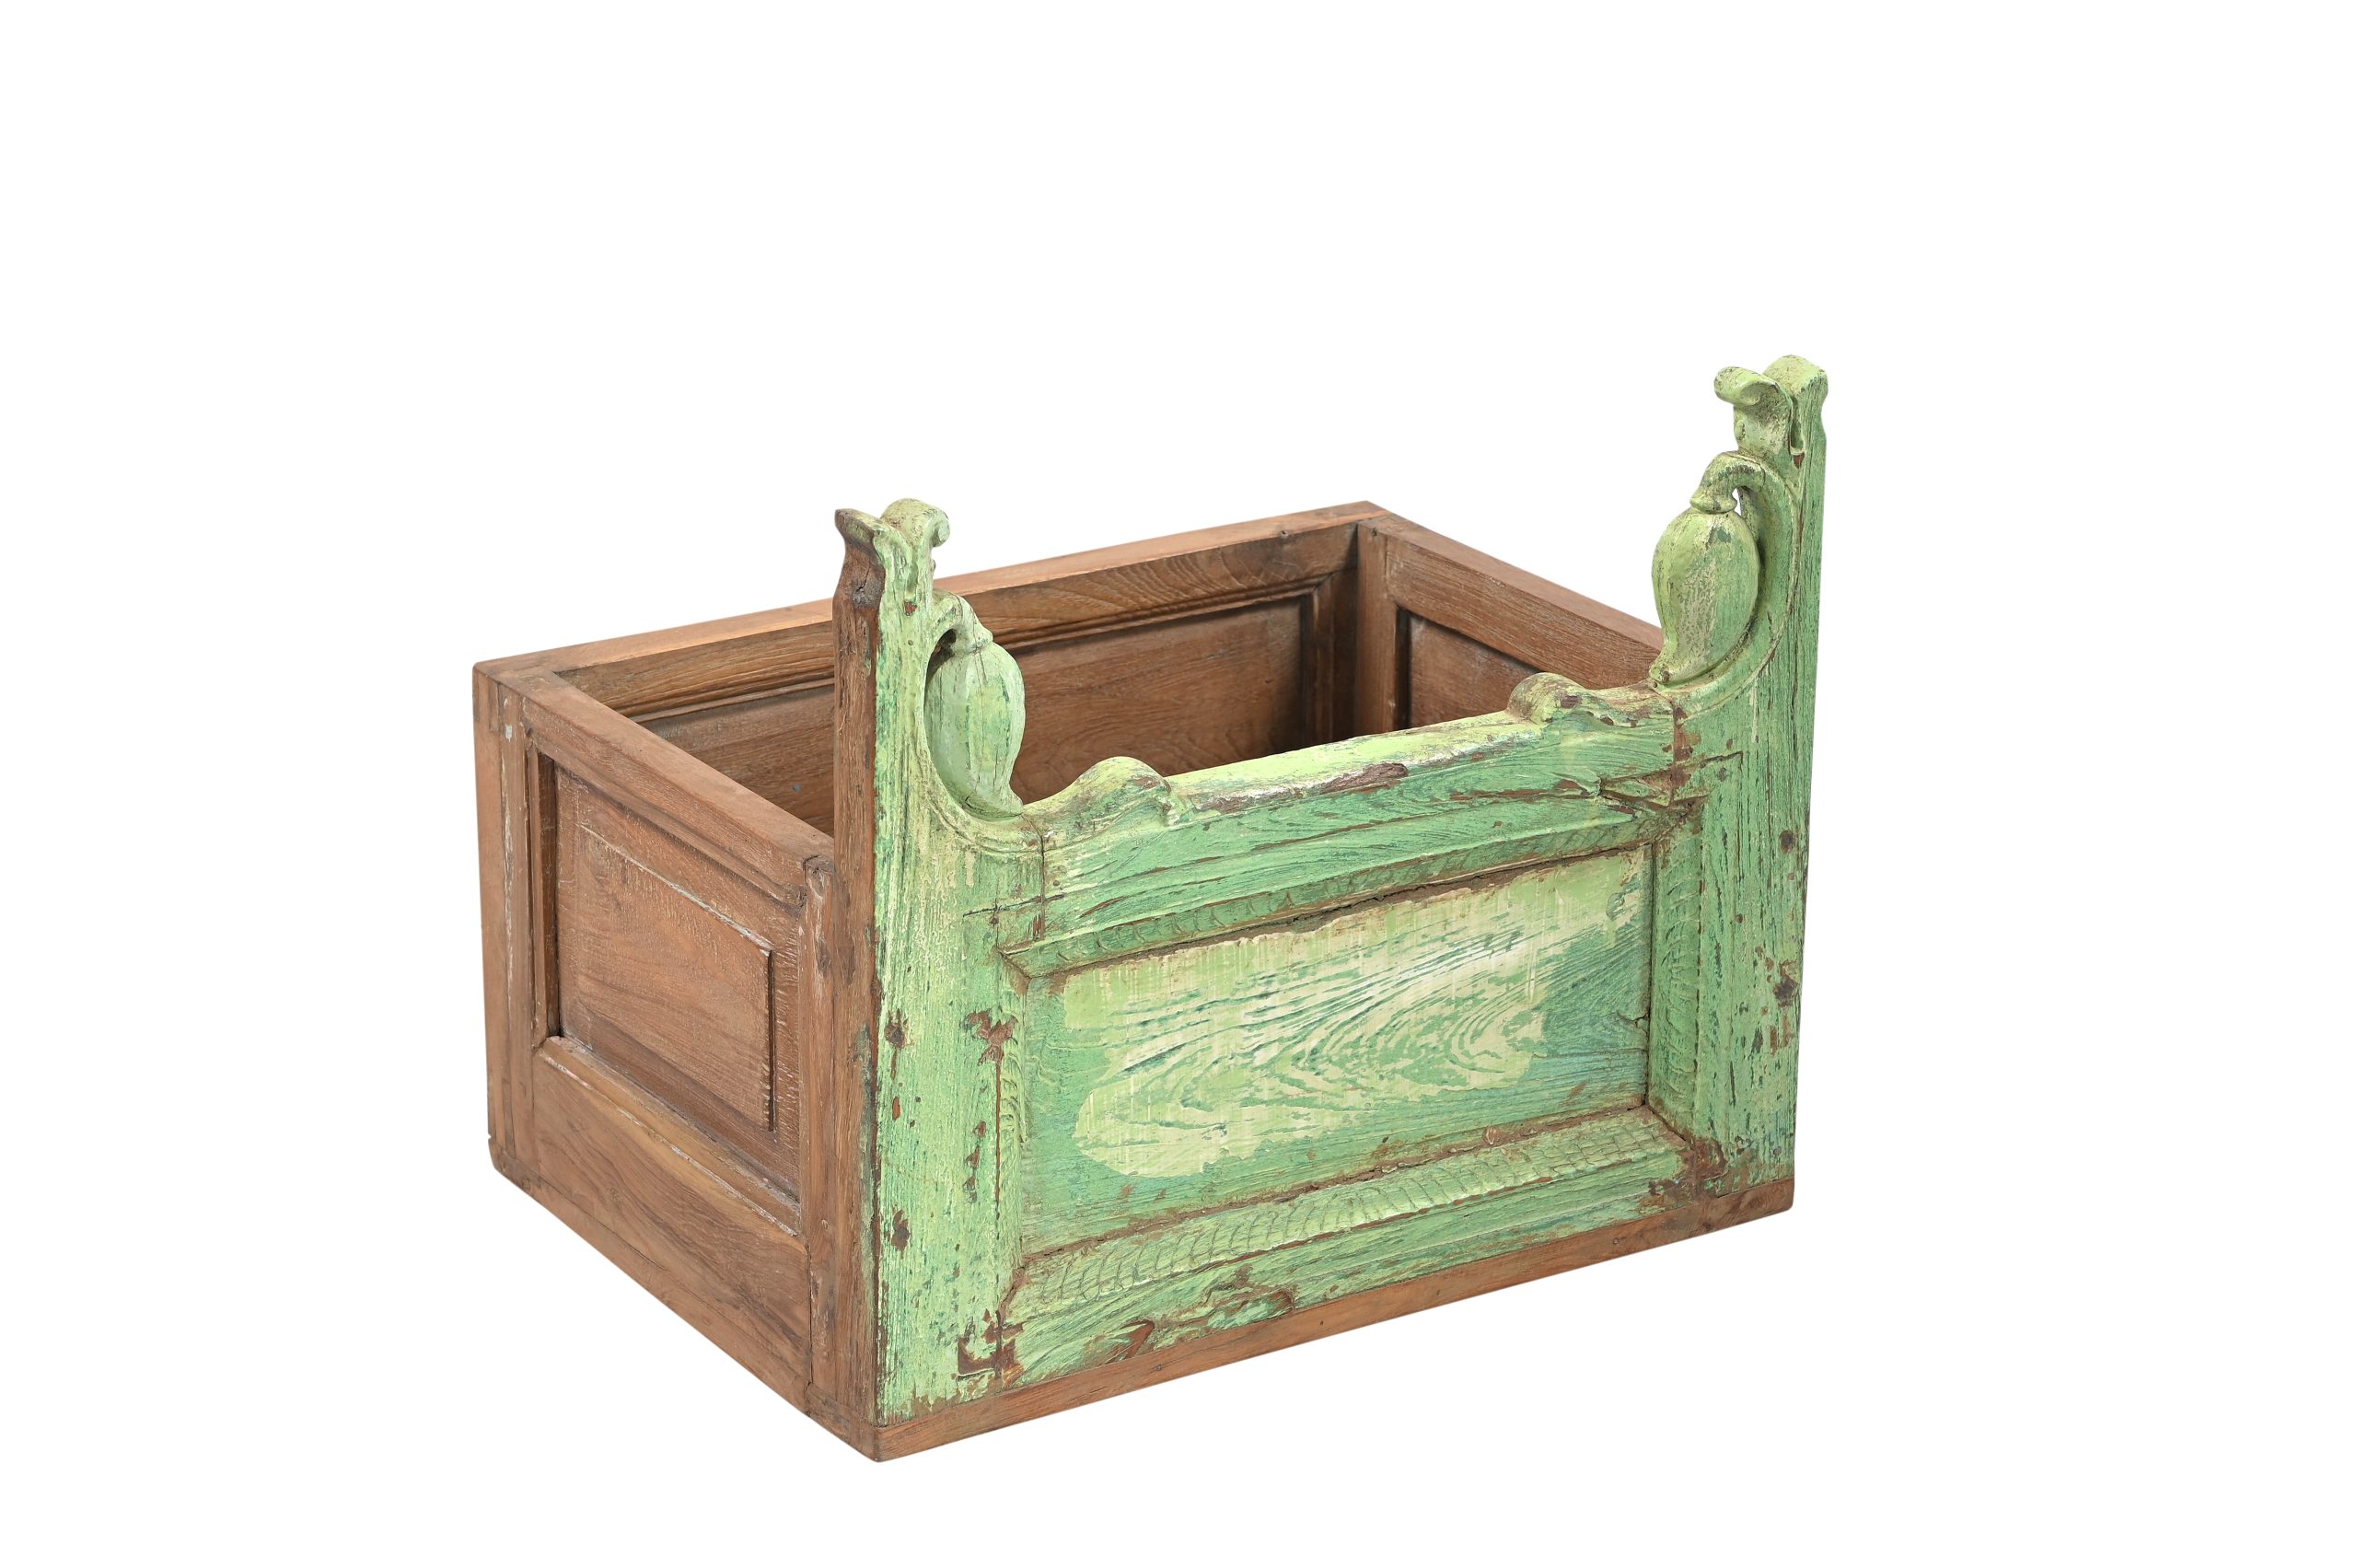
Credit: sunnysidetradingco.com
Preparing The Planter Box
Preparing your wood planter box is the first step to a smooth, lasting paint job. This stage sets the base for your paint to stick well and look great. Taking time here saves effort later. A well-prepared surface keeps your planter looking fresh for years.
Cleaning And Sanding Surfaces
Start by cleaning the planter box. Remove dirt, dust, and old paint flakes. Use a brush or cloth with mild soap and water. Let it dry completely before moving on.
Next, sand the wood surface. Sanding smooths rough spots and removes any leftover paint. Use medium-grit sandpaper for best results. Sand in the direction of the wood grain. This helps the paint grip the surface better.
Repairing Imperfections
Check your planter box for cracks or holes. Small damages can ruin the paint finish. Use wood filler to fix these spots. Apply it with a putty knife and smooth it out. Let the filler dry fully before sanding again. This makes the surface even and ready for paint.
Priming For Better Adhesion
Apply a primer designed for wood. Primer seals the wood and improves paint adhesion. It also helps prevent peeling and chipping. Use a brush or roller to spread the primer evenly. Allow it to dry as per the instructions on the label. Priming ensures your paint job lasts longer and looks professional.
Painting Techniques
Painting a wood planter box requires good techniques to get smooth and long-lasting results. Proper painting helps protect the wood from weather damage and makes the planter look great. Using the right methods also saves paint and time. Below are some simple tips to help you paint better.
Brush Vs. Spray Painting
Brush painting gives you control on small or detailed areas. It works well for corners and edges. Brushes help spread paint evenly but need careful strokes. Spray painting covers large areas quickly and creates a smooth finish. Sprayers reach tight spots and avoid brush marks. Choose brush for detail and spray for speed.
Applying Even Coats
Apply thin coats of paint rather than thick ones. Thin layers dry faster and avoid clumps. Paint in smooth, steady strokes for even coverage. Let each coat dry fully before the next. This builds a strong and uniform finish. Multiple thin coats last longer than one heavy coat.
Avoiding Drips And Streaks
Use a good quality brush or sprayer to reduce drips. Don’t overload your brush with paint. Light pressure and steady speed help prevent streaks. If drips appear, smooth them out quickly with a clean brush. Keep a wet edge to blend new paint with the old. This keeps the surface smooth and neat.

Credit: www.youtube.com
Protecting The Finish
Protecting the finish on your wood planter box is key to making it last. Paint alone does not stop water and sun damage. A good protective layer keeps the wood safe and the colors bright.
Sealing the planter helps block moisture and dirt. It also prevents peeling and cracking. Without sealing, your hard work fades fast. Let’s explore how to keep your planter looking great for years.
Sealing For Weather Resistance
Apply a sealant after the paint dries fully. Choose a product made for outdoor use. Sealants stop water from soaking into the wood. They also shield against sun damage and mildew.
Use a brush or spray to cover all surfaces. Don’t miss corners or edges. Let the first coat dry, then apply a second for full protection.
Using Varnish Or Polyurethane
Varnish and polyurethane add a clear, tough finish. They make the surface shiny or matte, based on your choice. Both protect from scratches and weather wear.
Pick a water-based polyurethane for easy cleanup and low odor. Apply thin, even layers. Sand lightly between coats for a smooth finish.
Maintenance Tips For Longevity
Check your planter every few months for damage. Clean off dirt and debris with a soft cloth. Avoid harsh chemicals that can break down the finish.
Touch up any chips or scratches quickly. Reapply sealant or varnish once a year. This keeps the planter strong and fresh-looking.
Creative Design Ideas
Creative design ideas make your wood planter box stand out. Simple paint alone can look plain. Adding patterns, mixing colors, and personal touches bring life and charm. These ideas help you match the planter to your style and space.
Adding Patterns And Stencils
Patterns add interest and style to any planter box. Use stencils to paint shapes like flowers, leaves, or geometric designs. You can choose one pattern or mix a few for a unique look. Stencils make it easy to create neat, repeatable designs. Try using painter’s tape for stripes or chevrons. Patterns give your planter a fresh, creative look without much effort.
Combining Colors And Textures
Mixing colors can make your planter box eye-catching. Use two or three colors that work well together. Paint the main box one color and add accents in another. Try different finishes like matte, glossy, or chalk paint for texture. Sand some edges for a rustic, worn effect. Layering colors or paint types adds depth and interest. This approach makes your planter box more dynamic and stylish.
Personalizing With Decorative Touches
Add small decorations to make your planter box special. Glue on buttons, shells, or small stones around the edges. Use rope or twine to wrap parts of the box for a natural look. Attach small signs with plant names or fun quotes. These touches show your personality and make the planter unique. Personalizing turns a simple planter into a lovely, one-of-a-kind piece.
Frequently Asked Questions
How Do I Prepare Wood Before Painting A Planter Box?
Clean the wood surface to remove dirt and dust. Sand it lightly to create a smooth base for paint. This helps paint stick better and last longer.
What Type Of Paint Is Best For Wood Planter Boxes?
Use outdoor or exterior paint designed for wood. These paints resist weather and moisture well. They protect the wood from rotting and fading.
How Many Coats Of Paint Should I Apply?
Apply two to three thin coats for the best coverage. Let each coat dry completely before adding the next. This ensures a smooth, even finish.
Should I Seal The Planter Box After Painting?
Yes, use a clear sealer or varnish to protect the paint. It prevents peeling and damage from water. Sealing also helps your planter look fresh longer.
How Long Should The Paint Dry Before Using The Planter?
Let the paint dry for at least 24 hours. This ensures the paint is fully set and won’t peel. Avoid planting or watering until it’s dry.
Conclusion
Painting a wood planter box can brighten any garden space. Choose the right paint and prepare the wood well. Apply paint in thin, even layers for best results. Let each coat dry before adding the next. This keeps your planter looking fresh and lasting longer.
A painted planter box adds charm and protects the wood. Try this simple project to enjoy a colorful, sturdy planter. Your garden will feel more inviting and lively. Enjoy the process and the lovely results you create!