
Are you tired of the wood grain on your cabinets ruining the smooth, modern look you want? You’re not alone.
Many homeowners struggle to get that flawless finish without the distracting lines and textures of wood grain. The good news? You don’t have to replace your cabinets or spend a fortune to fix this. You’ll discover simple, effective ways to get rid of wood grain on your cabinets and transform your space.
Keep reading, and by the end, you’ll have the confidence to tackle this project yourself and achieve the sleek cabinets you’ve been dreaming of.
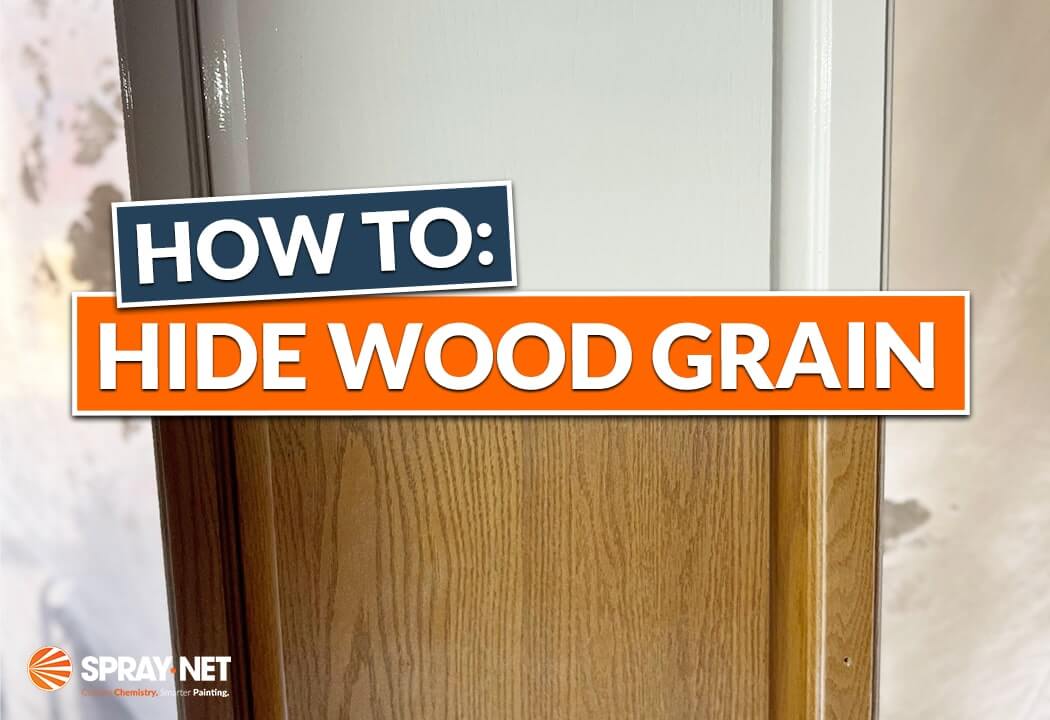
Credit: www.spray-net.com
Identify Wood Grain On Cabinets
Wood grain on cabinets shows the natural lines and patterns in the wood. It gives character to wooden surfaces but can sometimes appear too strong or uneven. Knowing how to identify wood grain helps you decide the best way to smooth or hide it. This step is important before any refinishing or painting work.
Types Of Wood Grain Patterns
Wood grain comes in several common patterns. Straight grain has long, even lines running along the wood. It looks clean and uniform. Wavy grain has gentle curves that create soft waves. This pattern is more decorative.
Curly grain shows tight, twisting lines that look like curls or ripples. It adds a bold, textured effect. There is also birdseye grain, which has tiny round spots that resemble bird eyes. Each grain type changes how the wood feels and looks.
Common Causes Of Visible Grain
Visible wood grain often happens because of how the wood absorbs finishes. Softwoods soak up stain unevenly, making grain stand out. Using thick paint without proper sanding also highlights grain texture.
Old finishes can wear down and expose grain ridges. Rough sanding can leave scratches that look like grain lines. Knowing these causes helps you choose the right way to reduce or remove grain from cabinets.
Prepare Cabinets For Smoothing
Preparing cabinets for smoothing is a key step in removing wood grain and achieving a sleek finish. This phase involves cleaning the surface thoroughly and sanding it properly. These tasks remove dirt, grease, and old finishes that prevent smooth results. Careful preparation makes the next steps easier and ensures a flawless look.
Cleaning And Removing Old Finish
Start by wiping down the cabinets with a damp cloth. Use a mild detergent to remove grease and dirt. Let the surface dry completely before moving on.
Next, apply a chemical stripper or sanding to remove old paint or varnish. Follow the product instructions carefully. Use a scraper to lift off softened finish. Work in small sections for better control.
After stripping, clean the cabinets again to remove any residue. This step prevents sanding tools from clogging. Make sure the surface is clean and dry before sanding.
Sanding Techniques For Smooth Surfaces
Begin sanding with coarse-grit sandpaper, about 80 to 100 grit. This removes rough spots and any remaining finish. Sand in the direction of the wood grain.
Switch to medium-grit sandpaper, like 150 grit, to smooth out scratches from the coarse sandpaper. Keep the pressure even and consistent.
Finish sanding with fine-grit sandpaper, around 220 grit. This creates a very smooth surface ready for painting or staining. Use a sanding block or an orbital sander for best results.
Wipe the cabinets with a tack cloth to remove dust before the next step. A clean surface ensures better adhesion of paint or finish.
Fill And Level Wood Grain
Filling and leveling wood grain is a key step to smooth cabinet surfaces. It helps hide the rough texture that can show through paint or finish. Properly filled wood grain gives cabinets a clean, flat look. This process makes painting easier and improves the final appearance.
Careful preparation with the right products and techniques is essential. The goal is a smooth base that covers all grain pores evenly. This section covers how to choose the best wood filler and apply it effectively for great results.
Choosing The Right Wood Filler
Select a wood filler designed for your cabinet type and finish. Water-based fillers work well for most woods and are easy to clean. Oil-based fillers offer strong adhesion for tougher surfaces but take longer to dry. Grain fillers are made specifically to fill deep wood pores and create a smooth surface.
Consider the filler’s sanding ability. It should be easy to sand without crumbling. Choose a color that matches or is slightly lighter than your cabinet wood. This helps the filler blend in after sanding and painting.
Applying Grain Fillers Effectively
Start with clean, dry cabinets free of dust and grease. Use a putty knife or brush to spread the filler across the wood grain. Work in the direction of the grain for better coverage. Press the filler firmly into the pores to fill them completely.
Remove excess filler quickly before it dries. Wipe with a cloth or scraper to leave only the filler inside the grain. Allow the filler to dry fully, which may take several hours.
Sand the surface smooth using fine-grit sandpaper. Check for any low spots and apply extra filler if needed. Repeat sanding until the surface is even and ready for painting or staining.
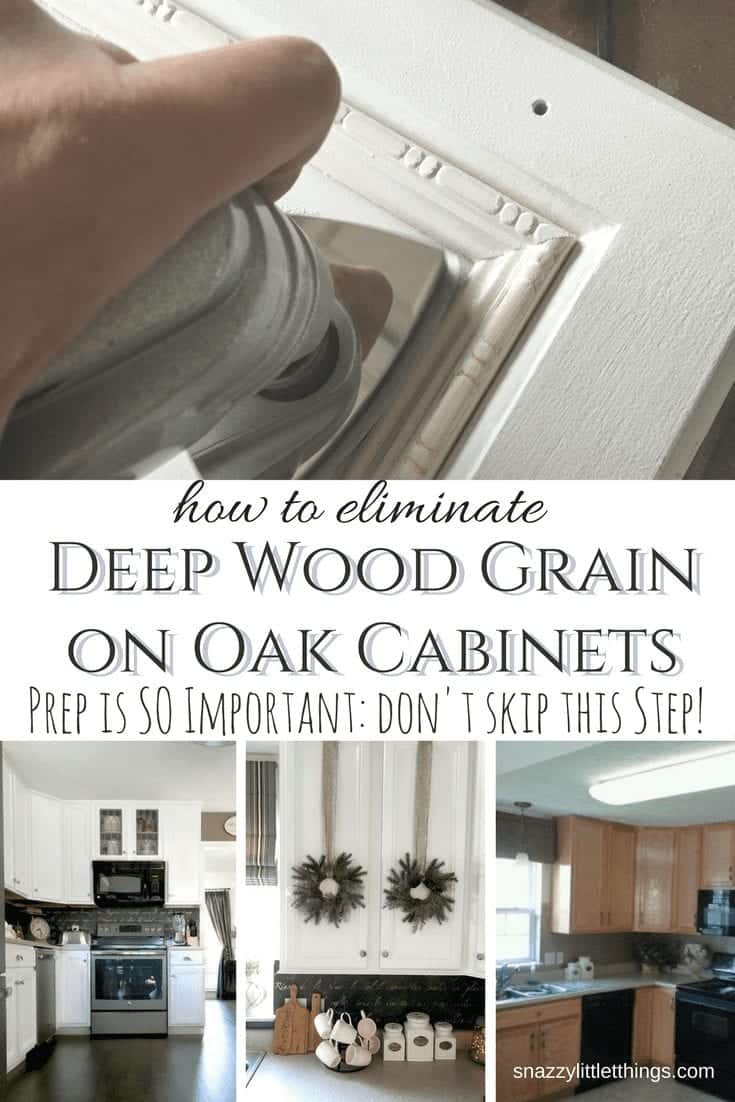
Credit: www.snazzylittlethings.com
Use Grain Fillers Vs. Sanding Alone
Removing wood grain from cabinets can change their look completely. Two common ways to smooth cabinet surfaces are using grain fillers or sanding alone. Each method has unique benefits and challenges. Understanding these can help you pick the best option for your project.
Pros And Cons Of Each Method
Sanding alone is simple and cheap. It removes rough spots and evens out the surface. But sanding does not fill deep pores of the wood grain. The grain may still show after finishing. Also, sanding too much can damage the wood.
Grain fillers fill wood pores and create a smooth surface. They make the cabinets look flat and polished. Grain fillers work well with open-grain woods like oak or mahogany. The downside is fillers add an extra step and cost. Some fillers may change the wood color slightly.
When To Use Both For Best Results
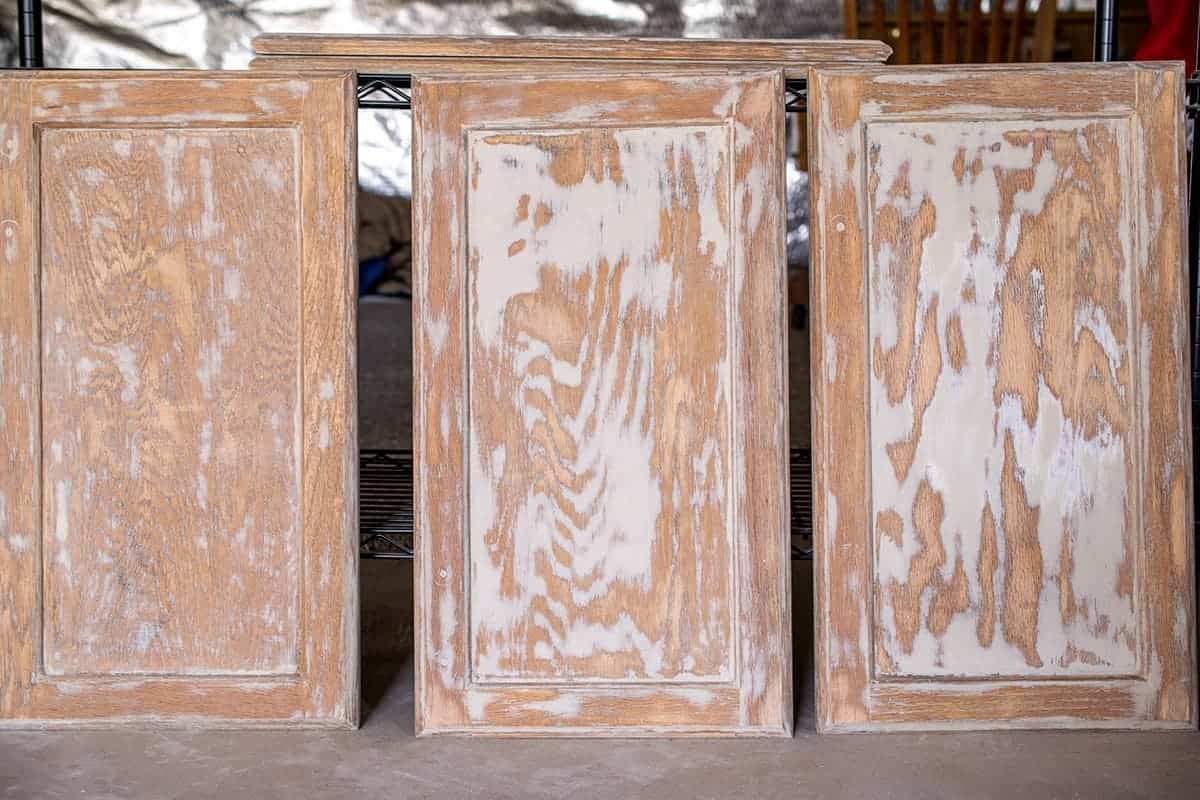
Sanding before applying grain filler gives the best results. Start by sanding to remove roughness and old finish. Clean the surface well. Then, apply grain filler to fill the pores deeply. After it dries, sand again lightly for a smooth finish.
This method is ideal for cabinets with deep wood grain. It creates a flat and even base for paint or stain. Using both ensures the grain does not show through. The finish lasts longer and looks professional.
Apply Primer And Paint
Applying primer and paint is key to hiding wood grain on cabinets. Primer fills grooves and smooths the surface. Paint then gives a fresh, even look. This step creates a clean canvas and improves paint adhesion. Proper primer and paint use ensures a long-lasting, grain-free finish.
Selecting Primer For Grain-free Finish
Choose a high-quality, stain-blocking primer. Look for one labeled “high-build” or “grain-filling.” These primers cover wood texture well. Oil-based primers work best on wood cabinets. They dry slowly, filling in grains deeply. Latex primers dry fast but may need more coats. Pick a primer compatible with your paint type.
Tips For Smooth Paint Application
Use a fine synthetic brush or foam roller for a smooth coat. Apply thin, even layers to avoid drips and brush marks. Let each coat dry completely before adding the next. Lightly sand between coats with fine sandpaper. This removes bumps and enhances paint grip. Keep your strokes consistent and follow the wood grain direction. Two to three coats usually give the best coverage.
Alternative Finishes To Hide Grain
Hiding wood grain on cabinets can change the look of your kitchen or bathroom. Alternative finishes offer practical ways to cover or soften the grain. These finishes can give cabinets a fresh, smooth appearance.
Choosing the right finish depends on your style and budget. Two popular options include veneers and laminate covers, and textured paint. Both provide a way to mask the natural wood grain.
Using Veneers And Laminate Covers
Veneers are thin slices of wood glued over cabinet surfaces. They create a smooth and uniform look. Veneers come in many colors and wood types. They hide the grain while keeping a natural wood feel.
Laminate covers are synthetic sheets applied to cabinets. They offer a wide range of colors and patterns. Laminate is durable and easy to clean. It completely hides the wood grain beneath. This finish works well for modern or minimalist styles.
Exploring Textured Paint Options
Textured paint adds depth and hides wood grain effectively. It creates a subtle surface texture that masks grain lines. Textured paints come in various finishes like matte or satin. They also resist scratches and wear well over time.
Applying textured paint is simple with a roller or brush. It transforms cabinets without costly materials. This option suits DIY projects and those wanting a fresh look fast.
Maintain Cabinets After Refinishing
Maintaining cabinets after refinishing keeps them looking smooth and fresh. Proper care helps protect your work and extends the life of the finish. Small efforts can prevent damage and keep your cabinets shining.
Regular cleaning and quick touch-ups make a big difference. These steps ensure your cabinets stay beautiful for years.
Cleaning Tips To Preserve Smooth Finish
Use a soft cloth or sponge for cleaning. Avoid harsh chemicals that can damage the finish. A mild soap mixed with warm water works well. Wipe gently to remove dirt and dust without scratching.
Dry the surface immediately after cleaning. Standing water can cause stains or damage. Clean spills right away to avoid permanent marks. Regular dusting keeps the finish smooth and fresh.
Touch-up Techniques For Damage
Small scratches or dents can spoil the smooth look. Use a matching wood stain or touch-up marker for minor flaws. Apply carefully with a small brush or cloth.
For deeper damage, sand lightly around the spot before applying stain. Let the area dry fully before using the cabinet. Repeat touch-ups as needed to keep the finish perfect.
Credit: www.cravingsomecreativity.com
Frequently Asked Questions
How Can I Remove Wood Grain From Cabinet Surfaces?
Use a wood filler or grain filler to smooth the surface. Sand the cabinets lightly before applying paint or stain for a smooth finish.
What Tools Are Best For Smoothing Cabinet Wood Grain?
Fine-grit sandpaper and a sanding block work well for smoothing wood grain. Use gentle, even strokes to avoid damaging the wood.
Can I Paint Cabinets Without Removing The Wood Grain?
Yes, using a thick primer or grain filler hides the wood grain. This creates a flat surface for paint to cover evenly.
How Long Does It Take To Remove Wood Grain From Cabinets?
Removing wood grain usually takes a few hours, including sanding and filler drying time. Drying times vary based on product type.
Is Sanding Alone Enough To Get Rid Of Wood Grain?
Sanding helps but may not fully remove wood grain. Using a grain filler after sanding provides the best smooth finish.
Conclusion
Removing wood grain from cabinets can be simple with the right steps. Sanding and filling help create a smooth surface. Choose the right paint or finish to cover grain marks. Take your time and work carefully for the best results.
Small efforts make a big difference in cabinet appearance. Now, your cabinets can look fresh and clean without wood grain showing. Try these tips and enjoy a smoother cabinet finish today.