
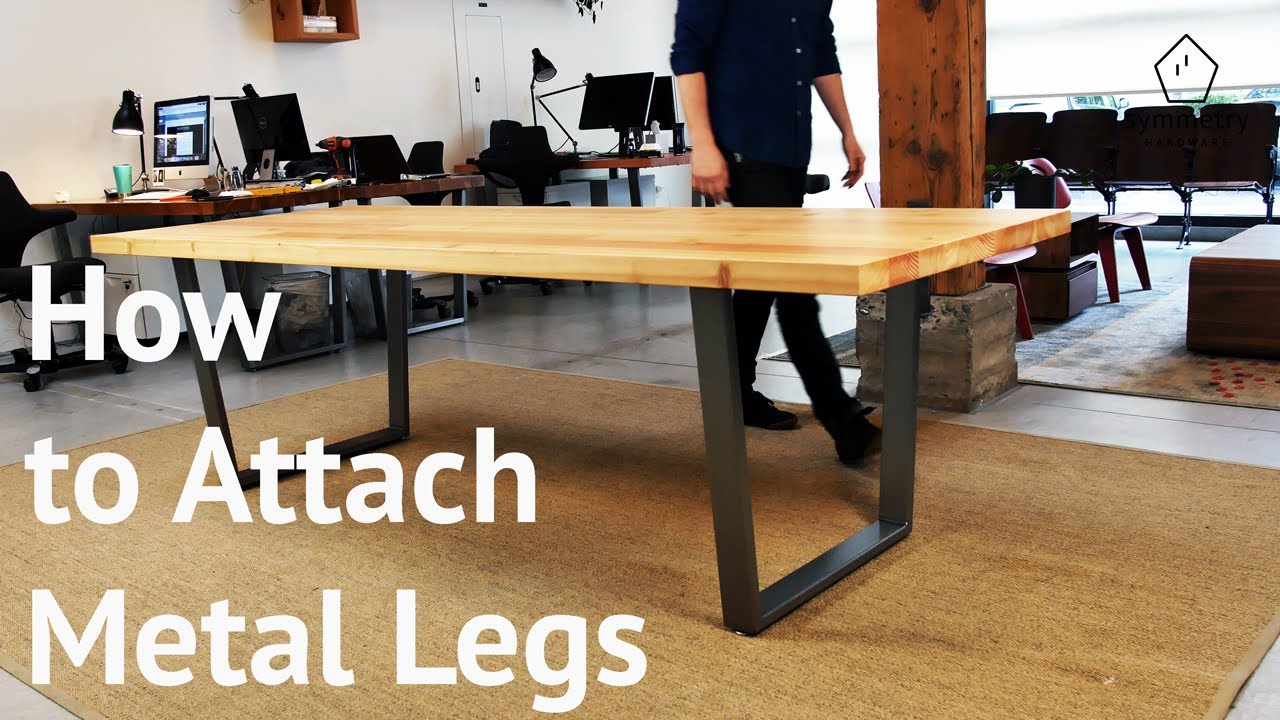
Are you ready to give your table a strong, stylish upgrade? Attaching a wood tabletop to a metal frame might seem tricky, but with the right steps, you can do it yourself and get professional results.
Imagine having a sturdy, beautiful table that stands the test of time—built by your own hands. In this guide, you’ll learn simple, clear methods to connect wood and metal securely. Keep reading, and you’ll discover tips that save you time, avoid common mistakes, and make your project easier than you thought.
Let’s get started on creating your perfect table!
Choosing The Right Materials
Choosing the right materials is key to a sturdy and attractive table. The wood and metal must work well together. Both should match your style and meet your needs. This section explains how to select the best wood, metal frame, and tools for your project.
Selecting The Wood Table Top
Pick wood that is strong and stable. Hardwood like oak, maple, or walnut lasts longer and resists dents. Softwood is cheaper but can scratch easily. Check the wood’s thickness. A thicker top supports more weight and feels solid. Also, consider the finish. Smooth, sealed wood protects against spills and stains.
Picking The Metal Frame
Choose metal that holds the table firmly. Steel and aluminum are popular choices. Steel is very strong and heavy. Aluminum is lighter but still durable. The frame should fit the size of your wood top. Look for a powder-coated finish to stop rust. Make sure the frame has mounting points for easy attachment.
Essential Tools And Hardware
Gather tools before starting. You will need a drill, screwdriver, and measuring tape. Use screws that fit the thickness of the wood and metal. Metal brackets or corner braces add extra support. Washers help protect the wood from cracking. Choose hardware that matches the frame’s finish for a clean look.

Credit: www.reddit.com
Preparing The Wood Table Top
Preparing the wood table top is a key step before attaching it to a metal frame. It ensures a strong bond and a smooth finish. Good preparation makes your table look better and last longer. Follow these simple steps to get your wood ready.
Measuring And Marking
Start by measuring the wood and metal frame carefully. Mark the points where you will attach the top. Use a pencil and a ruler for accuracy. Check twice to avoid mistakes. Clear marks guide your drilling and screwing.
Sanding And Finishing
Sanding smooths the wood surface and edges. Use medium-grit sandpaper first, then fine-grit for a soft finish. This removes splinters and rough spots. After sanding, apply a finish like varnish or oil. It protects the wood from moisture and wear. Let the finish dry fully before moving on.
Drilling Pilot Holes
Drill pilot holes where you marked the wood. Use a drill bit smaller than the screws. Pilot holes prevent the wood from splitting. They also make screwing easier and more precise. Drill straight and steady for the best results.
Preparing The Metal Frame
Preparing the metal frame is an important step before attaching a wood tabletop. It makes sure the frame is strong and ready for the wood. Taking time here helps avoid problems later. A clean, well-marked, and properly drilled frame holds the tabletop firmly.
Follow simple steps to get the frame ready. This makes the attachment smooth and secure. Start by cleaning and inspecting the frame. Then mark the points where you will attach the wood. Finally, drill or tap holes for screws or bolts.
Cleaning And Inspecting
Start by cleaning the metal frame carefully. Use a cloth and mild cleaner to remove dirt and grease. Dirt can stop screws from holding well. After cleaning, look closely for rust or damage. Rust weakens the metal and should be removed.
Check the frame for bends or cracks. Fix any damage before attaching the wood. A strong frame supports the table better and lasts longer.
Marking Attachment Points
Decide where the wood will sit on the frame. Use a pencil or marker to mark these points. Marks should match the wood’s size and shape. Make sure marks are even on all sides.
Mark spots for screws or bolts clearly. This helps guide drilling and keeps attachments straight. Accurate marks prevent mistakes and keep the table stable.
Drilling Or Tapping Holes
Choose the right drill bit size for your screws or bolts. Drill holes at the marked points carefully. Keep the drill steady to make straight holes. Clean out metal shavings after drilling.
If bolts need threads, tap holes using a tap tool. This creates threads for bolts to screw in tight. Proper holes ensure the wood stays fixed and the table feels solid.
Credit: www.youtube.com
Attaching The Table Top To The Frame
Attaching the wood table top to the metal frame is a key step in building a sturdy table. It ensures your table stays strong and safe to use. Proper attachment also keeps the table top flat and prevents wobbling.
Follow these steps carefully to get a secure and neat finish. The right tools and fasteners make the job easier. Aligning the parts correctly saves time and avoids damage to your materials.
Choosing The Fasteners
Select fasteners that fit both wood and metal well. Screws or bolts with washers work best. Use stainless steel or coated fasteners to avoid rust. Make sure fasteners are long enough to hold tightly.
Aligning The Table Top And Frame
Place the table top upside down on a soft surface. Put the metal frame carefully on top. Check that all corners and edges line up. Use clamps or ask for help to keep parts steady. Double-check before drilling or screwing.
Securing With Screws Or Bolts
Drill pilot holes through the metal frame into the wood. This prevents splitting the wood. Insert screws or bolts through the holes. Tighten them firmly but avoid overtightening. Space fasteners evenly for balanced support.
Ensuring Stability And Safety
Ensuring stability and safety is crucial when attaching a wood table top to a metal frame. A stable table feels solid and secure. It prevents accidents and damage. Follow clear steps to check and improve stability before use.
Focus on strong connections and support. This makes your table last longer and stay safe during daily use. Take your time with each step to avoid problems later.
Checking For Wobble
Place the table on a flat surface. Gently push each corner to test for wobble. Notice any shaking or movement. Wobble means loose joints or uneven parts.
Identify the weak spots. Look under the table and frame. Tighten screws slightly and retest. Repeat until the table feels steady and solid.
Adding Support Brackets
Support brackets add strength to the connection. Choose brackets that match your frame and table size. Attach brackets at corners or along edges for better support.
Use screws that fit well. Secure brackets firmly without over-tightening. This helps the table hold weight evenly and reduces wobble.
Final Tightening And Adjustments
Go over every screw and bolt once more. Tighten them carefully to avoid stripping threads. Check the table top for evenness and alignment.
Make small adjustments as needed. Confirm the table feels sturdy and safe. Your table is now ready for use with confidence.

Credit: simplifiedbuilding.co.uk
Finishing Touches
Finishing touches bring your wood table top and metal frame together. They protect your work and improve its look. These small steps help your table last longer. They also make it safer and more pleasant to use.
Protecting The Table Surface
Use a clear sealant or varnish to shield the wood. It stops water, heat, and stains from damaging the surface. Apply thin coats and let each dry fully. Sand lightly between coats for a smooth finish. This keeps the wood strong and looking new.
Hiding The Fasteners
Cover screws and bolts to create a clean look. Wood filler works well for filling holes around fasteners. Match the filler color to your table top. After it dries, sand the area smooth. Paint or stain over the filler to blend it in. This hides the fasteners and improves the table’s style.
Maintenance Tips
Wipe your table regularly with a soft cloth. Avoid harsh cleaners that can damage the wood or metal. Tighten bolts and screws every few months to keep the table stable. Use coasters and mats to protect the surface from spills and heat. Check for scratches or chips and fix them quickly. This keeps your table strong and attractive for years.
Frequently Asked Questions
How Do I Securely Attach A Wood Top To A Metal Frame?
Use screws and washers designed for metal and wood. Pre-drill holes to avoid splitting the wood. Tighten screws evenly for a firm hold.
What Tools Are Needed To Attach Wood To Metal Frame?
You need a drill, screwdriver, measuring tape, and screws with washers. A level helps keep the top even. Safety gear like gloves is also useful.
Can I Use Glue To Attach Wood To Metal Frame?
Glue alone is not strong enough for this job. Use construction adhesive with screws for better strength. This combination keeps the top stable and secure.
How To Prevent Wood From Warping On Metal Frame?
Seal the wood with a protective finish before attaching. Keep the table away from moisture and direct sunlight. Proper sealing helps keep wood flat and durable.
What Screw Type Works Best For Wood-to-metal Table Tops?
Self-tapping metal screws with flat heads work best. They cut through metal and hold wood firmly. Choose screws slightly longer than the wood thickness.
Conclusion
Attaching a wood table top to a metal frame is simple with the right steps. Choose the right screws and tools to ensure a strong hold. Measure carefully and align the pieces well before fixing them together. Tighten screws evenly to avoid any gaps or wobbling.
This method creates a sturdy and stylish table that lasts. Enjoy your new table, built with confidence and ease.