
Are you ready to give your wood surfaces a flawless finish without the hassle? Knowing how to use Valspar All In One Wood Prep can save you time, effort, and frustration.
This powerful product not only cleans but also prepares your wood for painting or staining, making your project smoother and more successful. Keep reading to discover simple steps that will help you transform your woodwork like a pro—no experience needed.
Your next project is about to get a lot easier!

Credit: www.lowes.com
Product Features
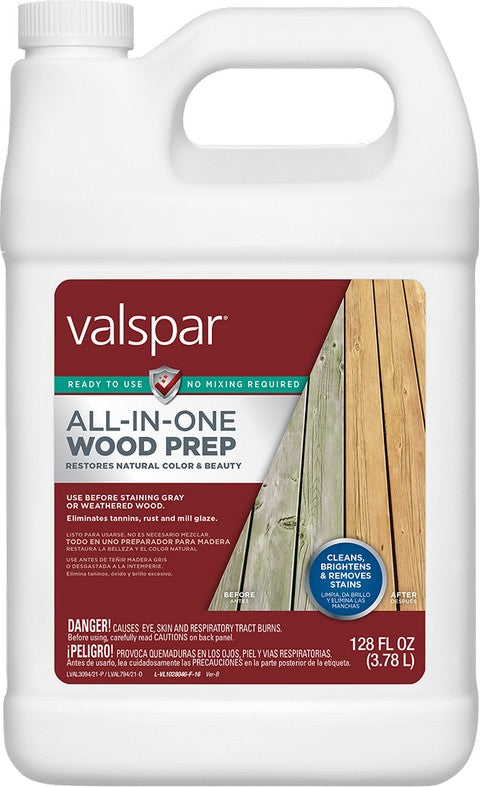
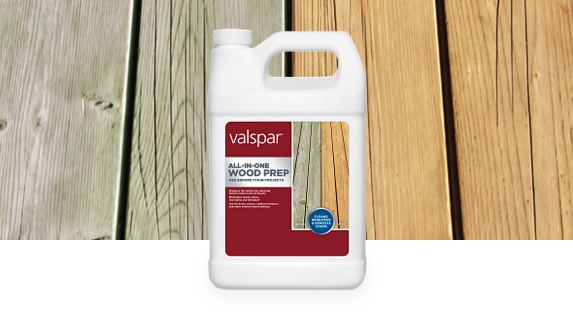
Valspar All In One Wood Prep offers a powerful and simple solution for preparing wood surfaces. It combines cleaning, sanding, and priming in a single product. This makes wood preparation faster and easier. The product is designed for both indoor and outdoor use, ensuring lasting results. Below are the main features that make this product effective and user-friendly.
Key Benefits
Valspar All In One Wood Prep cleans wood and removes old finishes. It sands the surface lightly to help paint or stain stick better. The product seals the wood to protect it from moisture and damage. It saves time by combining multiple steps into one. Its fast-drying formula lets you continue with your project quickly. The product also reduces dust during sanding, making cleanup easier.
Suitable Surfaces
This wood prep works well on many types of wood. It is ideal for bare wood, weathered wood, and previously painted wood. It prepares decks, fences, furniture, and trim. Use it on both softwoods and hardwoods. It works on wood surfaces indoors and outdoors. Avoid using it on surfaces that are not wood or have heavy damage.
Packaging Options
Valspar offers this product in different sizes. Small containers are perfect for minor projects or touch-ups. Larger cans suit bigger jobs like decks or fences. The packaging is designed for easy pouring and application. Labels include clear instructions for best use. Choose the size that fits your project’s needs and budget.
Preparation Steps
Preparing wood before applying Valspar All In One Wood Prep ensures a smooth, lasting finish. Proper preparation helps the wood absorb the product evenly. It also removes dirt, old paint, and other residues. Follow these key steps to get the best results.
Surface Cleaning
Start by cleaning the wood surface thoroughly. Use a brush or cloth to remove dust, dirt, and loose paint. For tough grime, wash the wood with mild soap and water. Let the wood dry completely before moving on. Clean surfaces help the wood prep stick better.
Sanding Tips
Sanding smooths the wood and removes rough spots. Use medium-grit sandpaper to sand the surface evenly. Sand along the wood grain to avoid scratches. Remove sanding dust with a brush or vacuum. Smooth surfaces allow the prep to soak in properly.
Safety Precautions
Wear gloves and a mask to protect your skin and lungs. Work in a well-ventilated area to avoid inhaling dust or fumes. Keep children and pets away from the work zone. Follow product instructions carefully to stay safe during prep.
Application Process
The application process for Valspar All In One Wood Prep is simple and effective. It prepares wood surfaces for painting or staining. Proper application helps protect wood and improves finish quality. Follow these steps to get the best results.
Choosing The Right Tools
Select tools that fit the job well. Use a clean, soft cloth for wiping the surface. A synthetic brush works best for applying the product to rough wood. Avoid old or worn brushes that may shed bristles. A sanding block can smooth rough spots before application.
Applying The Product
Start with a clean, dry wood surface. Stir the Valspar All In One Wood Prep gently before use. Apply a thin, even coat using your brush or cloth. Work in the direction of the wood grain. Cover all areas, especially edges and corners. Avoid heavy layers; thin coats dry better and prevent drips.
Drying Time
Let the product dry completely before sanding or painting. Drying usually takes about 1 to 2 hours. Check the surface for tackiness before moving on. In humid or cold weather, drying may take longer. Proper drying ensures better adhesion of the finish.
Credit: thepaintstore.com
Troubleshooting
Troubleshooting helps solve problems with Valspar All In One Wood Prep. It ensures smooth and even wood surfaces for painting or staining. Knowing common issues and how to fix them saves time and effort. Proper maintenance keeps the wood prep working well.
Common Issues
Wood prep may dry too fast on hot days. This causes uneven surfaces. Sometimes, residue remains after cleaning, affecting paint adhesion. If the wood feels rough, it might need another sanding. Watch for peeling or bubbling paint after using the prep.
Fixing Imperfections
Lightly sand rough or uneven areas with fine-grit sandpaper. Wipe the surface clean with a damp cloth. Remove any leftover residue using a mild cleaner. Apply a thin, even coat of Valspar Wood Prep again. Let it dry fully before painting or staining.
Maintenance Tips
Store the product in a cool, dry place. Close the container tightly after each use. Clean tools immediately to prevent buildup. Avoid applying the prep in direct sunlight or on wet wood. Regularly check the wood surface for any new damage.
Comparison With Other Products
Choosing the right product for wood preparation is key to a smooth painting job. Valspar All In One Wood Prep stands out by combining several steps into one. This section compares it with other common products on the market.
Vs Traditional Primers
Traditional primers often require separate cleaning and sanding steps. Valspar All In One Wood Prep cleans, sands, and primes in a single step. This saves time and effort on your project. It also reduces the chance of mistakes between steps. Traditional primers may need more coats for good coverage. Valspar’s product usually covers well with fewer coats.
Cost Effectiveness
Valspar All In One Wood Prep can reduce overall costs. It combines multiple products, which means fewer cans to buy. This lowers the price compared to buying primer, cleaner, and sandpaper separately. The time saved also cuts labor costs for professionals. It offers good value for both small and large jobs. The product’s durability may reduce the need for touch-ups later.
User Reviews
Many users praise Valspar All In One Wood Prep for ease of use. They find it simple to apply and effective on various wood types. Some users note it dries quickly, speeding up projects. Others mention it helps paint stick better and last longer. A few users prefer traditional primers for very old wood. Overall, feedback shows strong satisfaction with its performance and convenience.
Credit: www.valspar.com
Environmental Impact
Understanding the environmental impact of Valspar All In One Wood Prep is important. This product is designed to prepare wood surfaces for painting or staining. It helps improve adhesion and finish quality. Knowing its environmental effects helps users make safer choices for their projects and the planet.
Voc Levels
Valspar All In One Wood Prep contains low levels of VOCs. VOCs, or volatile organic compounds, can harm air quality. Low VOC products reduce harmful emissions. This makes the product safer for indoor use. It also lowers the risk of air pollution outside.
Eco-friendly Practices
Using Valspar All In One Wood Prep supports eco-friendly work habits. Applying only what is needed prevents waste. Cleaning tools with minimal water reduces chemical runoff. Using protective gloves and masks keeps chemicals off skin and lungs. These small steps help protect the environment.
Disposal Guidelines
Proper disposal of leftover product matters. Never pour it down drains or onto soil. Follow local rules for hazardous waste disposal. Cans should be empty before recycling. If unsure, contact waste management for advice. Safe disposal prevents soil and water pollution.
Frequently Asked Questions
What Is Valspar All In One Wood Prep Used For?
Valspar All In One Wood Prep cleans and prepares wood surfaces. It removes dirt, old finishes, and stains. This helps paint or stain stick better.
How Do I Apply Valspar All In One Wood Prep?
Use a brush or cloth to apply the product evenly. Let it sit for a few minutes. Then wipe or rinse off as directed on the label.
Can Valspar Wood Prep Be Used On All Wood Types?
It works well on most interior and exterior wood types. Always test a small area first. This ensures no damage or discoloration.
How Long Should I Wait Before Painting Over Valspar Wood Prep?
Wait until the wood surface is completely dry. Drying time is usually about 1 to 2 hours. Check the product label for exact times.
Is Valspar All In One Wood Prep Safe For Indoor Use?
Yes, it is safe for indoor use with good ventilation. Avoid breathing in fumes by opening windows or using fans. Wear gloves to protect your skin.
Conclusion
Valspar All In One Wood Prep makes wood projects easier. Clean and prepare wood surfaces well for better paint results. Follow the steps carefully for smooth, lasting finishes. Keep your work area clean and dry before applying. This product helps save time and effort on wood prep.
Use it right to protect your wood and improve paint adhesion. Trust the process for a neat, professional look every time.