
Have you ever wanted to add a touch of charm and soothing sounds to your outdoor space? Making a wooden wind chime with spoons is an easy and fun way to do just that.
You don’t need to be a crafts expert or spend a lot of money. You’ll discover simple steps to create a unique wind chime that not only looks great but also fills your surroundings with gentle melodies. Ready to transform everyday spoons into a beautiful, relaxing piece for your home?
Let’s get started!
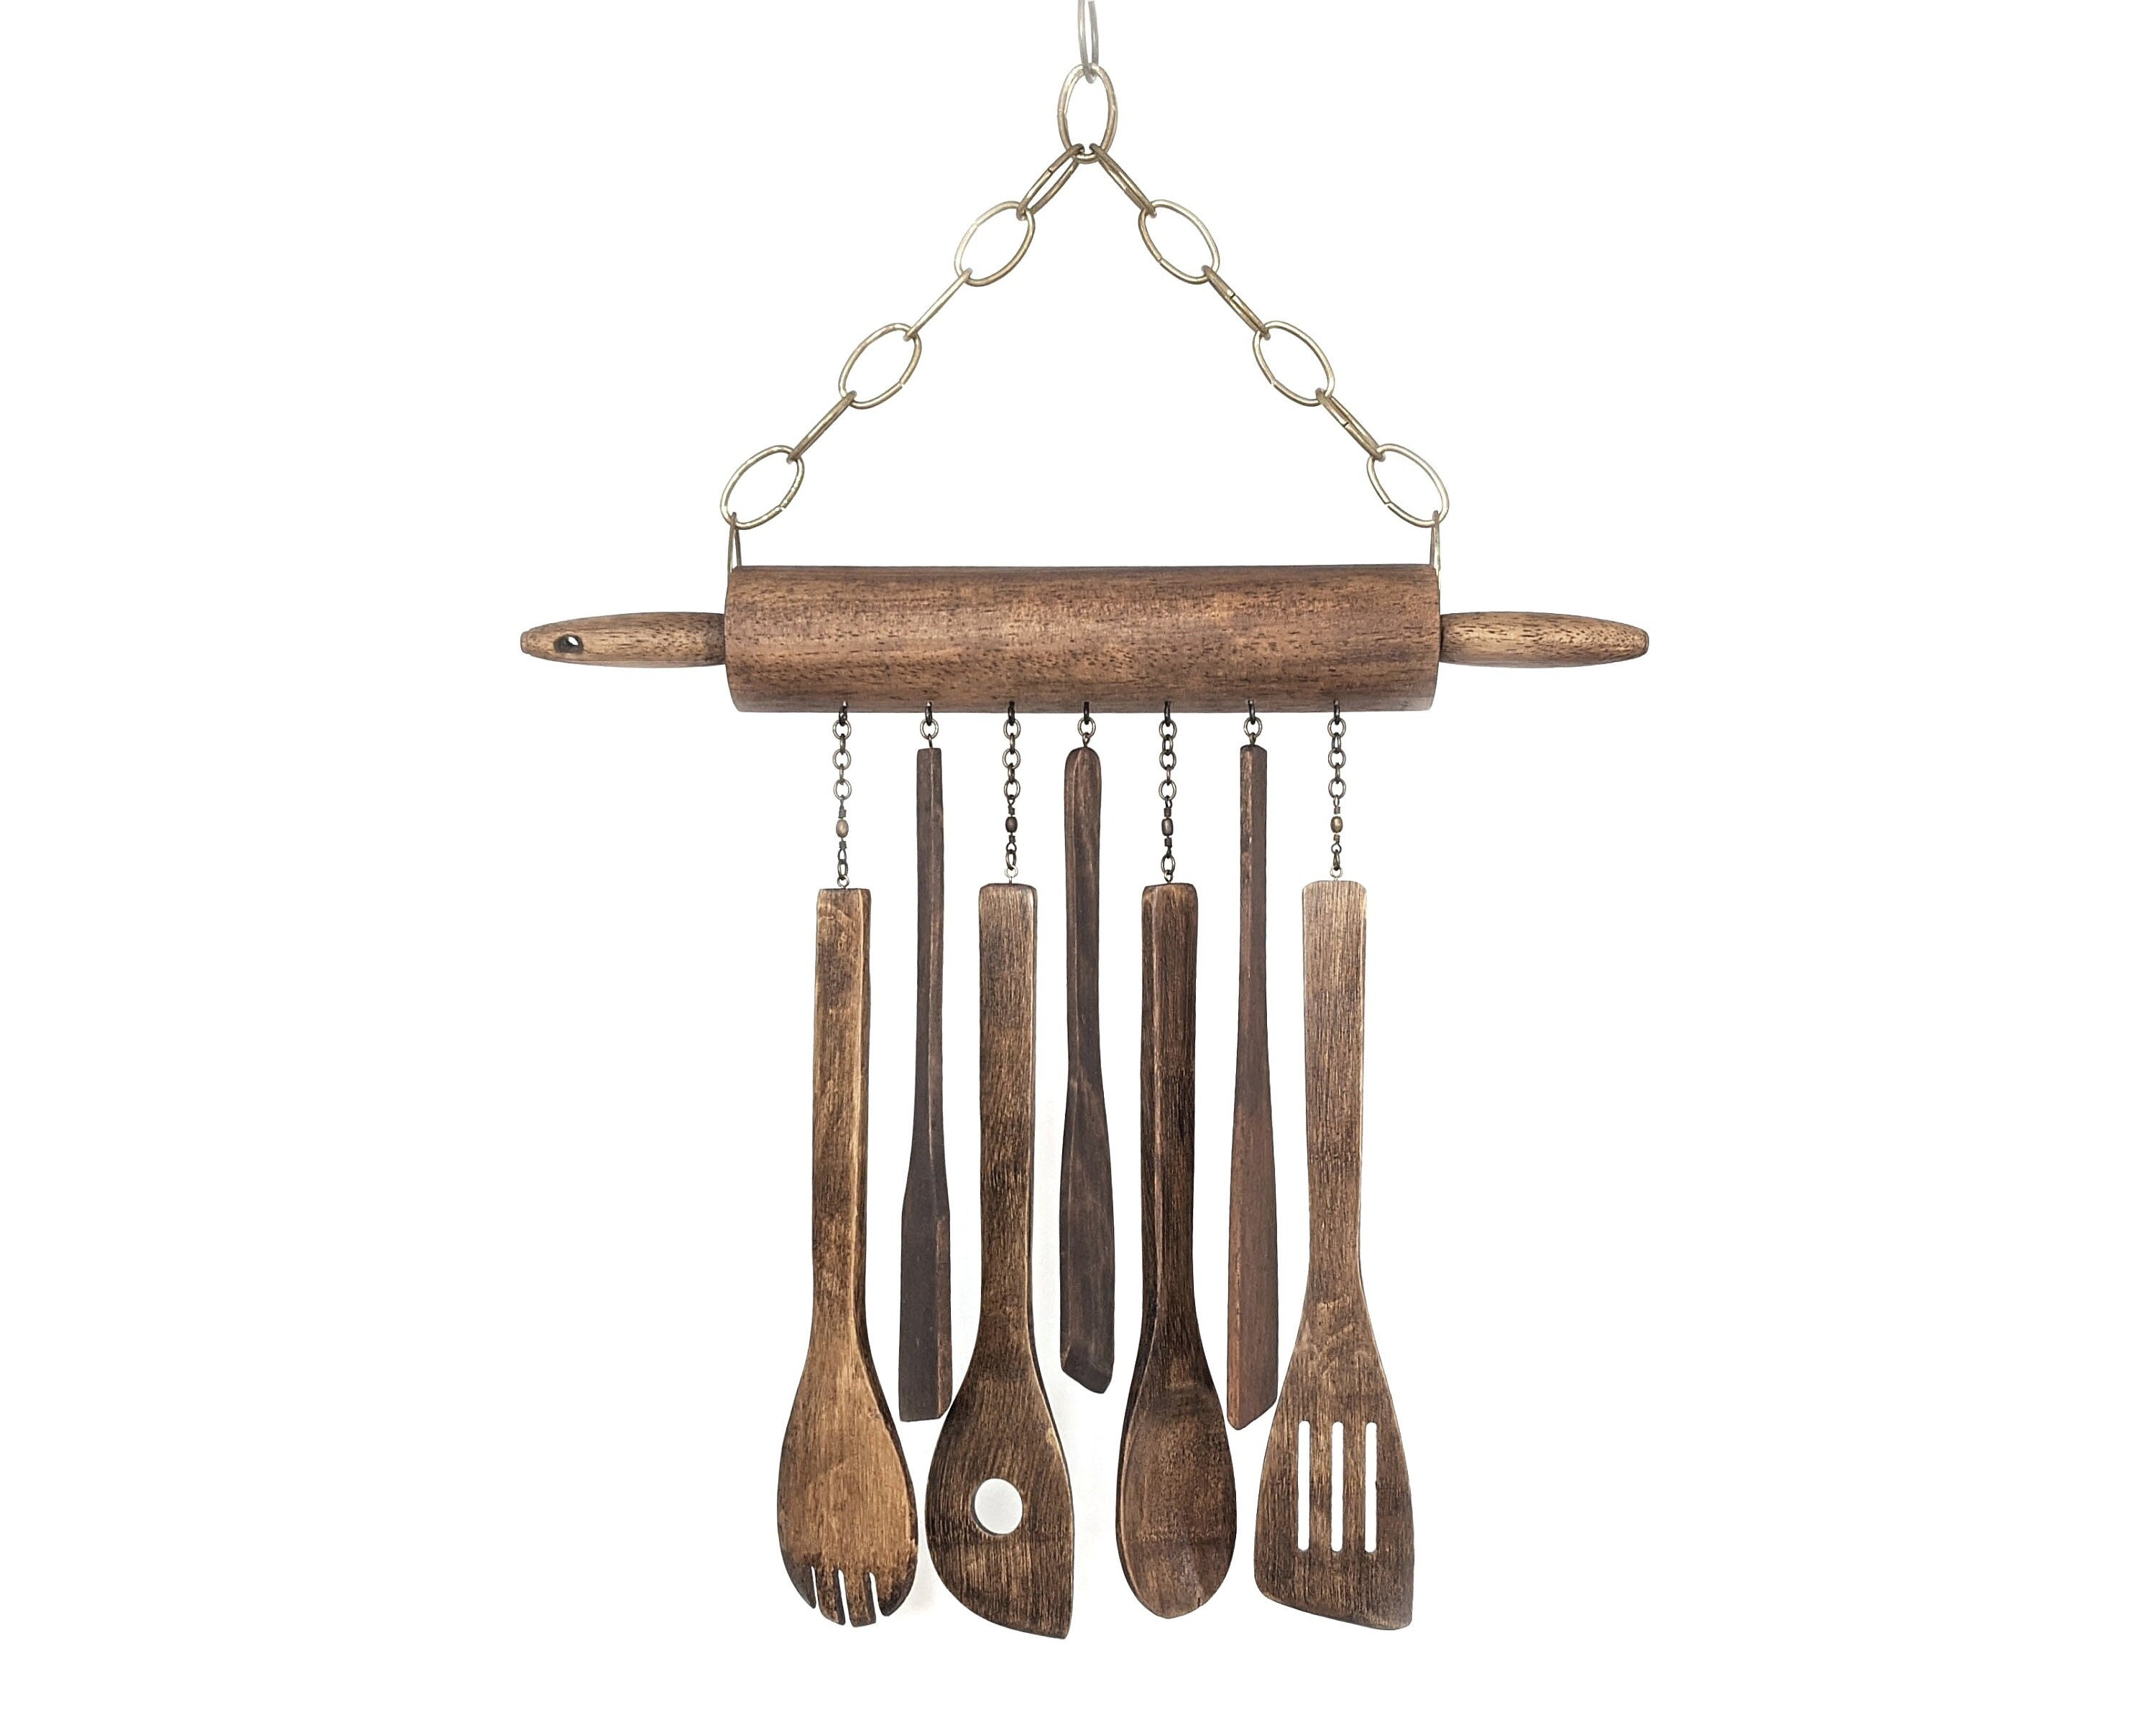
Credit: www.etsy.com
Materials Needed
Gathering the right materials is the first step to making a wooden wind chime with spoons. The materials affect how your wind chime looks and sounds. Choose items that are easy to work with and will last outdoors.
Choosing The Right Spoons
Metal spoons work best for wind chimes because they make clear sounds. Old stainless steel spoons are ideal. Avoid plastic spoons since they don’t produce good tones. You can use spoons of different sizes to create varied sounds. Make sure the spoons are clean and free of rust or dirt.
Additional Supplies
You need a wooden base to hang the spoons. A small wooden ring or a piece of driftwood works well. Use strong string or thin wire to attach spoons to the base. You will also need a drill or something sharp to make holes in the spoons and wood. Sandpaper helps smooth rough edges. A pair of scissors or wire cutters will be useful for cutting string or wire.

Credit: colormethrifty.com
Preparing The Spoons
Preparing the spoons is the first step in making a wooden wind chime. It ensures the spoons look good and sound nice. Clean and shape each spoon carefully for the best results.
Cleaning And Polishing
Start by washing the spoons with warm, soapy water. Use a soft brush to remove dirt and rust. Rinse well and dry them completely.
Next, polish the spoons to make them shine. Use fine sandpaper or a polishing cloth. This step removes rough spots and improves the wood’s look.
Shaping The Spoons
Check each spoon for any sharp edges or uneven parts. Use sandpaper to smooth the edges. Round off the handles for a soft touch.
You can also carve simple designs on the spoons. This adds a personal touch and makes your wind chime unique.
Designing Your Wind Chime
Designing your wooden wind chime with spoons is a fun and creative process. It lets you shape the look and sound of your chime. Careful design helps make a beautiful and balanced wind chime.
Start by choosing the right frame and then arrange the spoons for the best effect. Every step affects how your wind chime will look and sing in the breeze.
Selecting A Frame
Pick a sturdy frame to hold your spoons. Wood works best for a natural, warm feel. Bamboo or driftwood can add charm and character.
Make sure the frame is strong enough to hold the weight of the spoons. A circular or rectangular frame fits spoons nicely. Size the frame to allow enough space between spoons.
Arranging The Spoons
Arrange spoons so they can hit each other or the frame. This creates soothing sounds when the wind blows. Space them evenly to avoid clumping and tangled strings.
Vary the spoon lengths for different tones. You can hang them in a circle or a line. Experiment with placement before tying the spoons down.
Assembling The Wind Chime
Assembling your wooden wind chime with spoons brings all parts together. This step gives life to your project. Handle each piece with care to ensure a sturdy and charming chime.
Follow the steps in order to create a balanced and beautiful wind chime.
Drilling Holes In Spoons
Start by marking the spot for the hole on each spoon. Use a small drill bit to make a hole near the handle’s end. Drill slowly to avoid breaking the spoon. Clean any rough edges around the hole for safety. This hole will allow the string to pass through.
Stringing The Spoons
Cut pieces of string or thin rope for each spoon. Thread the string through the hole in the spoon’s handle. Tie a secure knot to hold the spoon in place. Leave extra string at the top for attaching to the frame. Repeat this for all spoons, keeping the lengths varied for a nice sound.
Attaching To The Frame
Prepare the wooden frame by drilling small holes where spoons will hang. Thread each spoon’s string through these holes. Tie knots on the frame side to secure the spoons. Space the spoons evenly to avoid clumping. Add a main string or hook at the top to hang your wind chime outdoors.
Adding Finishing Touches
Adding finishing touches to your wooden wind chime with spoons brings your project to life. It makes your chime look unique and protects it from damage. These final steps help your wind chime last longer and sound better in the breeze.
Painting And Decorating
Choose bright or soft colors for your wooden wind chime. Use acrylic paint for easy application and quick drying. Paint the spoons and wooden parts carefully. Add simple patterns like stripes, dots, or shapes to give charm.
Try decorating with small beads or ribbons. Tie ribbons to the strings or wooden frame for a gentle sway effect. Glue beads on the spoons for a sparkling touch. Keep decorations light to avoid changing the chime’s sound.
Sealing For Outdoor Use
Protect your wind chime from rain and sun with a clear sealant. Use a water-resistant spray or brush-on sealant. Apply two or three thin coats, letting each dry well. This stops wood from cracking and paint from fading.
Seal the spoons and wooden parts fully. Pay special attention to edges and joints. Let the sealant cure for at least 24 hours before hanging your wind chime outside. This step keeps your chime beautiful and weatherproof.
Hanging And Placement Tips
Hanging and placing your wooden wind chime with spoons correctly helps it sound better and last longer. The right spot lets the wind move the chime easily. It also keeps the chime safe from damage. Follow these tips to find the best location and keep your wind chime in great shape.
Choosing The Best Location
Pick a place with steady wind. Near a window, porch, or tree branch works well. Avoid spots with no air movement. Make sure the chime hangs free without touching walls or plants. Keep it away from strong sun or rain. This prevents fading and damage. The spot should be easy to reach for cleaning and fixing.
Maintaining Your Wind Chime
Check your wind chime often. Clean dust and dirt with a soft cloth. Use mild soap and water for stubborn stains. Dry it well to avoid wood rot. Tighten knots and hooks if they get loose. Apply wood oil or sealant each season. This protects wood from weather and keeps the chime looking fresh.

Credit: stockcake.com
Frequently Asked Questions
What Materials Do I Need To Make A Wooden Wind Chime With Spoons?
You need wooden spoons, a wooden ring or stick, string or fishing line, and a drill. Optional items include paint or varnish for decoration.
How Do I Attach Spoons To The Wooden Wind Chime Frame?
Drill small holes in the spoon handles and the wooden frame. Then, tie the spoons securely using string or fishing line.
Can I Paint Wooden Spoons Before Making The Wind Chime?
Yes, painting spoons before assembly adds color and protects the wood. Use outdoor or acrylic paint for best results.
How Do I Hang A Wooden Spoon Wind Chime Properly?
Use a sturdy hook or nail in a shaded, breezy spot. Make sure the chime hangs freely to catch the wind.
What Sounds Do Wooden Spoon Wind Chimes Make?
Wooden spoons create soft, gentle clinking sounds. The tones vary with spoon size and how they hit each other.
Conclusion
Making a wooden wind chime with spoons is fun and simple. You only need a few materials and some patience. The sound it creates is soft and calming. You can hang it in your garden or by a window. It adds charm and a personal touch to your space.
Plus, it’s a great way to recycle old spoons. Try this easy craft to enjoy nature’s music every day. Give it a go and see how relaxing it can be.