
Is your RV water heater switch not working right when you need it most? You rely on that warm water after a long day, and a faulty switch can turn your comfort into frustration fast.
Don’t worry—you’re not alone, and this problem is fixable. You’ll discover simple steps to diagnose and fix your RV water heater switch. Keep reading to get your hot water back and enjoy every trip without the hassle.
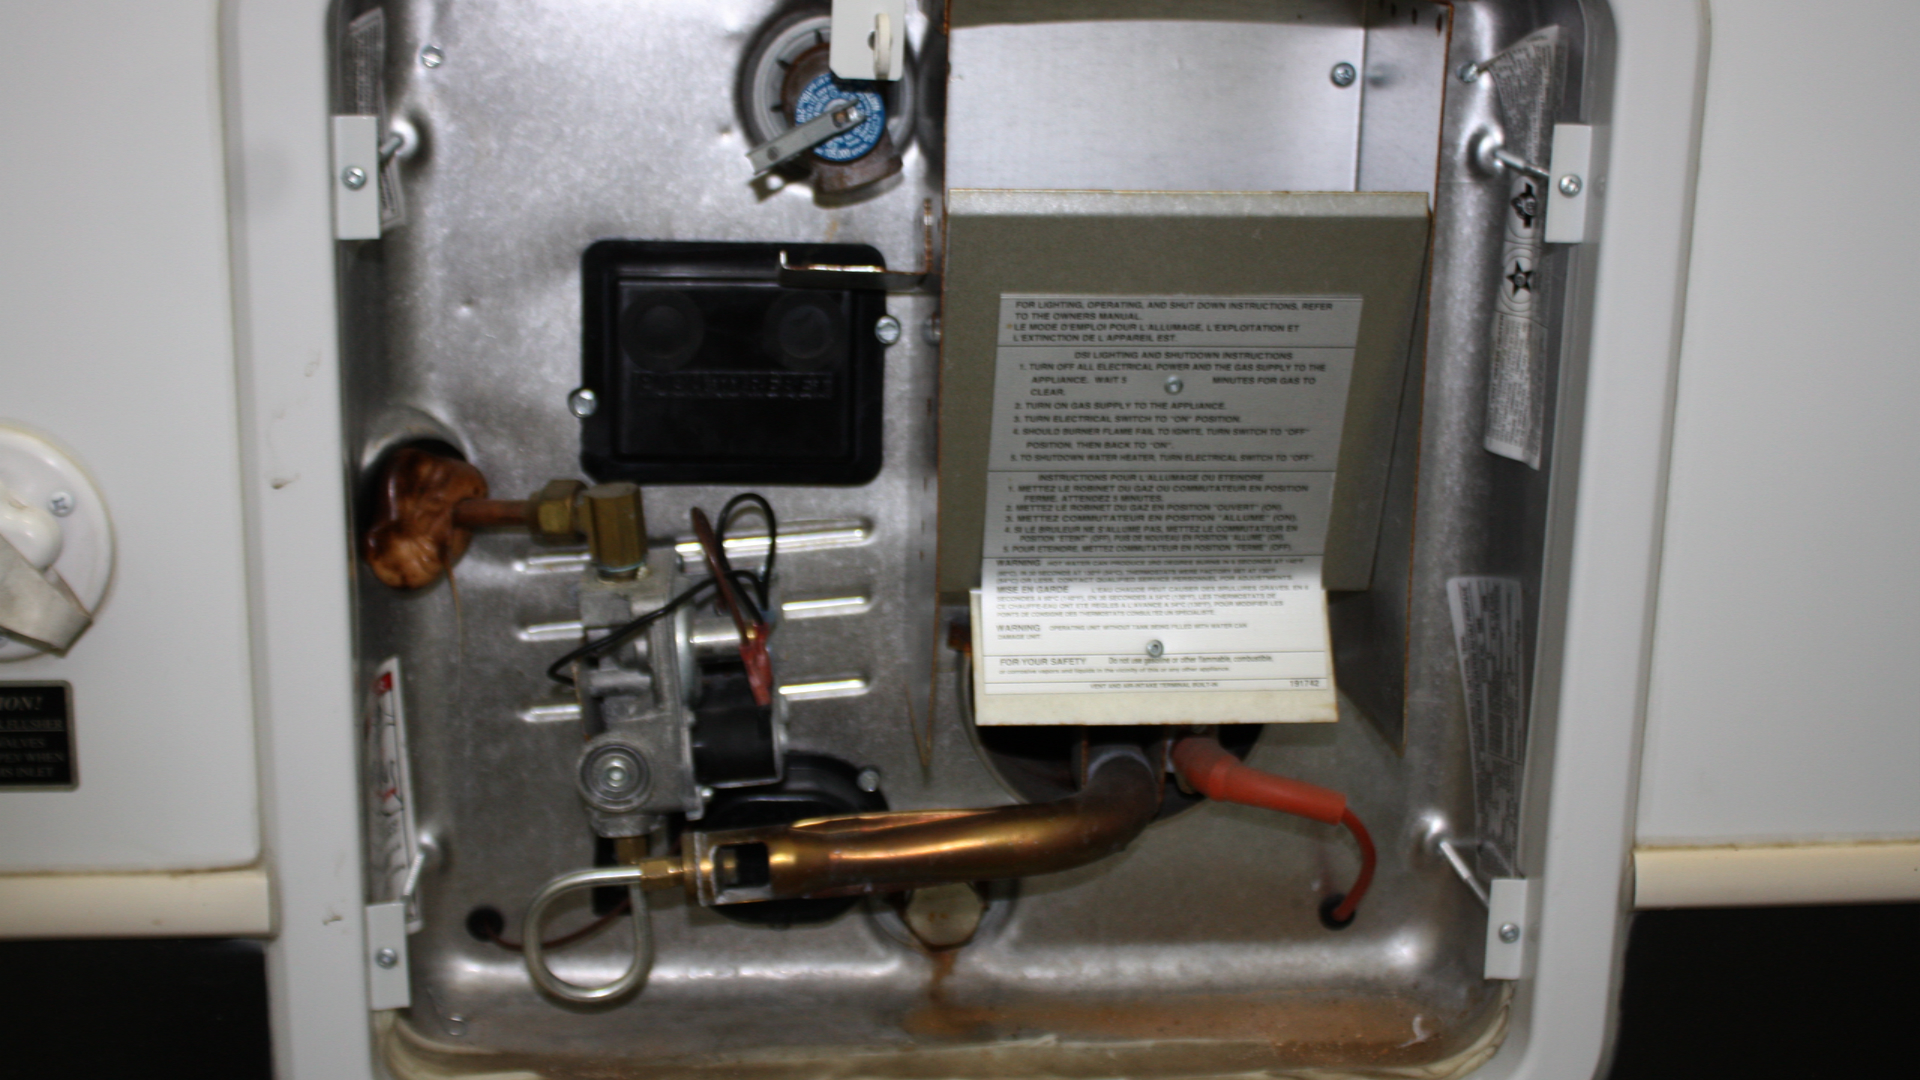
Credit: imsengineering.co.za
Common Causes Of Switch Failure
The switch on your RV water heater plays an important role. It controls the heater’s power and helps keep water warm. Sometimes, the switch stops working. Understanding why it fails can save you time and money. Many factors cause switch failure. These factors affect the switch’s parts, connections, and environment.
Worn Out Switch Components
Switch parts can wear out after long use. Inside the switch, small pieces move to turn it on or off. These parts can break or get stuck. Dirt and dust also build up inside. This stops the switch from working right. Replacing worn parts can fix the problem.
Electrical Connection Issues
Electric wires carry power to the switch. Loose or broken wires stop the flow of electricity. Corroded connectors cause poor contact. This leads to switch failure. Checking and tightening connections often restores power to the switch. Secure wiring is key for proper function.
Water Damage Effects
Water heaters work in wet places. Sometimes water leaks or spills near the switch. Water can enter the switch housing. This causes corrosion and short circuits. Moisture damages the switch’s internal parts. Keeping the switch dry prevents these problems. Fix leaks quickly to protect the switch.

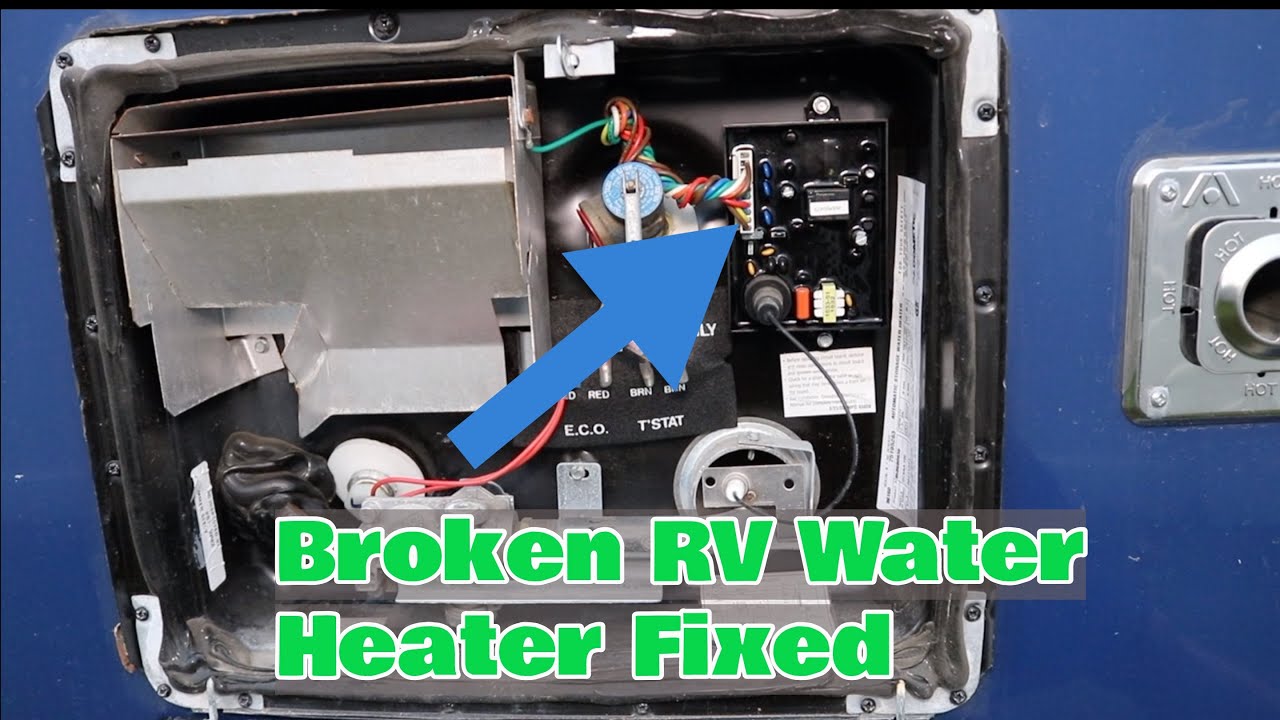
Credit: www.youtube.com
Tools And Materials Needed
Fixing an RV water heater switch requires the right tools and materials. Having these ready saves time and makes the job easier. Use tools that are safe and in good condition. Prepare all parts before starting the repair.
Basic Electrical Tools
Start with a multimeter to check electrical flow and voltage. Use a screwdriver set with flathead and Phillips tips for removing screws. Wire strippers help to clean wires without damage. Needle-nose pliers assist in gripping small parts and bending wires. A voltage tester ensures the power is off before working.
Replacement Parts
Get the correct RV water heater switch matching your model. Keep extra electrical connectors and wire nuts handy. Have electrical tape to secure wire connections. Spare fuses might be needed for your circuit. A small roll of electrical wire could help with damaged wiring.
Safety Gear
Wear insulated gloves to avoid electric shocks. Safety goggles protect your eyes from debris. Use a dust mask if working in dusty areas. Ensure proper lighting to see clearly. Have a fire extinguisher nearby for emergencies.
Checking The Power Supply
Checking the power supply is the first step to fix an RV water heater switch that is not working. Without power, the switch cannot turn on the heater. Make sure your RV’s electrical system is delivering power correctly. This helps avoid unnecessary repairs and keeps your heater working.
Testing The Circuit Breaker
The circuit breaker controls power flow to your water heater. Locate the breaker panel in your RV. Look for any tripped switches. A tripped breaker will be in the middle position or off.
Flip the breaker fully to the off position. Then switch it back on. This resets the breaker and may restore power. If the breaker trips again, it signals a deeper electrical issue. In that case, call a professional for help.
Inspecting The Battery Connections
Your RV battery powers many systems, including the water heater switch. Check the battery terminals for dirt or corrosion. Clean the terminals with a wire brush if needed.
Ensure the battery cables are tight and secure. Loose connections can stop power flow. Test the battery voltage with a multimeter. A healthy battery should read around 12.6 volts.
Low voltage may mean the battery needs charging or replacement. Good battery connections and charge levels support proper switch operation.
Inspecting The Water Heater Switch
Inspecting the water heater switch is the first step to fix your RV water heater. This switch controls the power supply to the heater. A faulty switch can stop the heater from working. Checking the switch helps you find the problem quickly. It saves time and avoids unnecessary repairs.
Locating The Switch
The water heater switch is usually near the heater unit. It might be on the control panel or close to the heater’s power source. Look for a small toggle or push-button switch. Your RV manual can help you find the exact spot. Knowing the location makes inspection easier and faster.
Visual Inspection For Damage
Look closely at the switch for any signs of damage. Check for cracks, burns, or melted plastic. Loose wires or corrosion also indicate problems. A damaged switch often shows visible signs. Clean dirt or debris around the switch to avoid false issues. A quick visual check often reveals the problem.
Testing Switch Functionality
Use a multimeter to test the switch’s function. Set it to check continuity or resistance. Press or toggle the switch and watch the meter. A working switch will show a change in reading. No change means the switch is faulty. Replace the switch if it fails the test. Testing confirms the switch condition before buying parts.
Simple Switch Repair Steps
Fixing an RV water heater switch can be simple. Many problems come from dirt, loose parts, or a broken switch. Following easy steps can help you get hot water again fast. These repairs do not need special tools or skills. Just a little care and attention.
Cleaning Switch Contacts
Turn off the power before you start. Open the switch cover carefully. Look for dirt or dust on the contacts. Use a soft cloth or small brush to clean them gently. Dirt can stop the switch from working right. Cleaning the contacts can restore the connection and make the switch work again.
Tightening Loose Connections
Check all wires connected to the switch. Loose wires cause poor contact and stop the switch. Use a screwdriver to tighten any loose screws. Make sure wires are secure but not too tight. Proper connections help the switch work smoothly. This step often fixes the problem quickly.
Replacing The Switch
If cleaning and tightening do not work, replace the switch. Buy a new switch that fits your water heater model. Turn off all power before starting. Remove the old switch carefully, noting wire positions. Connect the new switch following the same setup. Secure all wires and test the switch. A new switch can solve the issue completely.
Preventive Maintenance Tips
Preventive maintenance helps keep your RV water heater switch working well. Small checks stop big problems. Regular care saves money and time. Follow these tips to avoid switch failure.
Regular Inspection Schedule
Check the water heater switch every few months. Look for signs of wear or damage. Test the switch to see if it turns on and off properly. Early detection helps fix issues before they grow.
Protecting Against Moisture
Moisture can cause the switch to stop working. Keep the area around the switch dry and clean. Use covers or seals to block water from reaching the switch. Dry conditions help the switch last longer.
Ensuring Proper Installation
Install the switch according to the manual. Wrong installation causes poor contact and failure. Use the correct tools and parts for installation. Proper setup ensures the switch works safely and efficiently.
When To Seek Professional Help
Knowing when to seek professional help can save time and prevent damage. Some RV water heater switch problems are simple to fix. Others require expert care to avoid risks.
Electrical systems can be tricky. Handling them without proper knowledge may cause injury or further damage. Watch for signs that show the problem is beyond basic troubleshooting.
Complex Electrical Issues
Complex electrical issues need a professional’s touch. If wires look burnt or melted, stop trying to fix it. Faulty circuits or unusual smells signal danger. A trained technician can safely diagnose and repair these problems.
Electrical testing tools and experience are necessary. Professionals ensure repairs meet safety standards. Avoid risking electric shocks or worsening the issue by calling an expert.
Persistent Switch Problems
Persistent switch problems suggest a deeper issue. If the water heater switch fails repeatedly, it might not be the switch alone. Faulty wiring or internal heater damage could be the cause.
Repeated fixes that don’t last waste time and money. Experts identify root causes and fix them correctly. This approach keeps your RV water heater working reliably and safely.
Credit: www.youtube.com
Frequently Asked Questions
Why Is My Rv Water Heater Switch Not Turning On?
The switch might be faulty, or there could be a blown fuse or loose wiring.
How Do I Test The Rv Water Heater Switch?
Use a multimeter to check for power and continuity in the switch circuit.
Can A Bad Switch Cause The Water Heater To Stop Working?
Yes, a damaged switch can prevent the heater from turning on or off.
What Are Common Signs Of A Faulty Rv Water Heater Switch?
No response when flipped, flickering lights, or inconsistent heater operation are common signs.
How To Fix A Stuck Rv Water Heater Switch?
Turn off power, remove the switch, clean contacts, or replace the switch if needed.
Could Wiring Issues Cause The Water Heater Switch To Fail?
Loose or corroded wires often cause switch failure or poor electrical connection.
Is It Safe To Replace An Rv Water Heater Switch Myself?
Yes, if you have basic electrical skills and follow safety precautions carefully.
What Tools Do I Need To Check The Rv Water Heater Switch?
A multimeter, screwdriver, and wire stripper are the most useful tools for testing.
How Often Should I Inspect My Rv Water Heater Switch?
Inspect the switch every 6 to 12 months to avoid unexpected failures.
Can Moisture Cause My Rv Water Heater Switch To Stop Working?
Yes, moisture can cause corrosion or short circuits that affect switch function.
Conclusion
Fixing an RV water heater switch can feel tricky. Start by checking the power source and connections. A clean, tight wire often solves the issue. Test the switch itself for damage or wear. Sometimes, a replacement switch is the best choice.
Regular checks help avoid sudden problems on the road. Stay calm and take one step at a time. Your water heater will work again soon. Safe travels and warm showers await!