
Are you struggling with your Raypak heater showing High Limit 1 Fault or 2 Fault errors? These issues can be frustrating and confusing, leaving you unsure of what to do next.
But don’t worry—you’re not alone, and fixing these faults might be easier than you think. You’ll discover simple, step-by-step solutions to get your Raypak system back to working smoothly. Keep reading, and by the end, you’ll have the confidence to tackle these faults yourself and enjoy warm, worry-free comfort again.
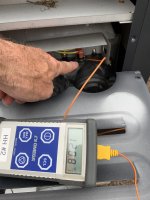
Credit: www.troublefreepool.com
Raypak High Limit Faults Explained
Raypak high limit faults are safety features in your heating system. They stop the system from overheating. These faults show as error codes on your Raypak control panel. Understanding these faults helps you fix them quickly. This keeps your system safe and working well.
High limit faults happen when the water temperature goes above a safe level. The system then shuts off to prevent damage. There are two main types of high limit faults: High Limit 1 and High Limit 2. Each fault has different causes and triggers.
What Triggers High Limit 1 Fault
High Limit 1 fault occurs when the first temperature sensor detects too much heat. This sensor monitors the water temperature inside the heater. If the water gets hotter than the set limit, the fault triggers. Common triggers include blocked water flow or dirty filters. These block water from cooling the heater properly. Another cause is a faulty sensor giving wrong readings. The system then stops to avoid overheating damage.
Causes Of High Limit 2 Fault
High Limit 2 fault happens if the second temperature sensor finds excessive heat. This sensor acts as a backup to the first one. Causes include a failing pump or low water pressure. These issues reduce water circulation and cause heat build-up. Scaling inside the heater can also raise temperature too much. Faulty wiring or damaged sensors may cause false alarms. The system shuts down to protect itself in all these cases.
Safety Precautions Before Repair
Safety is the top priority before fixing Raypak High Limit 1 or 2 faults. Working on heating systems involves risks. Following safety steps protects you from electric shock and injury. Always prepare your workspace to avoid accidents. Proper care makes the repair process smoother and safer.
Power Shutdown Steps
Turn off the main power supply to the heater. Locate the circuit breaker or fuse box. Switch off the breaker that controls the Raypak unit. Double-check by trying to start the heater. No power means it is safe to continue. This step prevents electric shocks during repair.
Handling Electrical Components Safely
Use insulated tools when touching electrical parts. Avoid wet hands or standing on damp floors. Wear rubber-soled shoes for extra protection. Keep metal objects away from wiring and terminals. Never bypass safety switches or fuses. Handle wires gently to avoid damage. Follow these rules to stay safe while repairing.
Tools Required For Fixing Faults
Fixing Raypak High Limit 1 and 2 faults requires the right tools. Using proper equipment makes the repair process easier and safer. Without the correct tools, you may cause more damage or waste time. Preparing your tools before starting ensures a smooth repair.
Essential Tools List
- Multimeter: Measures electrical voltage and continuity.
- Screwdrivers: Phillips and flat-head for removing panels.
- Wire strippers: For cutting and stripping wire insulation.
- Pliers: Useful for gripping and bending wires.
- Socket wrench set: For loosening and tightening nuts.
- Voltage tester: Checks if power is off before working.
- Replacement fuses or limit switches: Needed to replace faulty parts.
Optional Helpful Equipment
- Flashlight or headlamp: Improves visibility in tight spaces.
- Digital camera or phone: Take pictures of wiring before disassembly.
- Electrical tape: For securing wire connections.
- Contact cleaner spray: Cleans electrical contacts for better performance.
- Insulated gloves: Protects hands from electrical shocks.
- Small mirror: Helps view hard-to-see areas inside the unit.
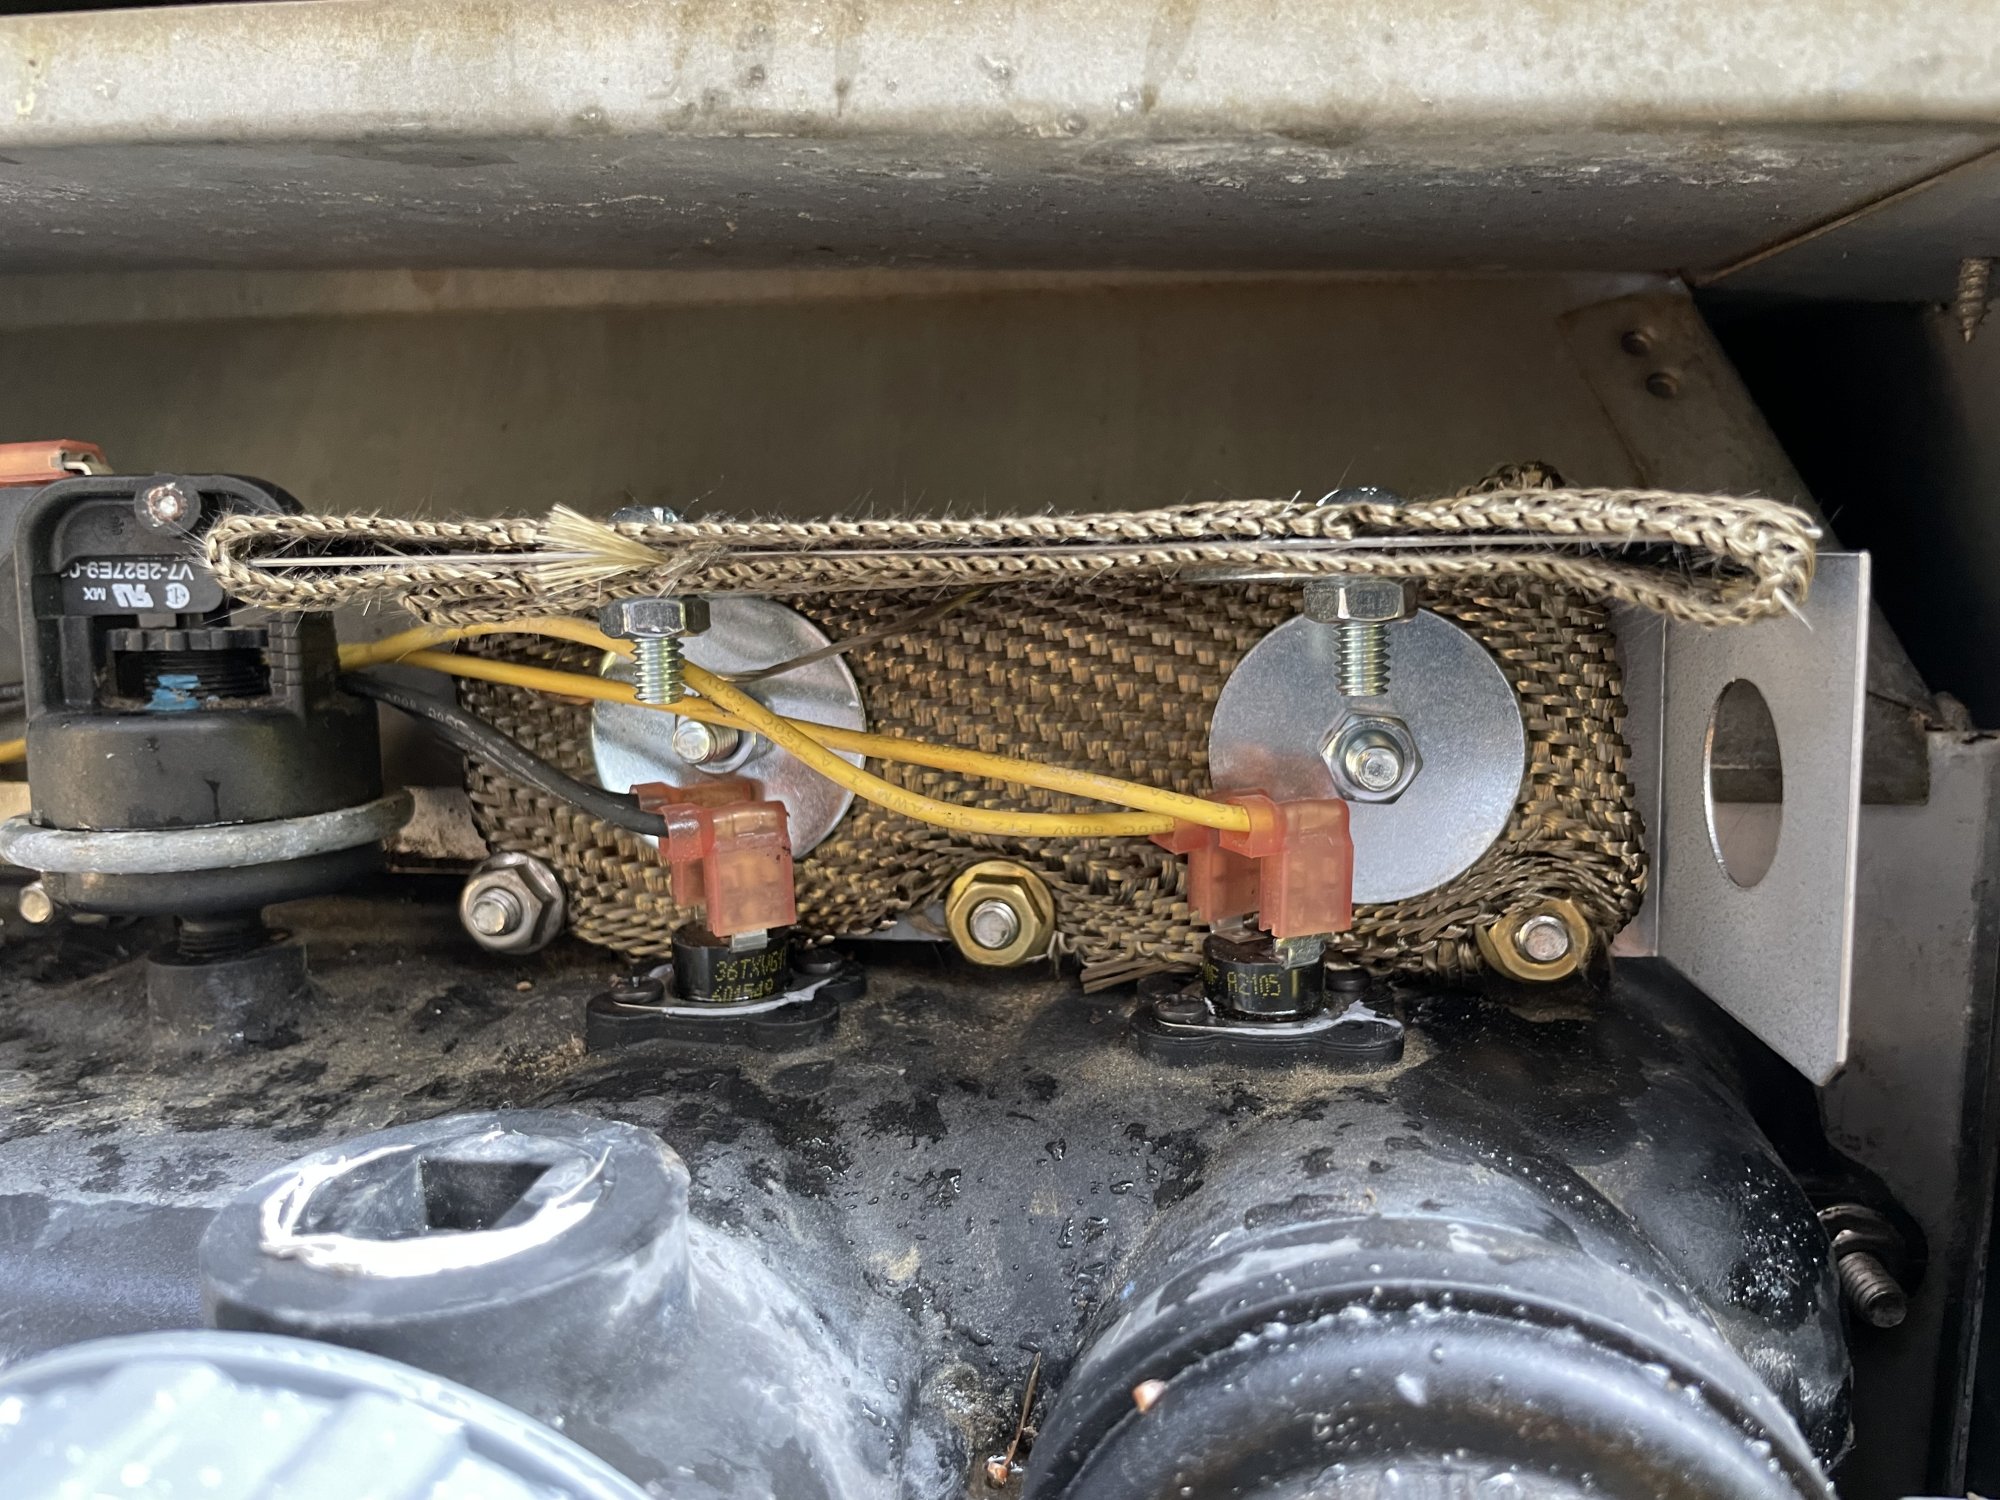
Credit: www.troublefreepool.com
Resetting High Limit Faults
Resetting high limit faults on your Raypak heater is a key step to get it working again. These faults happen when the water temperature gets too high, and the system shuts off for safety. Resetting clears the fault and lets the heater run normally. Knowing how to reset safely can save time and avoid damage.
Manual Reset Procedures
First, turn off the power to the heater. This step is important to avoid electric shock. Locate the high limit reset button on the heater’s control panel. Press the button firmly and hold it for a few seconds. You may hear a click, showing the reset worked. Turn the power back on and check if the fault cleared. Watch the heater closely for a few minutes to ensure it runs smoothly.
When To Use Factory Reset
A factory reset should be your last option. Use it only if the manual reset does not fix the problem. This reset returns the heater to its original settings. It can erase custom settings and schedules. Follow the heater’s manual to perform a factory reset safely. Remember, frequent faults after reset may mean a bigger issue. In that case, call a professional for help.
Inspecting And Cleaning Components
Inspecting and cleaning the parts of your Raypak heater is key to fixing High Limit 1 and 2 faults. Dirt and wear can cause the heater to stop working properly. Regular checks keep the system safe and efficient. Here’s how to inspect and clean the main components.
Checking Temperature Sensors
Temperature sensors tell the heater how hot the water is. Faulty sensors may send wrong signals. First, turn off the power. Then, find the sensors on the heater.
Look for dirt or damage on the sensors. Clean them gently with a soft cloth. Do not use water or harsh chemicals. Check the connections and wires for loose or broken parts. Replace any damaged sensors to avoid errors.
Cleaning Heat Exchanger And Sensors
The heat exchanger moves heat from the burner to the water. Over time, scale and dirt build up inside. This blocks heat flow and triggers faults.
Turn off the heater and let it cool. Remove the cover to access the heat exchanger. Use a soft brush to remove dust and debris. For heavy scale, apply a descaling solution made for heaters. Rinse carefully with water.
Clean the sensors again after the heat exchanger. Clear sensors help the system read temperatures correctly. Regular cleaning lowers fault risks and improves heater life.
Replacing Faulty Parts
Replacing faulty parts is often the best way to fix Raypak High Limit 1 and 2 faults. These errors usually happen because some parts stop working properly. Fixing or changing those parts can make your heater work like new again.
This process is not difficult. It mainly involves checking key components and swapping out the bad ones. Two common parts to look at are the high limit switch and the sensors with their wiring. Both can cause faults if they fail or get damaged.
High Limit Switch Replacement
The high limit switch stops your heater from overheating. When it breaks, the heater may shut down and show a fault. Start by turning off the power to your heater for safety.
Locate the high limit switch near the heater’s heat source. Remove the old switch carefully. Take note of how it connects to wires. Attach the new switch exactly the same way. Turn on power and test your heater. The fault should clear if the switch was the problem.
Sensor And Wiring Repairs
Sensors measure temperature and send signals to the heater’s control board. Faulty sensors or broken wires cause error codes. Check all sensor wires for cuts or loose connections first.
Use a multimeter to test sensor resistance. Replace any sensor that gives wrong readings. Fix or replace any damaged wiring. Reconnect everything firmly. Power on the heater and check if the fault disappears.
Testing And Monitoring After Repair
After fixing the Raypak High Limit 1 and 2 faults, testing and monitoring are key. These steps confirm the repair worked. They also catch any new issues early. Careful checks help keep your heating system safe and efficient.
Running Diagnostic Tests
Start by running diagnostic tests on the Raypak unit. These tests check if the system works properly. Follow the manufacturer’s guide to access the diagnostic mode. Look for error codes or warnings on the display panel. Clear any old fault codes before starting. Run the tests to see if the high limit sensors respond well. This step ensures the repair fixed the original problem.
Monitoring For Recurring Faults
Keep an eye on the system for a few days after repair. Watch for any signs of the High Limit faults returning. Check the unit’s display regularly for fault codes or unusual behavior. Record any recurring problems and their timing. Early detection helps prevent bigger issues later. Regular monitoring keeps your Raypak unit running smoothly and safely.

Credit: www.reddit.com
Preventing Future High Limit Faults
Preventing future High Limit faults on your Raypak heater saves time and money. These faults occur when the system overheats. Avoiding them means keeping the heater safe and working well. Proper care and small upgrades help reduce the chance of faults. Follow simple steps to protect your system and enjoy warm water without interruptions.
Regular Maintenance Tips
Check your Raypak heater often. Clean dust and debris from vents and parts. Dirty parts cause the heater to work harder and overheat. Test the high limit switch regularly to ensure it works. Replace worn or damaged parts quickly. Keep water flow steady to avoid overheating. Regular maintenance keeps the heater safe and efficient.
System Upgrades For Reliability
Upgrade old parts to improve your heater’s safety. Use a newer high limit switch with better accuracy. Install a flow switch to stop heating if water flow is low. Consider adding a temperature sensor for precise control. These upgrades reduce the risk of faults. They help your heater run smoothly for longer.
Frequently Asked Questions
What Causes Raypak High Limit 1 Fault?
Raypak High Limit 1 Fault usually occurs from overheating or a faulty high limit switch.
How Do I Reset Raypak High Limit 1 Fault?
Turn off power, wait a few minutes, then turn it back on to reset the fault.
What Is Raypak High Limit 2 Fault Error?
High Limit 2 Fault means the second temperature sensor detects overheating in the system.
Can I Fix Raypak High Limit Faults Myself?
Yes, simple checks like cleaning or resetting can help; complex issues need a technician.
Why Does My Raypak Heater Keep Showing High Limit Faults?
Blocked water flow or dirty filters can cause overheating and trigger high limit faults.
How To Test The Raypak High Limit Switch?
Use a multimeter to check for continuity; no continuity means the switch needs replacement.
What Maintenance Prevents Raypak High Limit Faults?
Regular cleaning of filters and checking water flow helps prevent these faults.
Does Low Water Flow Cause Raypak High Limit Errors?
Yes, low water flow causes overheating, triggering high limit fault codes.
How To Safely Handle Raypak High Limit Fault Repairs?
Turn off power and water supply before inspecting or repairing any parts.
When Should I Call A Professional For Raypak Faults?
Call a technician if faults persist after basic troubleshooting or if unsure about repairs.
Conclusion
Fixing Raypak High Limit 1 and 2 faults is easier than it seems. Start by checking the thermostat and wiring. Clean any dirt or debris around the sensor. Reset the system and watch for errors. Regular maintenance helps prevent these faults.
Stay patient and follow each step carefully. This keeps your heater running smoothly and safely. Small fixes save time and money. Keep your pool warm without stress.