
Are you ready to add a cozy, warm touch to your holiday decor? Making a rustic wooden Christmas tree is easier than you think—and it brings a unique charm that store-bought decorations just can’t match.
Imagine creating a beautiful centerpiece with your own hands, one that fills your home with festive spirit and timeless style. In this guide, you’ll discover simple steps to craft your very own wooden tree, even if you’re new to DIY projects.
Keep reading, and by the end, you’ll have a stunning decoration that’s sure to impress your family and friends this holiday season.
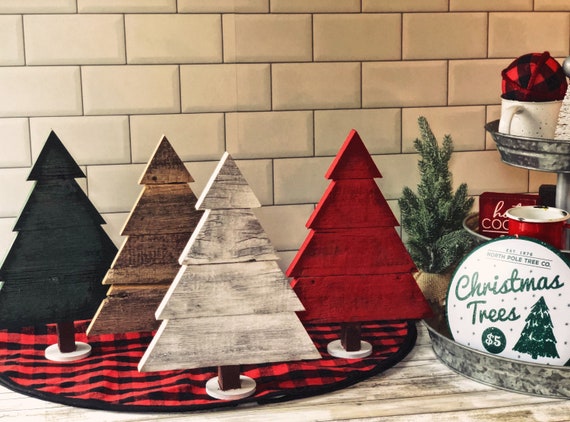
Credit: www.etsy.com
Materials Needed
Gathering the right materials is the first step to making a rustic wooden Christmas tree. Choosing good wood, the proper tools, and extra supplies will help you create a sturdy and beautiful decoration. This guide breaks down everything you need to start your project.
Types Of Wood
Select wood that fits your style and budget. Pine is popular because it is soft and easy to cut. Cedar offers a lovely scent and natural color. Reclaimed wood adds character with its weathered look. Choose wood that is dry and free of cracks for best results.
Tools Required
You will need basic tools for cutting and shaping the wood. A handsaw or jigsaw works well for cutting pieces. Sandpaper smooths rough edges and surfaces. A drill helps make holes for assembly. Clamps hold pieces steady while you work.
Additional Supplies
Gather screws or nails to fasten your tree parts. Wood glue adds extra strength between joints. Paint or stain gives your tree a finished look. Twine or wire can help with decoration or support. Don’t forget safety gear like gloves and goggles.
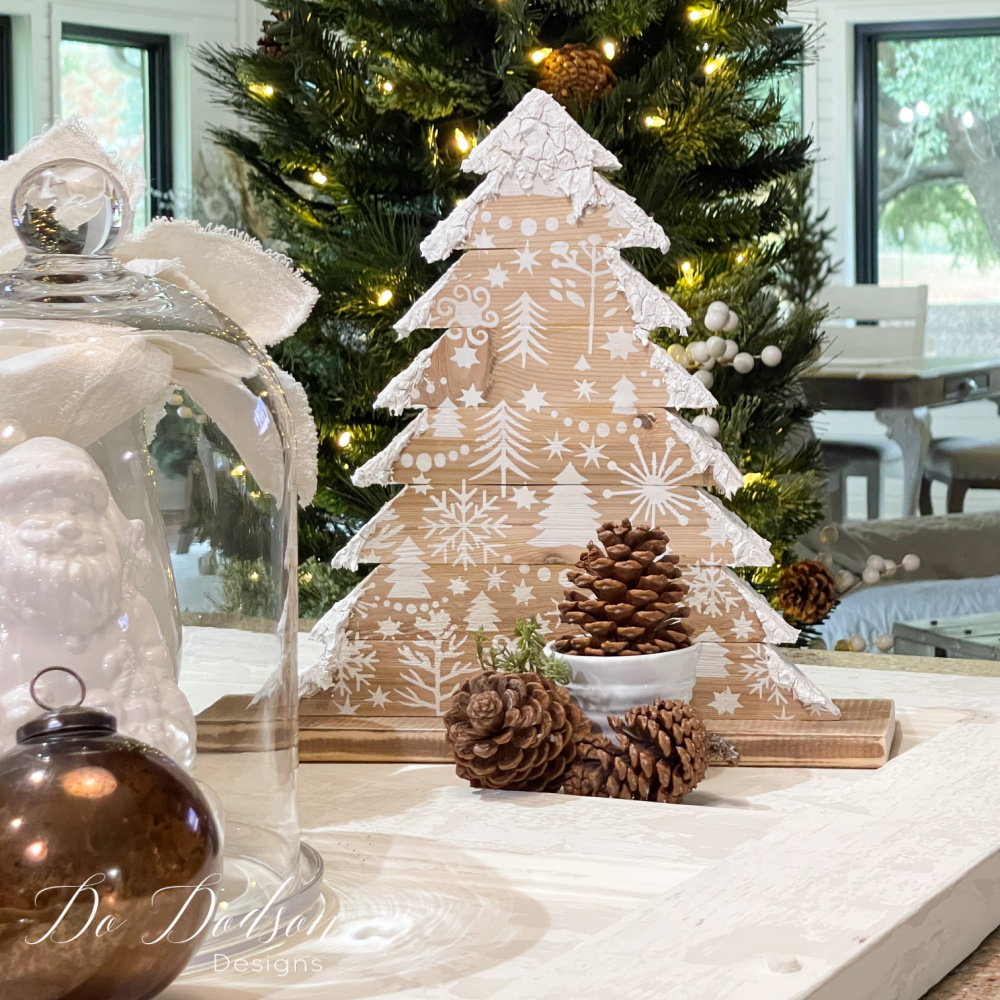
Credit: www.dododsondesigns.com
Preparing The Wood
Preparing the wood is the first step to making a rustic wooden Christmas tree. This step sets the foundation for a beautiful and sturdy decoration. Careful preparation helps the tree look natural and last longer. Focus on selecting the right wood, cutting it correctly, and smoothing the surface.
Selecting Wood Pieces
Choose wood pieces that are dry and free of cracks. Old wood or reclaimed wood works well for a rustic look. Pick planks or boards that vary in width for a more natural shape. Avoid wood with knots that may break during cutting. Pine, cedar, or oak are good choices for this project.
Cutting To Size
Cut the wood pieces into different lengths to form the tree shape. Start with a long piece for the trunk and shorter pieces for the branches. Use a saw to make straight cuts. Make sure each piece has a flat edge to sit well. Measure twice and cut once to avoid mistakes.
Sanding For Smoothness
Sand each wood piece to remove rough spots and splinters. Use medium-grit sandpaper first, then fine-grit for a smooth finish. Sand along the grain to keep the wood’s natural texture. Smooth edges make the tree safer to handle. Take your time to ensure every piece feels nice to touch.
Assembling The Tree
Assembling the rustic wooden Christmas tree is a fun and creative part. It brings the tree to life, piece by piece. Careful steps make sure your tree is sturdy and looks great. Follow each step to build a tree you will love.
Arranging The Wood Layers
Start by laying out all the wooden pieces on a flat surface. Arrange them from largest to smallest to form the tree shape. Keep the layers centered to maintain balance. Check that the wood pieces fit well together before moving on.
Attaching The Pieces
Use wood glue or screws to join the layers securely. Apply glue evenly on the edges that touch. Press pieces together and hold until they stick. For extra strength, add small nails or screws at key points. Wipe off any excess glue quickly.
Creating The Tree Base
Cut a solid wooden plank for the tree base. Make sure it is wide enough to support the tree. Attach the bottom layer of the tree firmly to the base. Use screws or strong glue for a good hold. This base keeps the tree steady on any surface.
Adding Rustic Details
Adding rustic details brings charm and character to your wooden Christmas tree. These details make the tree look warm and inviting. They also give it a handmade, natural feel. Small touches can turn plain wood into a beautiful holiday decoration.
Distressing The Wood
Distressing makes the wood look old and worn. Use sandpaper to rub edges and surfaces gently. Focus on corners and spots that would wear naturally. You can also tap the wood lightly with a hammer or chain. This adds small dents and marks for a vintage effect.
Applying Stain Or Paint
Choose a wood stain or paint that fits your rustic style. Dark browns and soft grays work well. Apply the stain with a brush or cloth, then wipe off extra. For paint, use thin layers to keep the wood grain visible. Let each coat dry before adding more. This keeps the finish natural and soft.
Decorative Elements
Simple decorations enhance the rustic look. Tie small burlap bows or twine around the tree branches. Add pinecones, cinnamon sticks, or dried orange slices for natural accents. Use metal stars or tiny bells to add shine without losing charm. Keep decorations subtle to maintain the tree’s rustic beauty.
Finishing Touches
The finishing touches bring your rustic wooden Christmas tree to life. These steps protect your work and add charm. They make the tree ready for display and enjoyment throughout the season.
Sealing The Wood
Sealing the wood protects it from moisture and dust. Use a clear wood sealer or varnish for a natural look. Apply thin coats with a brush, letting each dry fully. This keeps the wood looking fresh and sturdy.
Attaching Ornaments
Attach ornaments that match the rustic style. Small pinecones, burlap bows, or wooden stars work well. Use hot glue or small nails to secure decorations. Place them evenly to keep the tree balanced and pretty.
Displaying Your Tree
Choose a stable, flat surface for your tree. A wooden crate or a sturdy table works nicely. Light the area softly to highlight the wood’s texture. Your rustic tree will create a cozy, festive mood.
Safety Tips
Safety is very important when making a rustic wooden Christmas tree. Working with wood and tools can cause injuries if you are not careful. Follow these safety tips to stay safe and enjoy your project.
Handling Tools Safely
Always use tools with care. Hold them firmly and keep your hands away from sharp edges. Use the right tool for each task. Check tools before use to make sure they are in good condition. Turn off power tools when not in use. Wear gloves to protect your hands from cuts and splinters.
Working With Wood Dust
Wood dust can harm your lungs. Wear a dust mask to avoid breathing it in. Work in a well-ventilated area to let dust escape. Clean up dust often with a vacuum or damp cloth. Avoid sweeping dust into the air. Keep your eyes safe by wearing protective goggles.
Proper Workspace Setup
Set up your workspace with good lighting. Clear the area of any clutter to avoid tripping. Use a sturdy table or bench to work on. Keep tools and materials organized for easy access. Make sure your floor is dry and free of obstacles. Keep a first aid kit nearby in case of accidents.
Troubleshooting Common Issues
Making a rustic wooden Christmas tree can be fun but tricky. Some common problems might slow you down. Knowing how to fix these issues saves time and keeps your project neat. Below are solutions for usual problems that crafters face.
Fixing Uneven Pieces
Uneven wood pieces make the tree look off-balance. Start by checking each piece with a flat surface. Sand rough or high spots gently. Use a carpenter’s square to align edges. Trim edges with a saw if needed. Make sure all pieces fit well before gluing.
Preventing Wood Splitting
Wood can split when nailing or screwing. Drill small pilot holes before adding nails or screws. Use the right size of nails and screws for your wood. Avoid hammering too hard. Choose softer woods to reduce splitting chances. Keep the wood dry to prevent cracks.
Securing Loose Parts
Loose parts make the tree unstable and unsafe. Use wood glue on joints before nailing. Clamp pieces together while glue dries. Add small screws for extra hold. Check each connection after assembly. Tighten or re-glue any loose areas quickly.
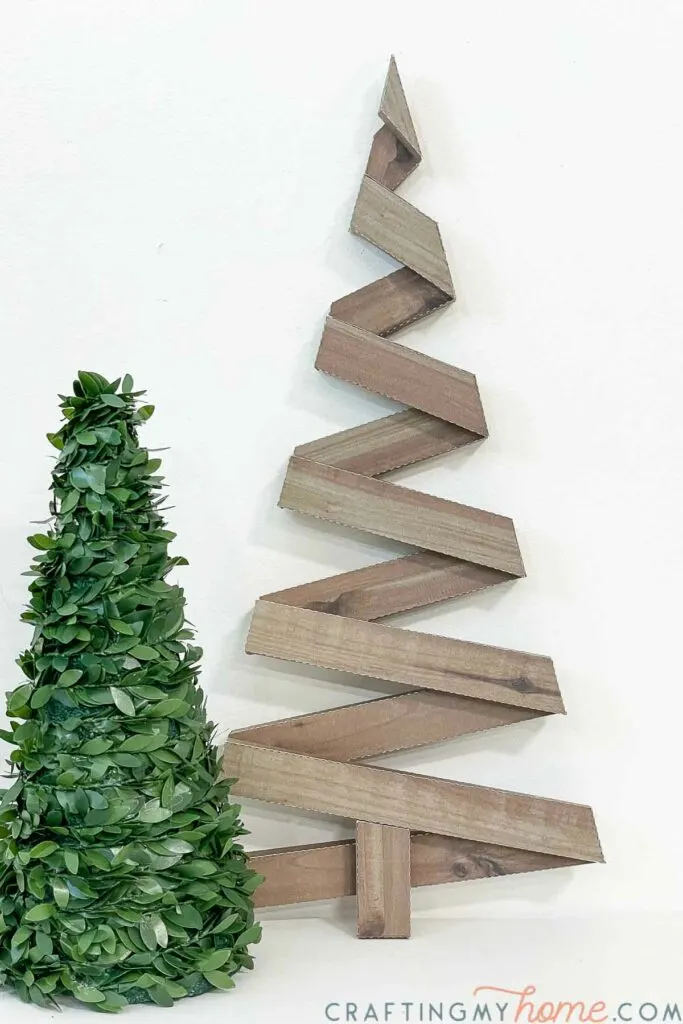
Credit: craftingmyhome.com
Frequently Asked Questions
What Materials Do I Need To Make A Rustic Wooden Christmas Tree?
You need wood planks, nails or screws, a saw, sandpaper, and paint or stain. Optional items include string lights and decorations.
How Long Does It Take To Build A Rustic Wooden Christmas Tree?
Building time usually ranges from one to three hours, depending on your experience. Simple designs take less time to complete.
Can I Customize The Size Of The Wooden Christmas Tree?
Yes, you can cut the wood to any size you want. Just adjust the pieces to keep the tree shape balanced.
What Type Of Wood Is Best For This Project?
Softwoods like pine or cedar work well because they are easy to cut and sand. They also give a warm, rustic look.
How Do I Safely Assemble The Wooden Christmas Tree?
Use protective gloves and goggles while cutting and nailing. Work on a stable surface and keep tools away from children.
Conclusion
Creating a rustic wooden Christmas tree adds charm to your holiday decor. It brings a warm, cozy feeling to any room. You can customize it with paint or lights to fit your style. Crafting this tree is fun and rewarding.
It also makes a great gift for friends and family. Try making one this season and enjoy the festive spirit it brings. Simple steps lead to a beautiful, handmade decoration you’ll love.