
Are you ready to give your artwork a professional touch by creating your own wood frame for canvas? Making a wood frame might seem tricky, but with the right steps, you can build one that perfectly fits your canvas and highlights your masterpiece.
Imagine the satisfaction of proudly displaying your art in a frame you crafted yourself—custom-sized, sturdy, and made with your own hands. Keep reading, and you’ll discover simple techniques and insider tips that make the process easy and enjoyable. By the end, you’ll have all the tools you need to frame your canvas like a pro.
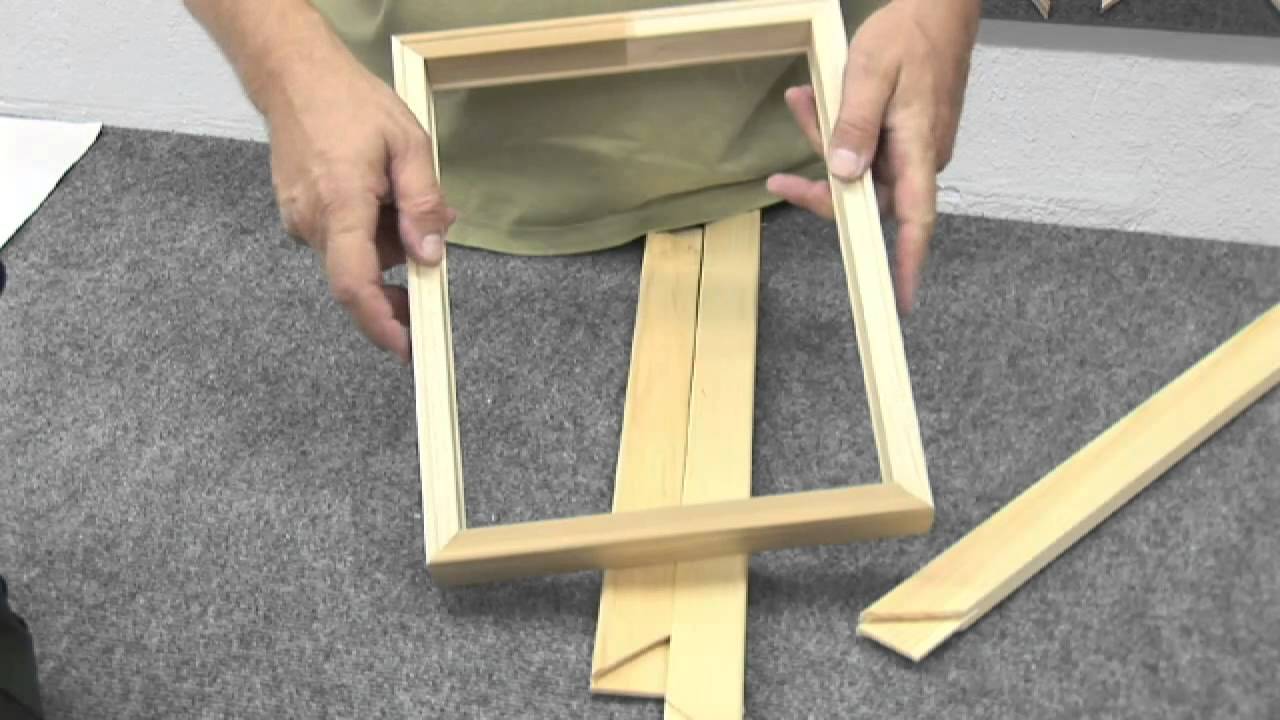
Credit: www.youtube.com
Choosing The Right Wood
Choosing the right wood is key to building a strong canvas frame. The wood affects how sturdy the frame will be. It also changes how the frame looks. Picking good wood helps your artwork stay safe for a long time.
Wood comes in many types and qualities. Some woods are better for frames than others. You want wood that is easy to cut and join. It should also hold nails or screws well. The wood should not warp or crack easily.
Types Of Wood For Frames
Pine is a popular choice for canvas frames. It is light and easy to work with. It has a smooth surface that paints or stains well. Poplar is another good option. It is stronger than pine but still easy to shape. Oak is very strong and durable. It has a nice grain but is harder to cut. Avoid soft woods that can dent or break easily.
Wood Quality And Durability
Choose wood that is straight and free of knots. Knots can weaken the frame and cause cracks. Dry wood is best because it won’t shrink or warp. Check for splits or cracks before buying. Good quality wood lasts longer and keeps the canvas tight. Avoid wood with signs of mold or insect damage.
Sourcing Affordable Wood
Look for wood at local hardware stores or lumber yards. You can often find offcuts or scrap wood at a lower price. Some stores sell wood that is slightly imperfect but still strong. Online marketplaces also offer affordable options. Compare prices and quality before buying. This helps you get the best wood without overspending.
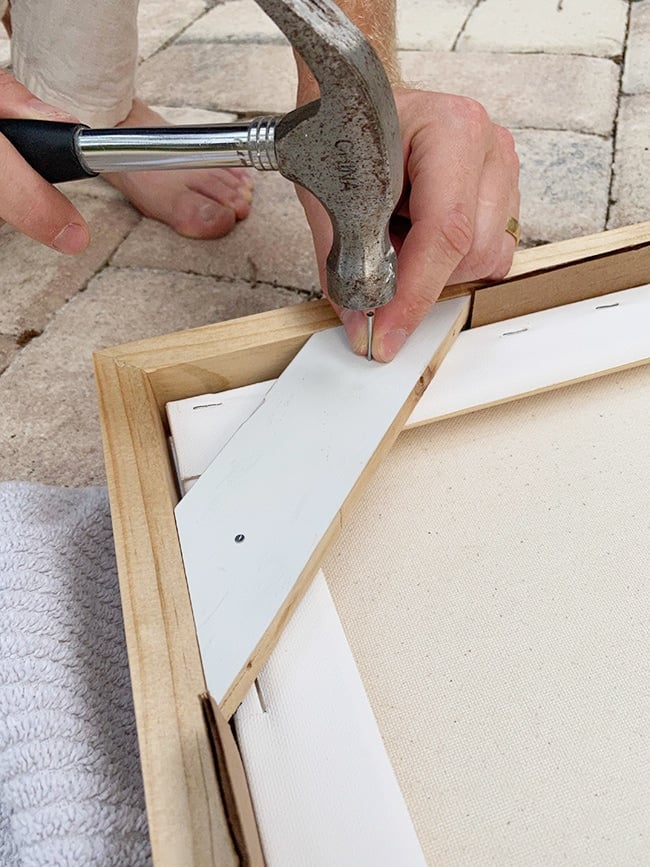
Credit: www.jennasuedesign.com
Gathering Essential Tools
Before making a wood frame for your canvas, gather all the necessary tools. Having the right tools saves time and ensures a clean, strong frame. Prepare your workspace for easy access to each tool. Organizing tools before starting helps keep the project smooth and enjoyable.
Cutting Tools
Sharp cutting tools are vital for clean wood edges. Use a handsaw or a miter saw for precise cuts. A miter box helps guide the saw for angled cuts. Sandpaper or a sanding block smooths rough edges after cutting. Keep blades sharp to avoid splintering the wood.
Measuring And Marking Tools
Accurate measurements are key to a perfect frame. Use a tape measure or a ruler to measure wood pieces. A carpenter’s square ensures corners are exactly 90 degrees. Mark cutting lines with a pencil for clear, visible guides. Double-check measurements before cutting to avoid mistakes.
Assembly Tools
Assembly tools hold the frame parts together. Wood glue adds strong bonds between pieces. Clamps keep the frame steady while glue dries. Use nails or screws for extra strength and durability. A hammer or screwdriver helps secure fasteners easily.
Measuring Canvas Dimensions
Measuring the canvas dimensions is a key step before building a wood frame. Accurate measurements help ensure the frame fits perfectly. This process involves checking both the length and width of your canvas carefully.
Measuring Length And Width
Use a tape measure to get the canvas length first. Measure from one edge to the opposite edge in a straight line. Write down this number clearly.
Next, measure the width in the same way. Make sure the tape measure stays flat and tight against the canvas. Note this number as well.
Double-check both measurements to avoid mistakes. Precision here saves time and materials later.
Allowing For Frame Thickness
The frame adds extra size around the canvas edges. Account for this by adding the wood thickness to your measurements. This ensures the frame will hold the canvas properly.
Measure the thickness of the wood you plan to use. Add this amount twice—once for each side—to both the length and width.
For example, if your wood is 1 inch thick, add 2 inches to both length and width. This step prevents the frame from being too small.
Cutting Wood Pieces
Cutting wood pieces is the first step to make a strong frame for your canvas. Careful cutting ensures the frame fits perfectly and holds the canvas well. Take time to measure and cut each piece with care.
Use the right tools and follow steps to get clean, straight edges. Proper cuts help your frame look neat and last longer. Pay attention to every detail for the best results.
Marking Cut Lines
Use a pencil and ruler to mark the cut lines on wood. Measure twice to avoid mistakes. Draw clear, straight lines for each piece you need. Mark the length and angle for each cut. Precise lines guide your saw and keep cuts accurate.
Making Accurate Cuts
Use a fine-toothed saw for smooth cuts. Follow your marked lines slowly and steadily. Keep the saw straight to avoid angled edges. Clamp the wood to a stable surface to stop movement. Take your time to make each cut clean and exact.
Safety Tips For Cutting
Wear safety goggles to protect your eyes. Use gloves to keep your hands safe from splinters. Cut in a well-lit, clear area to see lines and tools. Keep fingers away from the saw blade. Always switch off and unplug tools when not in use.
Assembling The Frame
Assembling the frame is a key step in making a wood frame for your canvas. This process holds the pieces together firmly. A good assembly ensures your canvas stays tight and looks professional. Follow simple steps to join the corners, use glue and nails, and check the angles.
Joining Corners
Start by placing the wood pieces side by side. Align the ends to form a perfect corner. Hold the pieces tightly to avoid gaps. Use clamps if available to keep them steady. This step prepares the frame for a strong bond.
Using Wood Glue And Nails
Apply a thin layer of wood glue on the edges. Spread it evenly for better adhesion. Press the corners together after applying glue. Nail the corners using small finishing nails. Drive nails carefully to avoid splitting the wood. The glue and nails work together to secure the frame.
Ensuring Square Angles
Check the corners with a carpenter’s square or ruler. The angle should be exactly 90 degrees. Adjust the frame if the angle is off. Tighten clamps or nails to hold the shape. A square frame prevents the canvas from warping or sagging.

Credit: www.youtube.com
Sanding And Finishing
Sanding and finishing are key steps for a wood frame. They make the frame smooth and protect it from damage. Proper sanding removes rough spots. Finishing adds color and shields the wood. These steps improve the frame’s look and life.
Smoothing Rough Edges
Start with coarse sandpaper to remove big bumps. Use gentle pressure and sand along the grain. Switch to finer sandpaper for a smooth surface. Check all edges and corners carefully. Smooth edges prevent splinters and give a clean look. Always wipe dust with a dry cloth after sanding.
Applying Paint Or Stain
Choose paint or stain for color and style. Paint covers wood completely and hides grain. Stain shows the wood’s natural pattern. Use a brush or cloth to apply evenly. Let the first coat dry before adding more. Multiple coats improve color depth and protection.
Protective Coatings
Protective coatings keep the frame safe from water and scratches. Clear varnish or polyurethane works well. Apply thin layers and let each dry fully. Sand lightly between coats for smoothness. These coatings give a nice shine and long-lasting defense.
Attaching The Frame To Canvas
Attaching the frame to the canvas is a key step in making a wood frame for canvas. This process gives your artwork a strong support. It also helps the canvas stay tight and smooth. Follow simple steps to stretch and secure the canvas properly. This ensures a clean, professional look for your final piece.
Stretching The Canvas
Place the canvas face down on a clean surface. Center the wooden frame on the back of the canvas. Start at the middle of one side and pull the canvas tight. Move to the opposite side and pull the canvas again. Repeat this for the other two sides. Keep the canvas tight, but do not stretch too much. This prevents wrinkles and damage.
Securing Canvas To Frame
Use a staple gun or tacks to attach the canvas to the wood. Start by placing a staple in the middle of one side. Then staple the opposite side, pulling the canvas tight. Work your way toward the corners, adding staples every few inches. Fold the corners neatly and staple them down firmly. Make sure the canvas stays smooth and taut as you work.
Final Adjustments
Check the canvas for any loose spots or wrinkles. Add more staples if needed to tighten the canvas. Use a clean cloth to wipe the surface gently. This removes dust and dirt before painting or display. Your wood frame and canvas are now ready for use. The strong, smooth canvas makes your artwork look its best.
Tips For Customizing Frames
Customizing your wood frame can make your canvas artwork truly unique. Small changes can give your frame a personal touch and match your style. These tips help you add character without much effort.
Adding Decorative Elements
Decorative elements bring life to a plain wood frame. You can use small wood carvings or stickers. Metal corners or beads also add a nice touch. Try simple patterns or shapes for a subtle look. These details make your frame stand out.
Using Different Wood Stains
Wood stains change the color and finish of your frame. Choose light stains for a soft, natural look. Dark stains give a bold, classic feel. Test stains on scrap wood first. This step avoids surprises and helps pick the best shade.
Incorporating Mixed Materials
Mixing materials adds texture and depth. Combine wood with metal strips or fabric. Use rope or leather for a rustic style. This mix gives your frame a fresh and creative look. It also matches different room decors easily.
Frequently Asked Questions
What Tools Do I Need To Make A Wood Frame For Canvas?
You need a saw, measuring tape, wood glue, clamps, sandpaper, and nails or screws. A hammer or screwdriver is also helpful. These tools make the process easier and more precise.
How Do I Measure Wood For A Canvas Frame?
Measure the length and width of your canvas first. Cut wood pieces slightly longer for a snug fit. Accurate measuring ensures the frame fits perfectly.
What Type Of Wood Is Best For Canvas Frames?
Pine and poplar are common choices because they are light and easy to work with. Hardwood like oak is strong but harder to cut. Choose wood based on your budget and skills.
How Do I Attach The Wood Pieces For The Frame?
Use wood glue on the edges and join the pieces at right angles. Secure with clamps until dry, then add nails or screws for strength. This keeps the frame sturdy.
Can I Paint Or Stain My Wood Frame?
Yes, painting or staining improves the frame’s look and protects the wood. Sand the wood first for a smooth finish. Let it dry completely before attaching the canvas.
Conclusion
Making a wood frame for canvas is a simple and useful skill. You only need a few tools and some basic steps. Take your time to measure and cut the wood carefully. Keep the joints tight and strong for the best result.
This project saves money and lets you customize your art display. Try making your own frame and enjoy the satisfaction it brings. Practice will make you better with each frame you build. Keep creating and sharing your beautiful canvas art!